Before / After - 'shopping ones pictures :D

kandinsky

New Member
Joined
Oct 11, 2007
Messages
6
Hi people

I have just given myself a 50D and Photoshop as an early Christmas present. I love photography, graphics etc and I really want to learn to make some of the cool stuff you see around, but of course - practice makes perfect!

So I wanted to see some of your before/after work to get inspiration. I'll share some of my stuff as well, but I have only had PS and my camera for a couple of weeks, so I don't have much yet.

Really hope some of you out there will share your b/a with me so I can get new ideas etc...
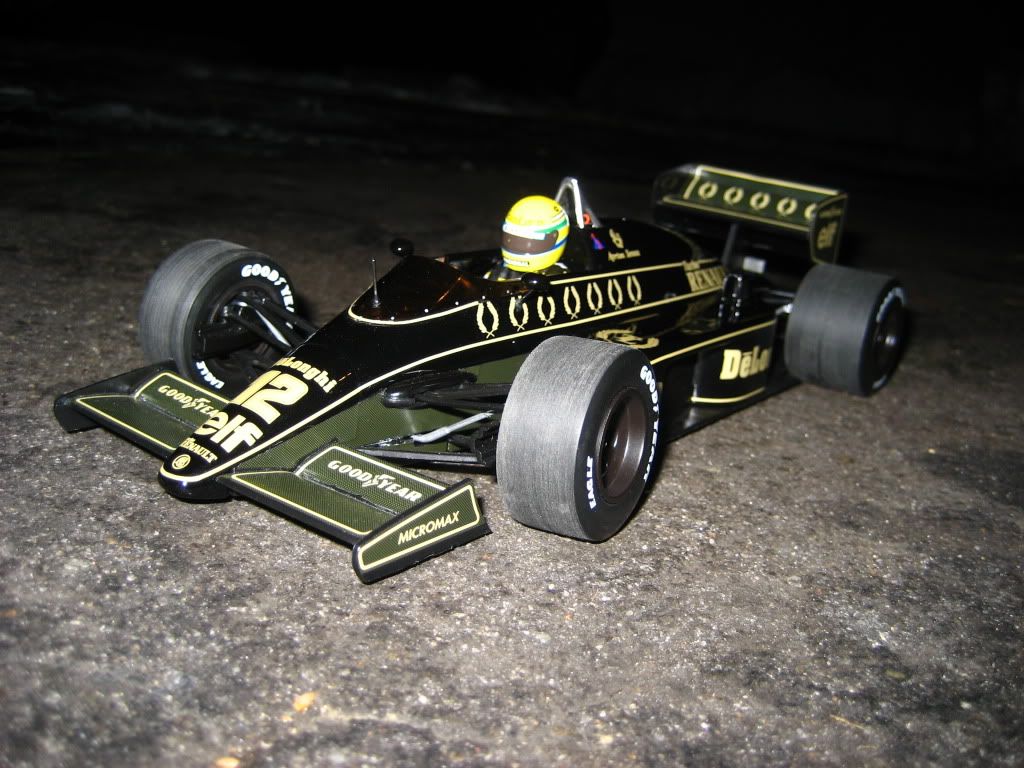
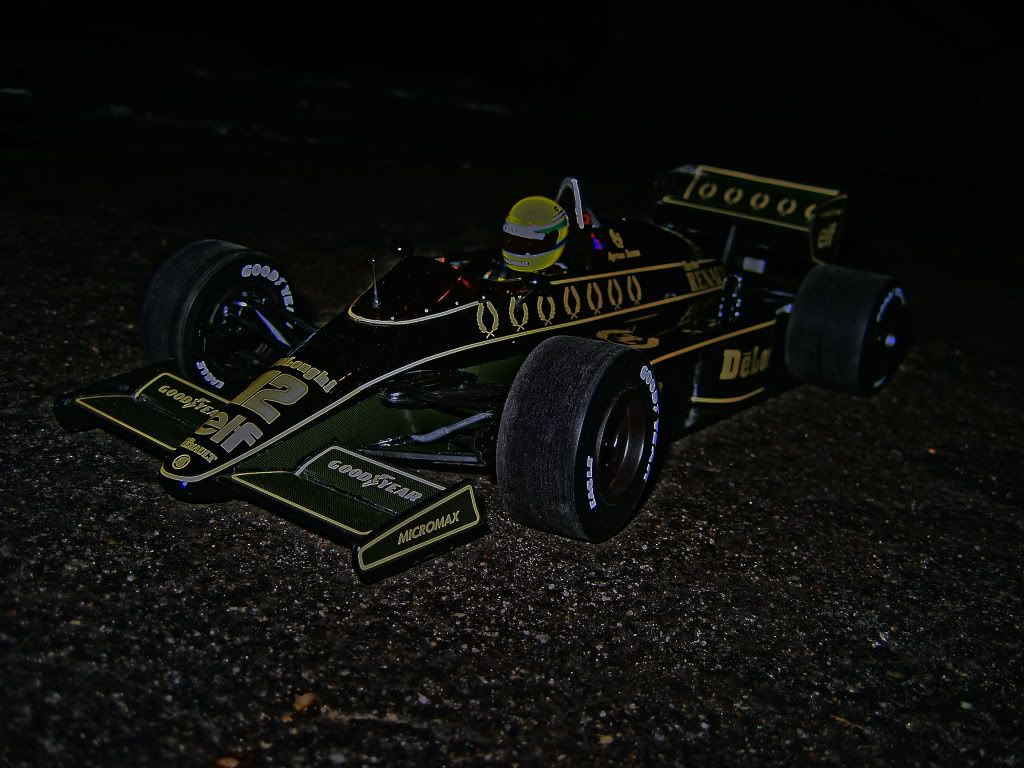
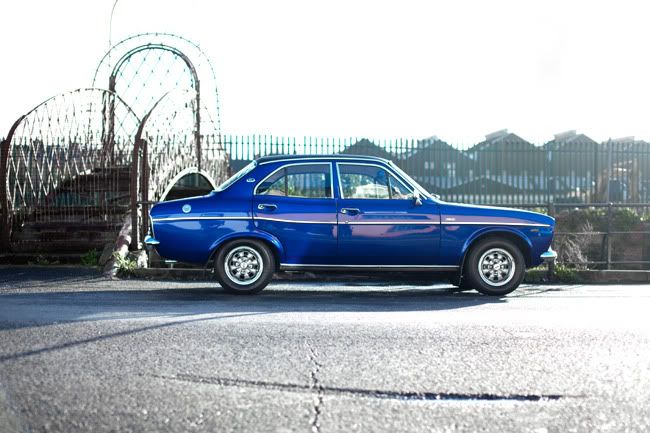
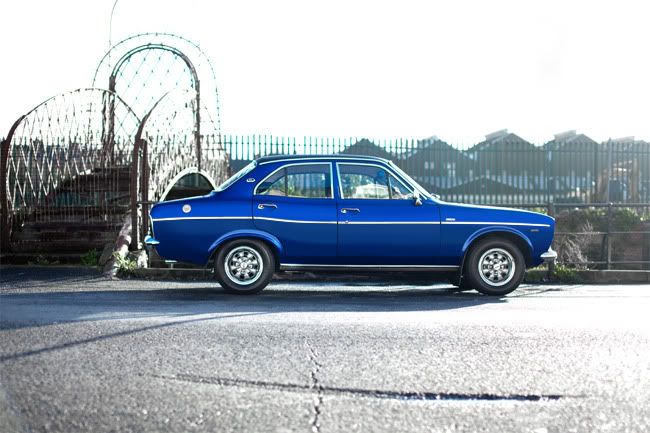
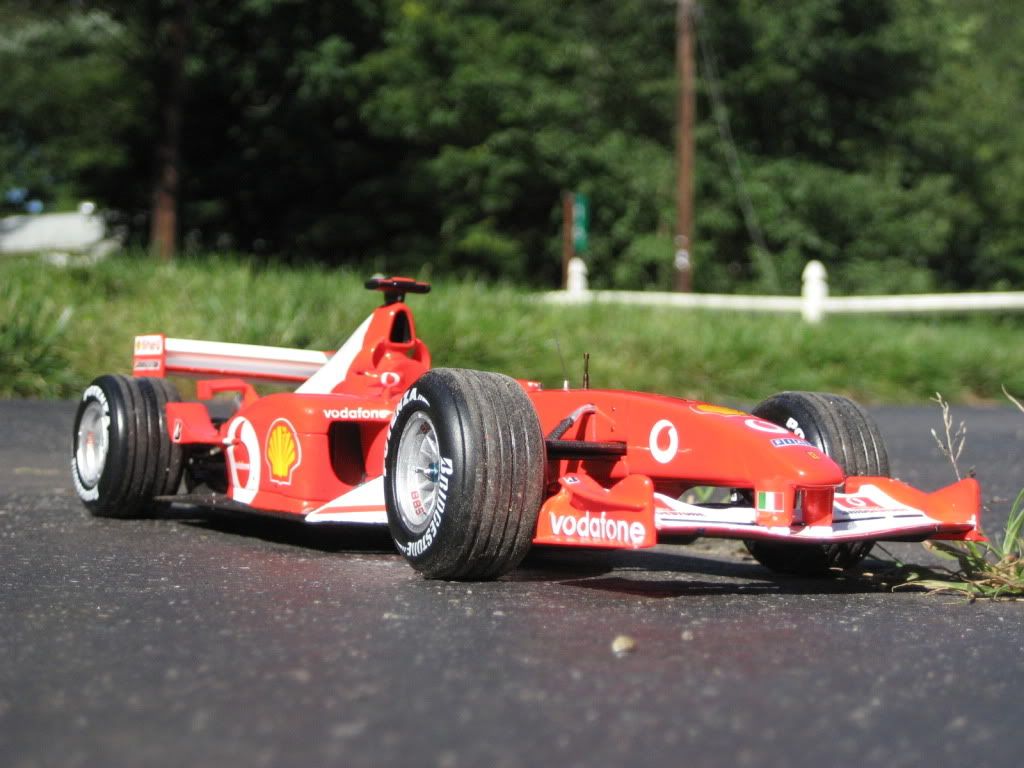
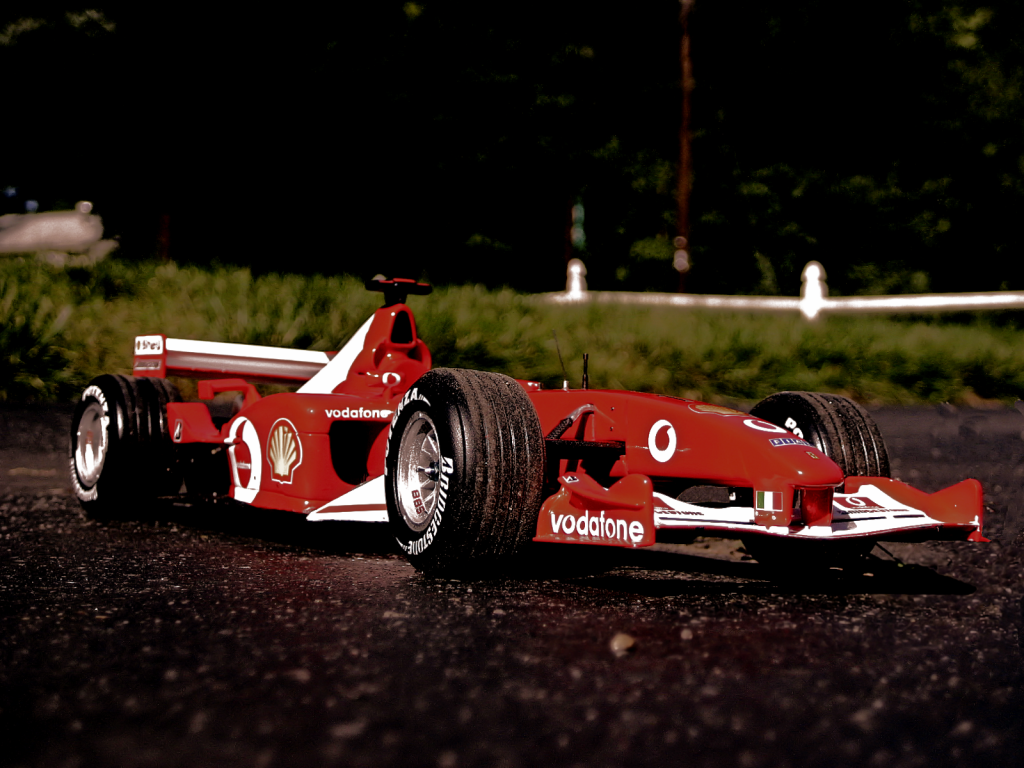
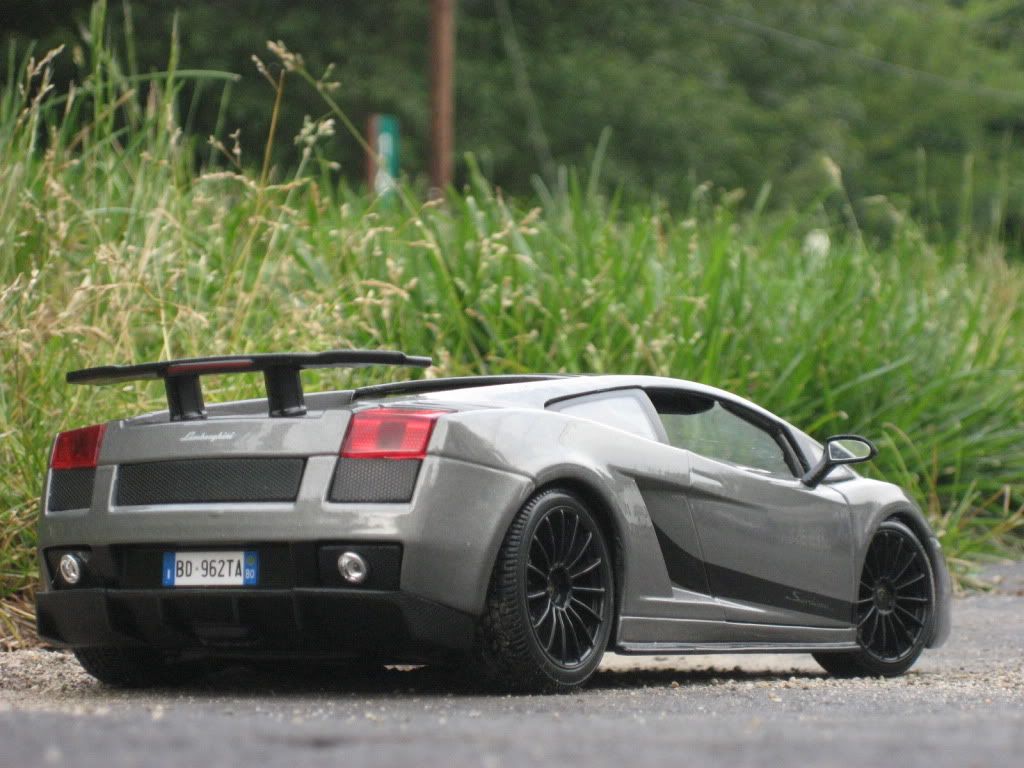
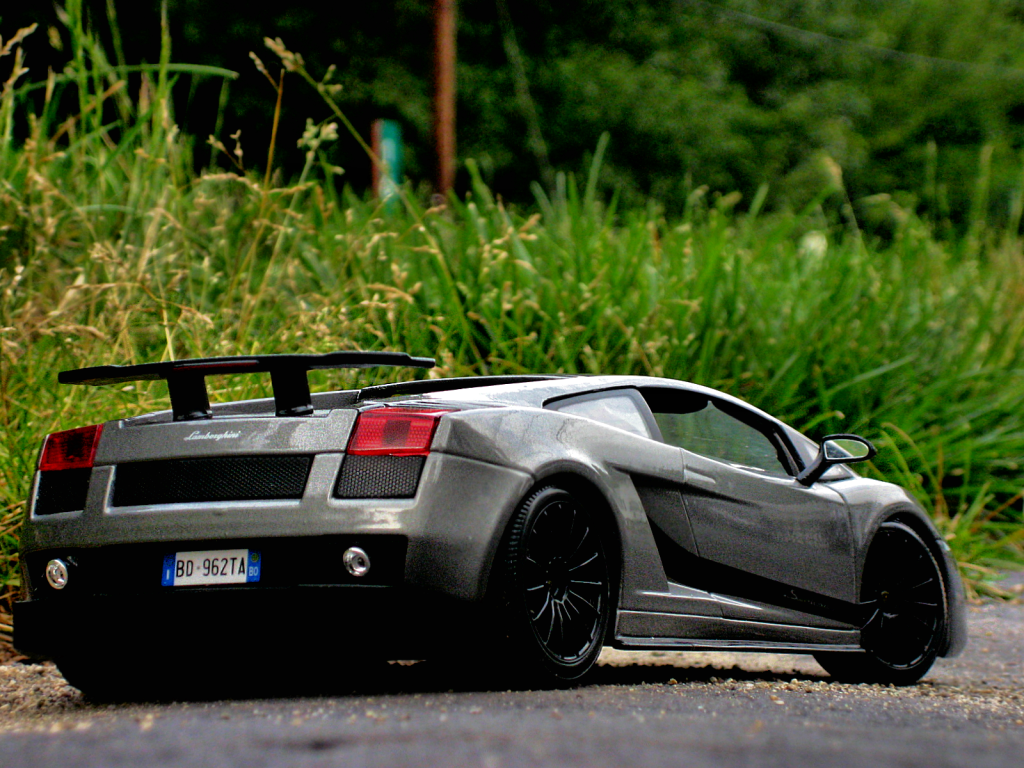
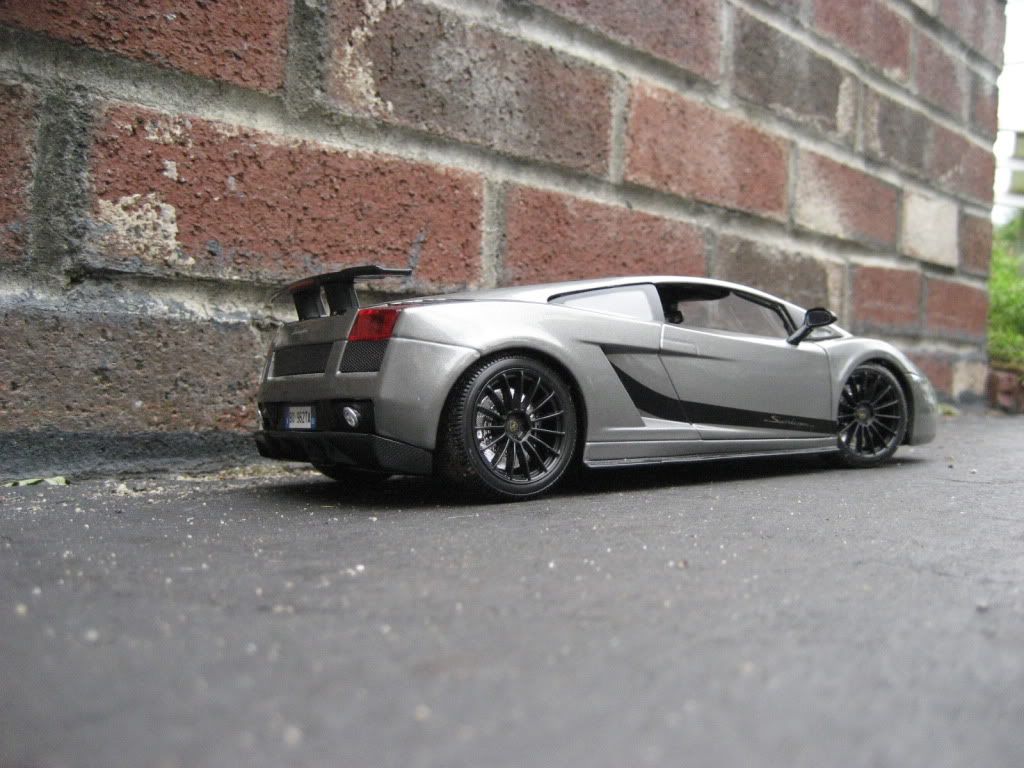
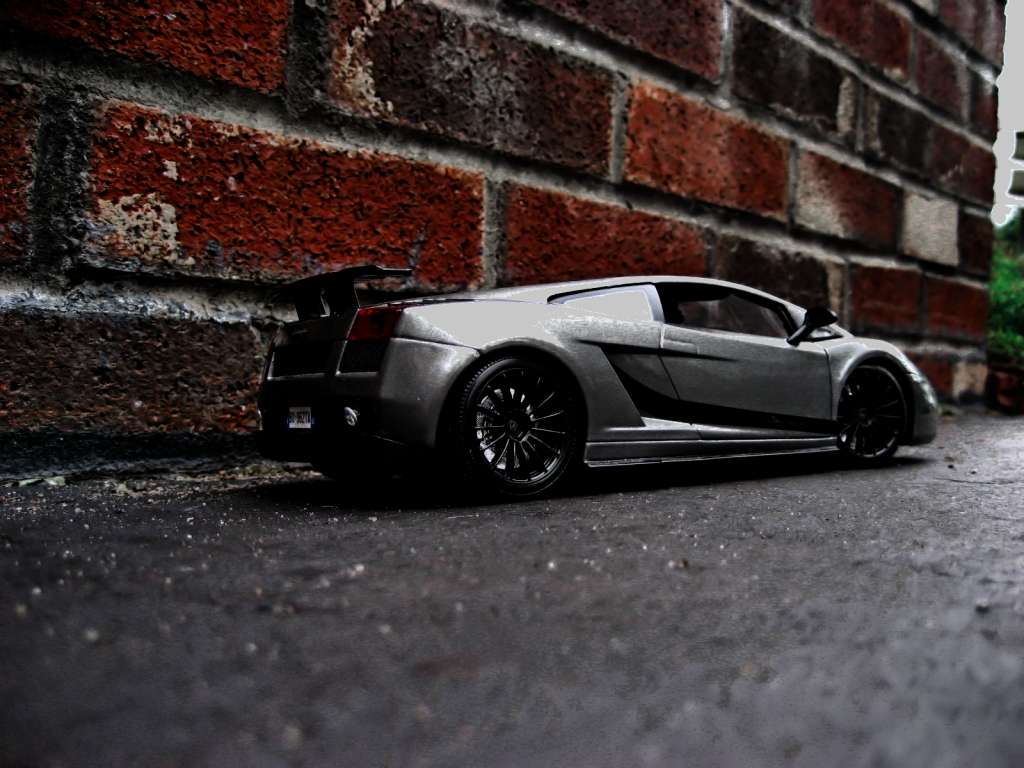
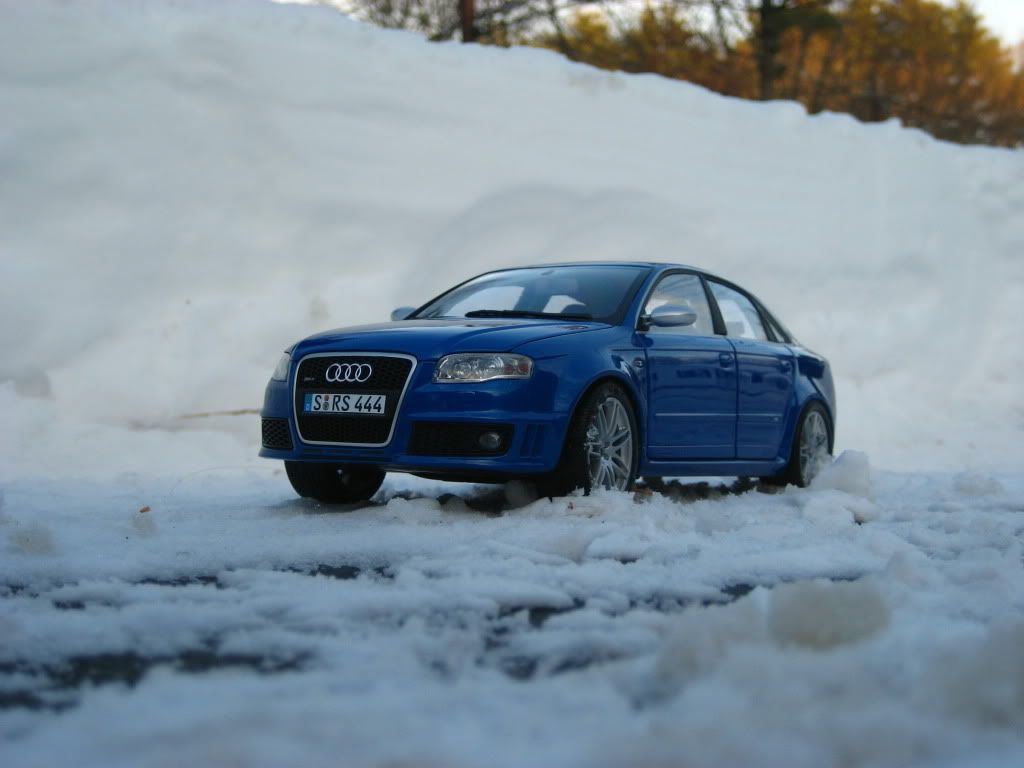
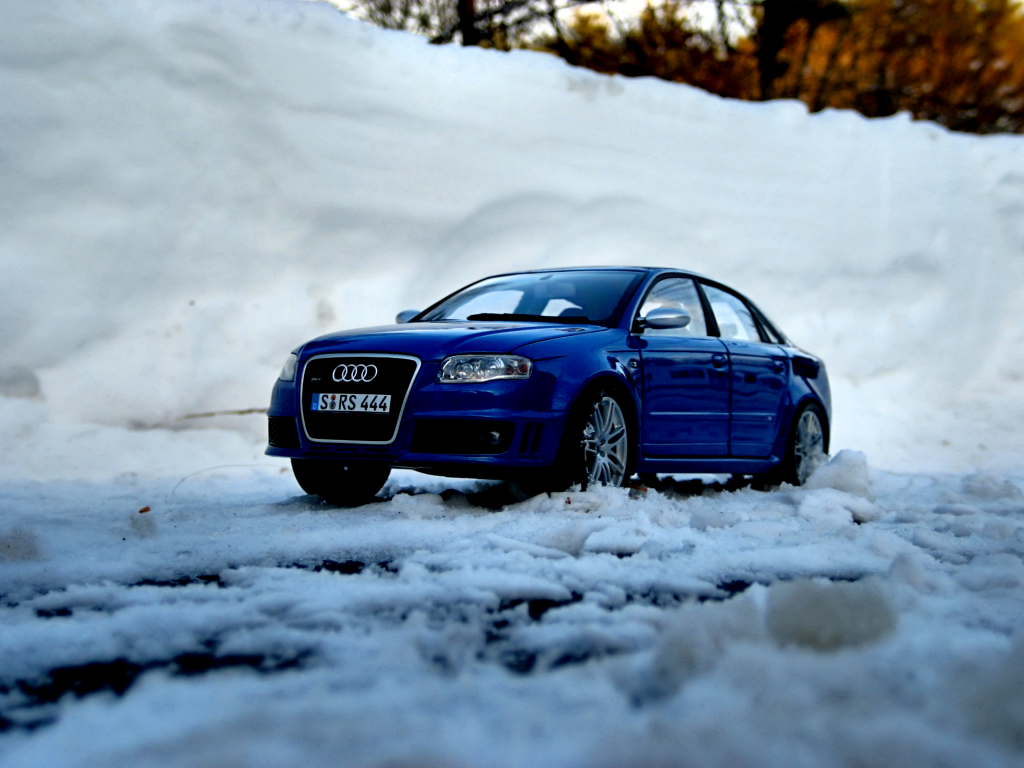
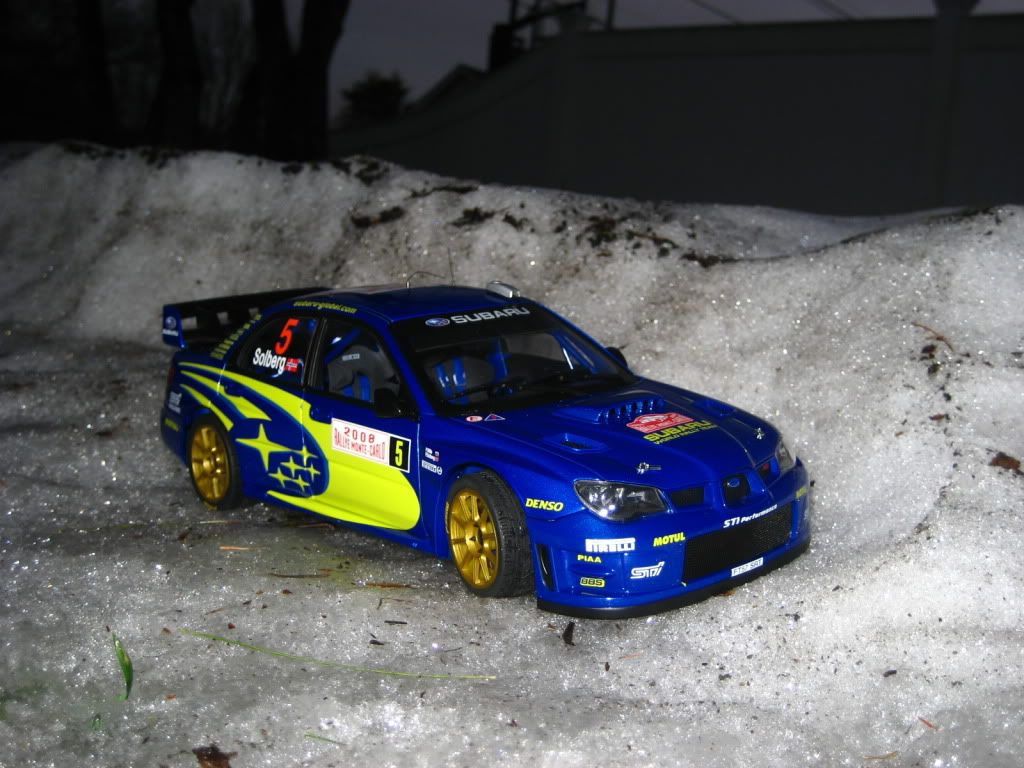
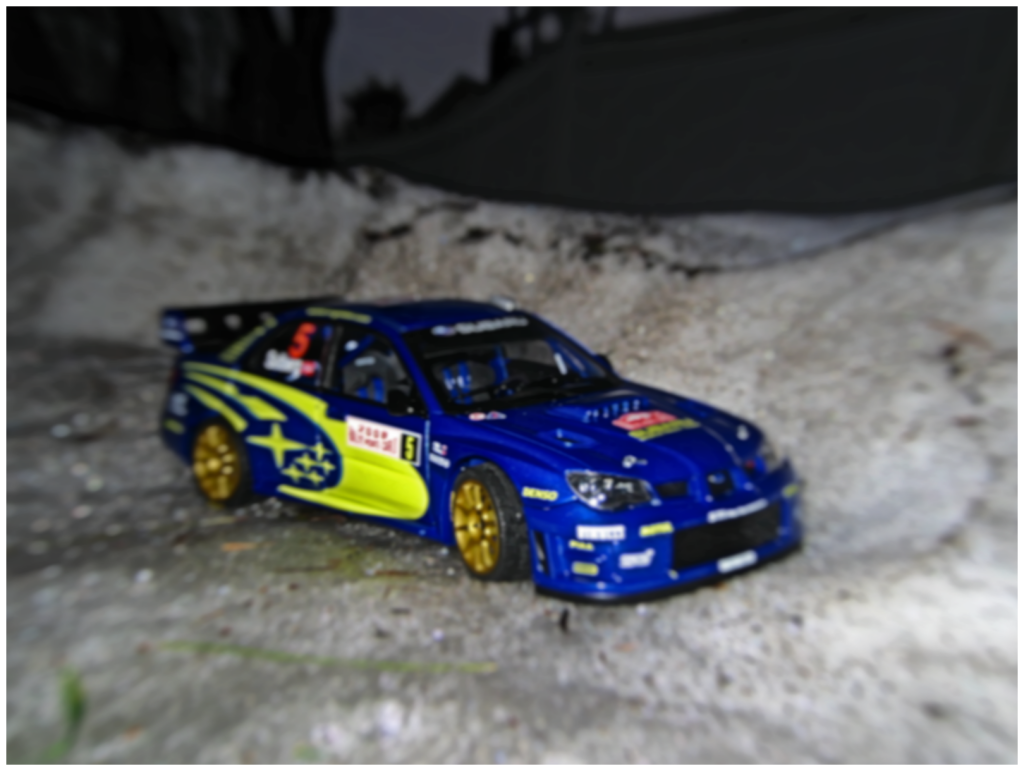
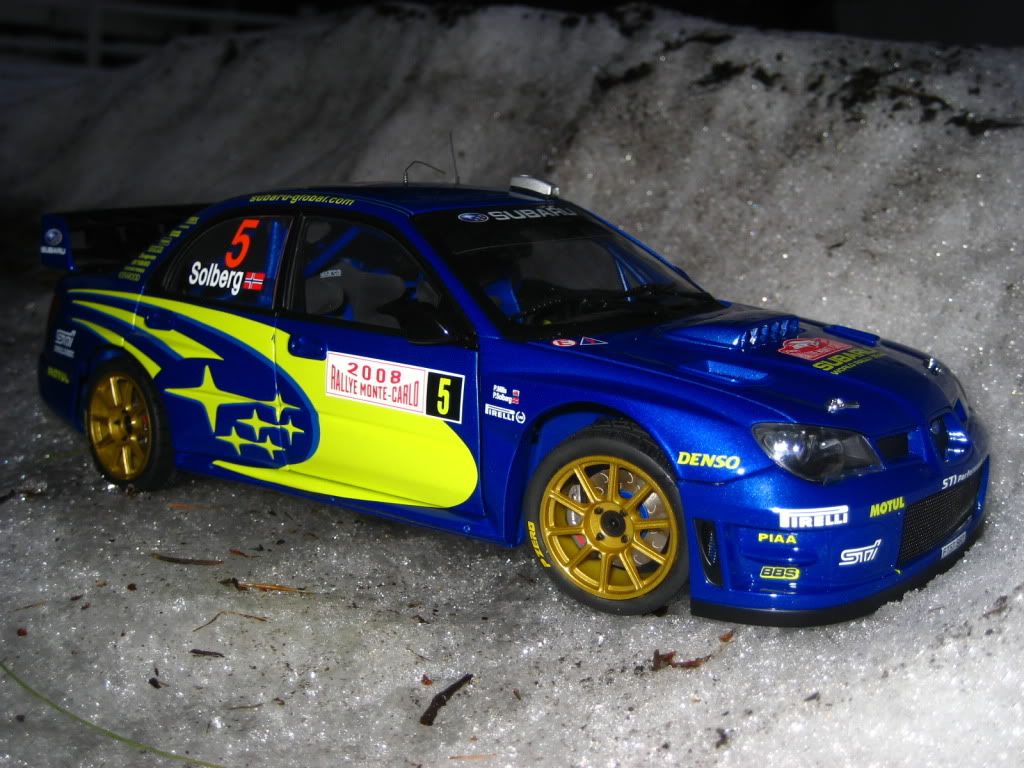
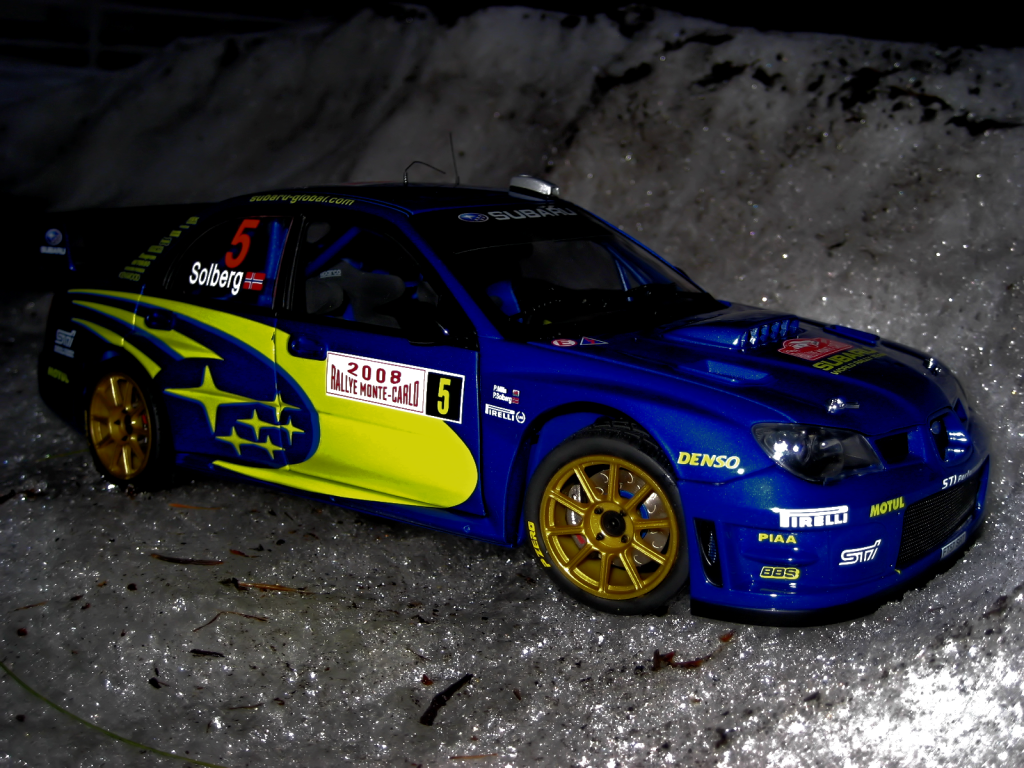
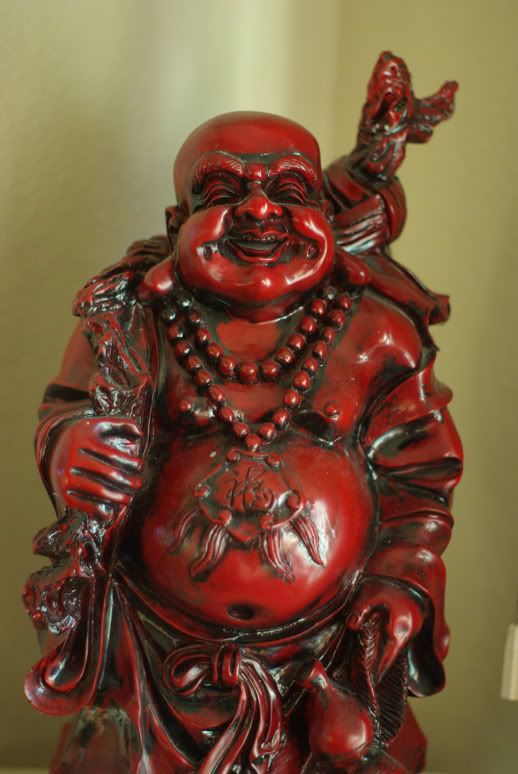
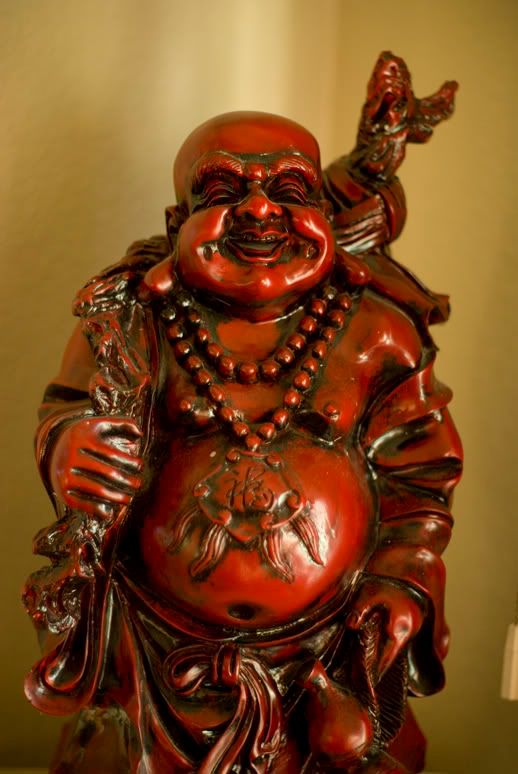
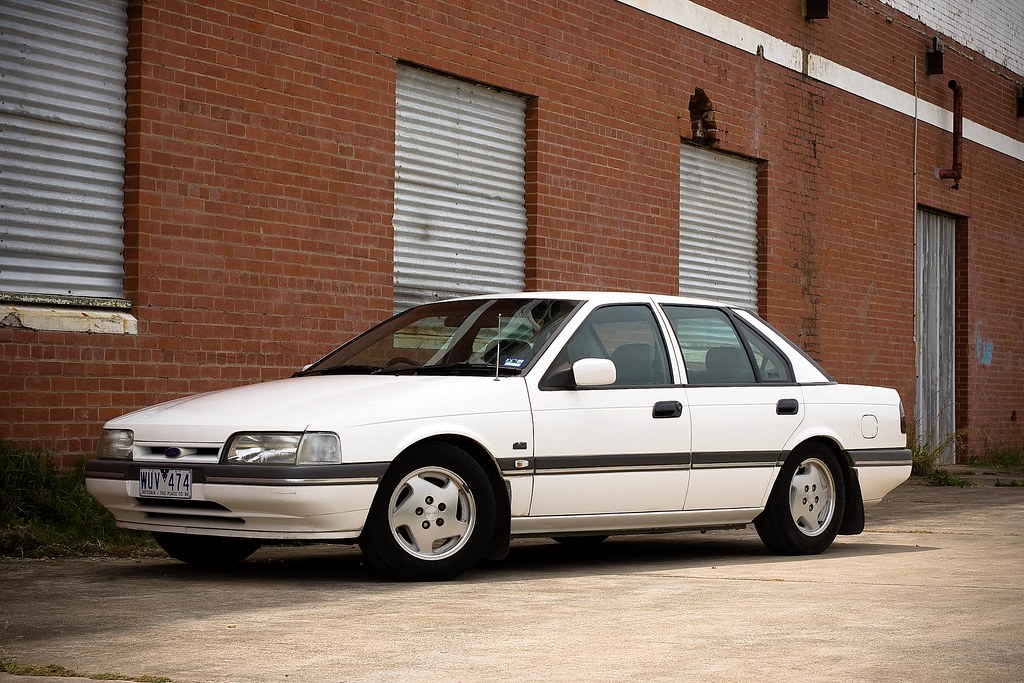
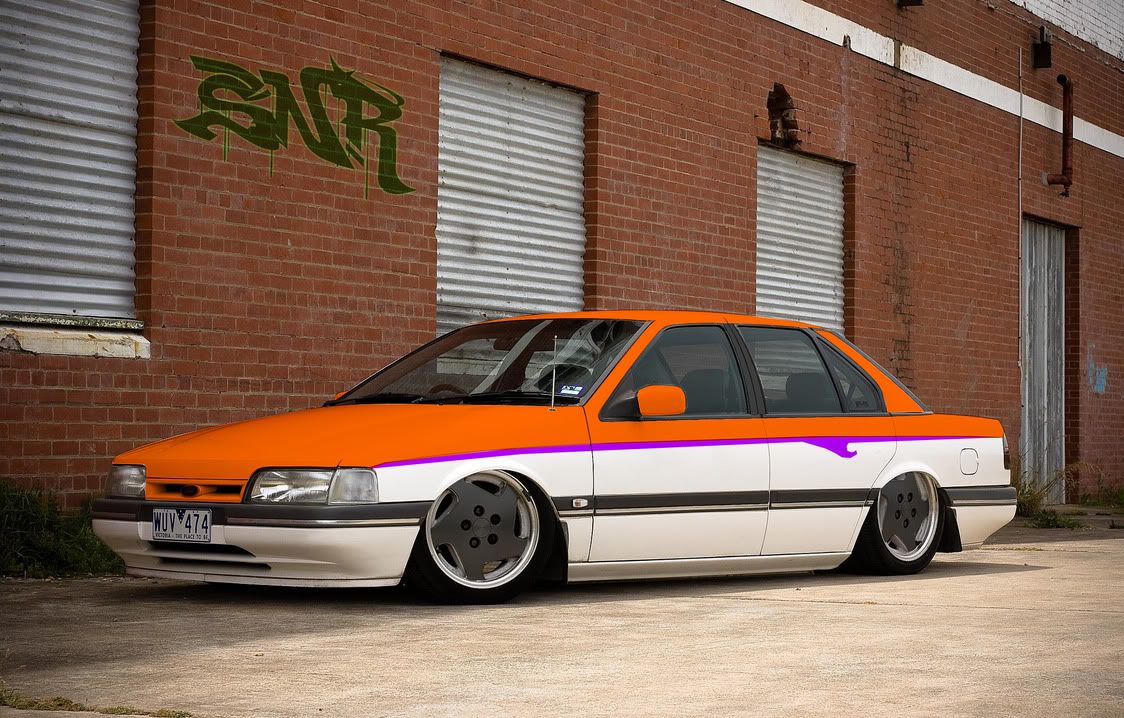
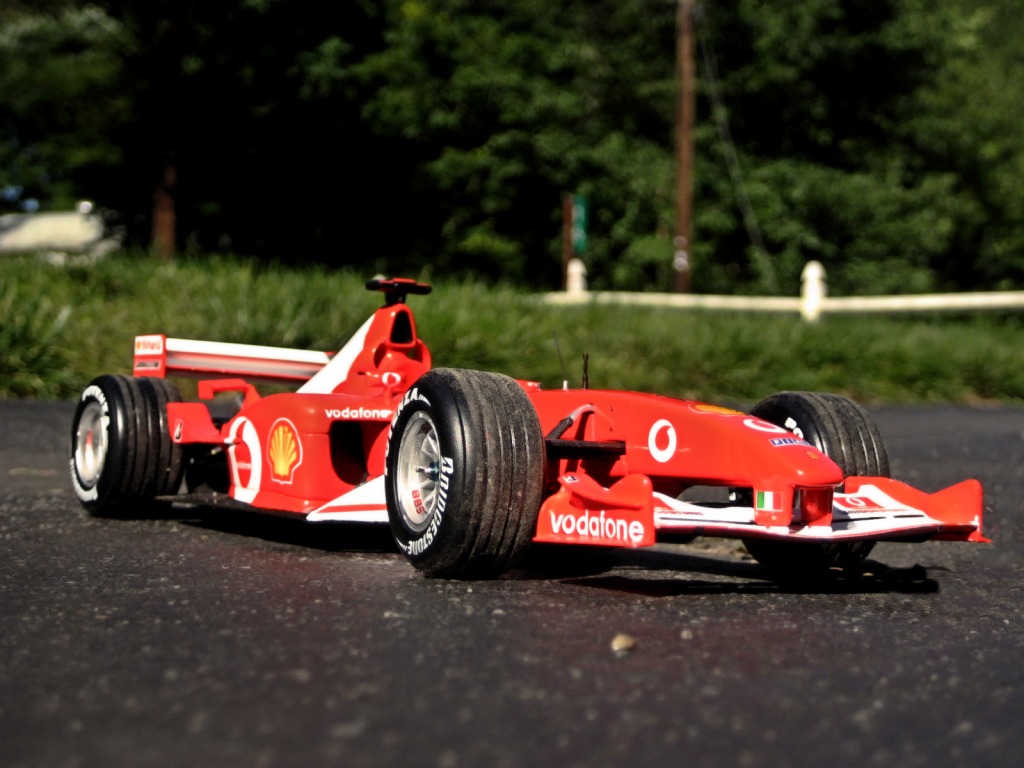
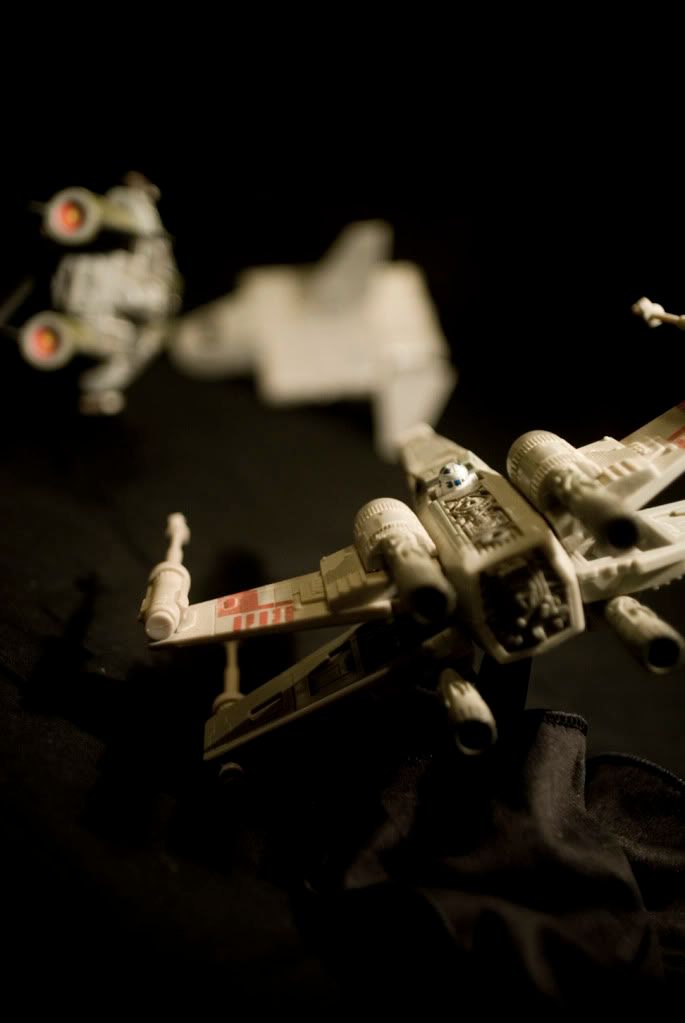
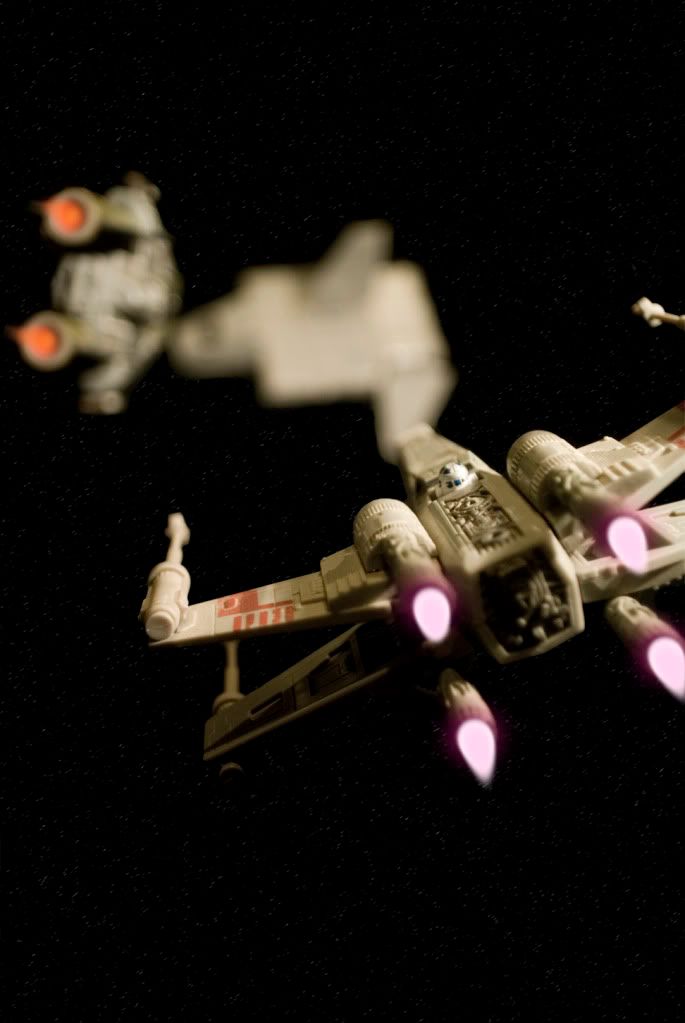
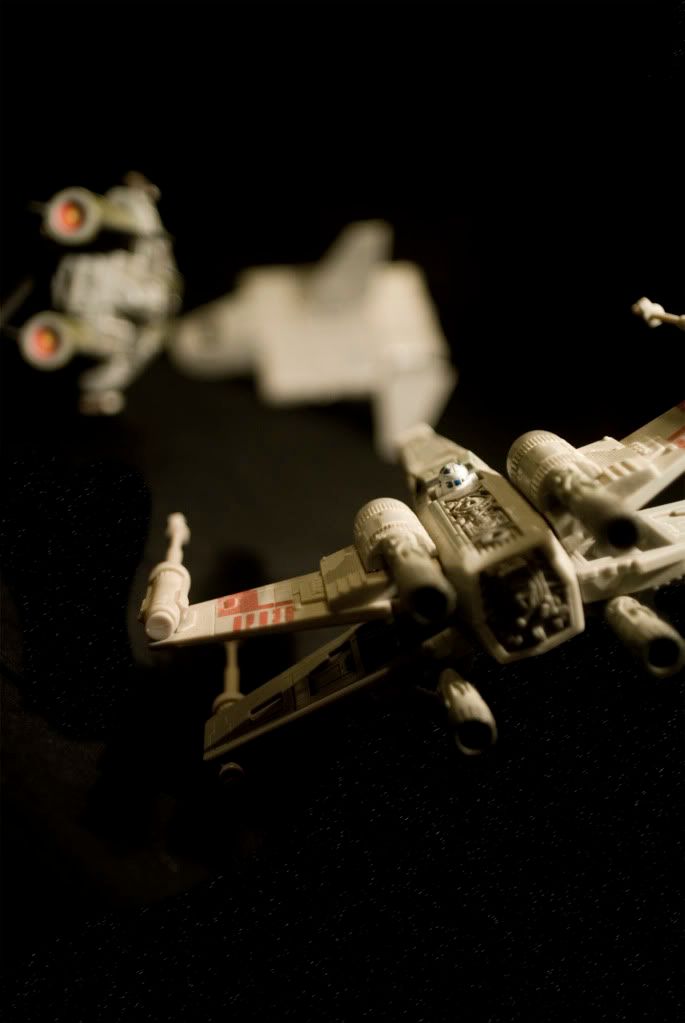
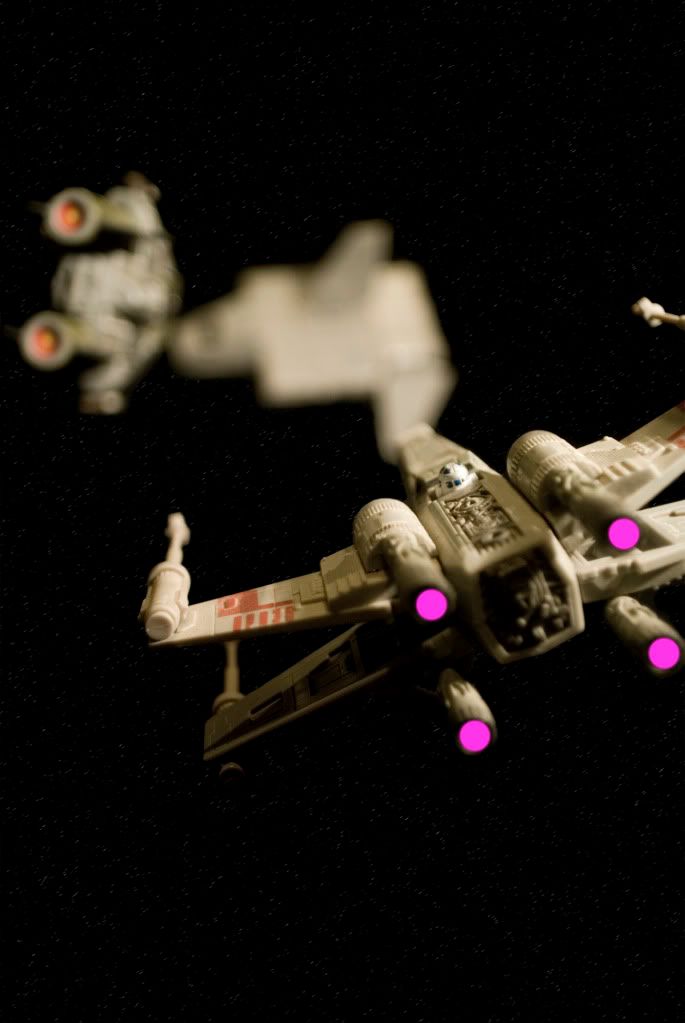
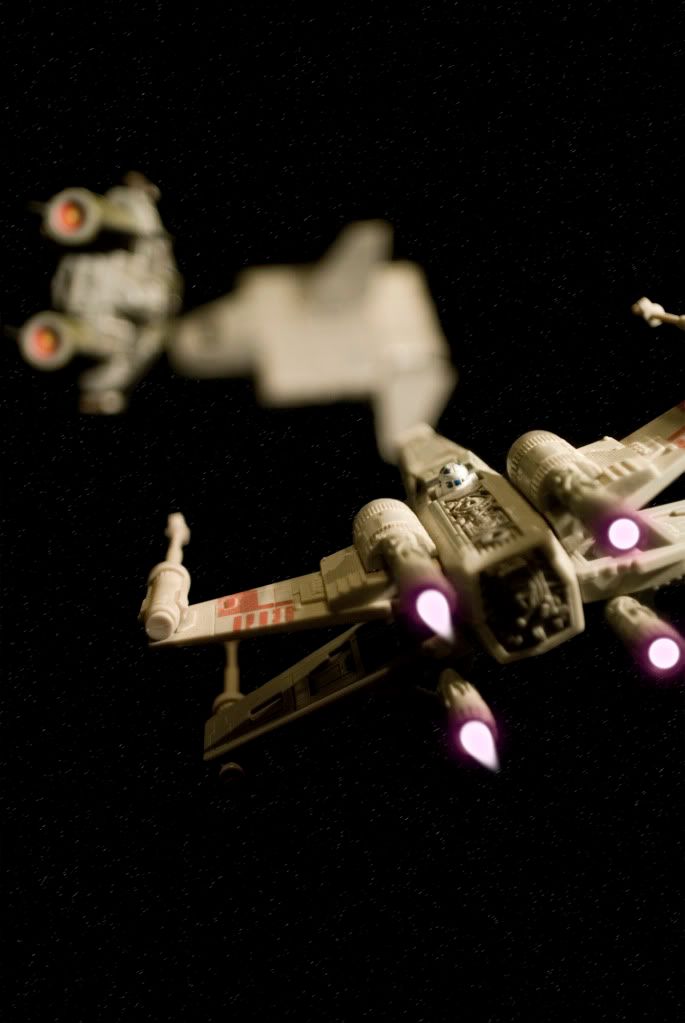
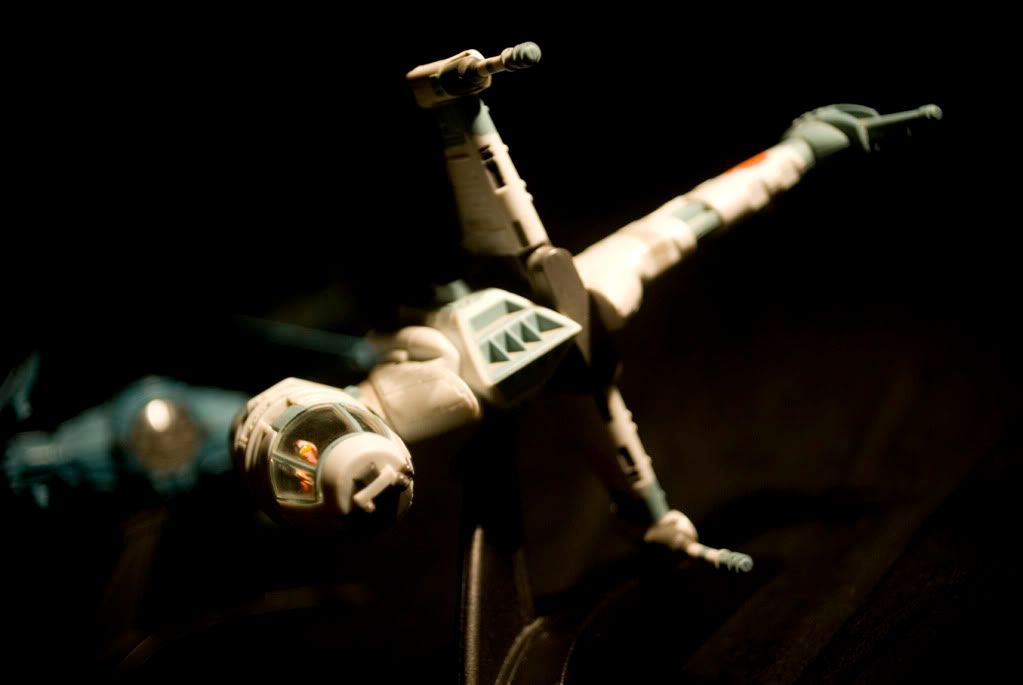
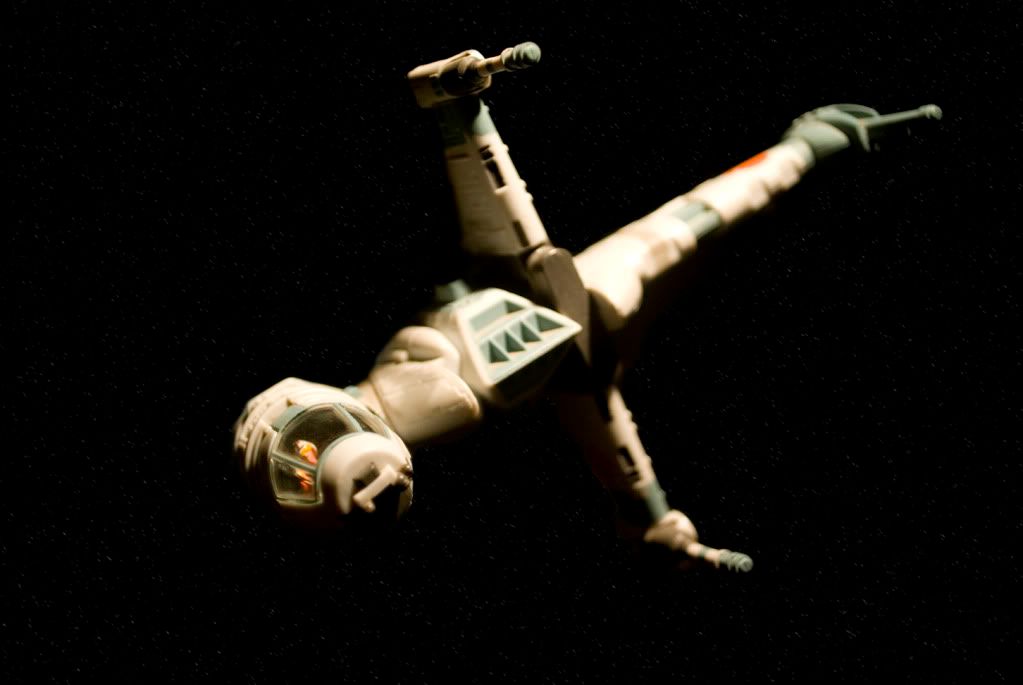
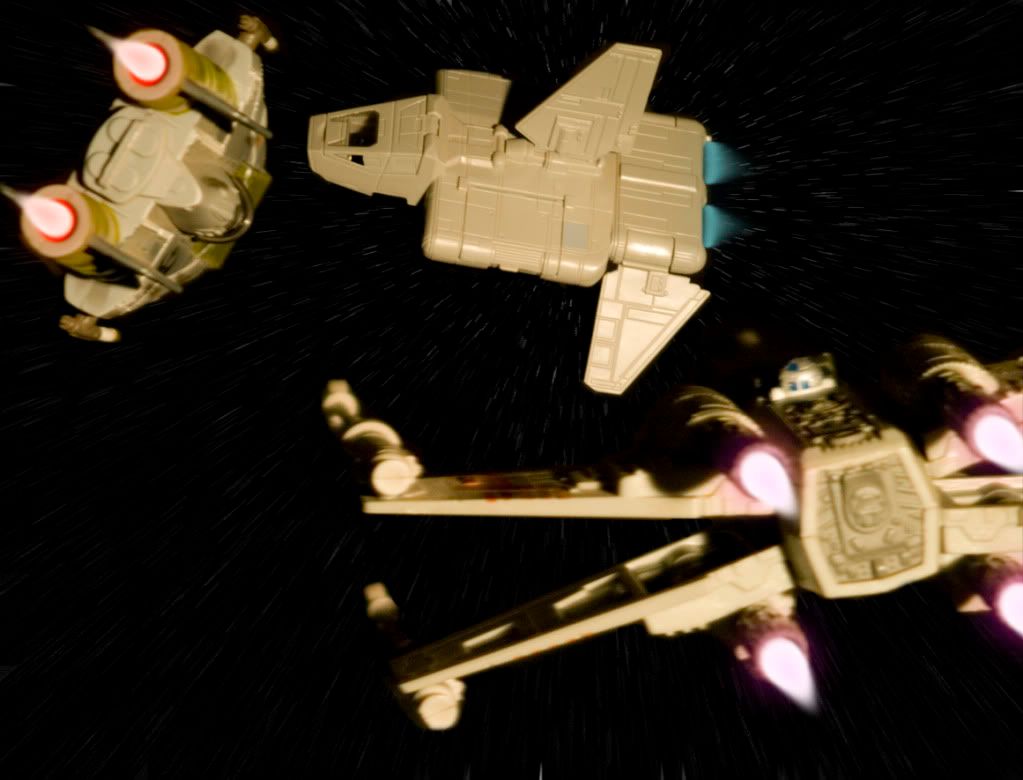
Here's a couple:
IMG_0991.jpg

CopenhagenDusk.jpg


IMG_1284.jpg

dog2.jpg


and

IMG_0585.jpg

goingplaces.jpg


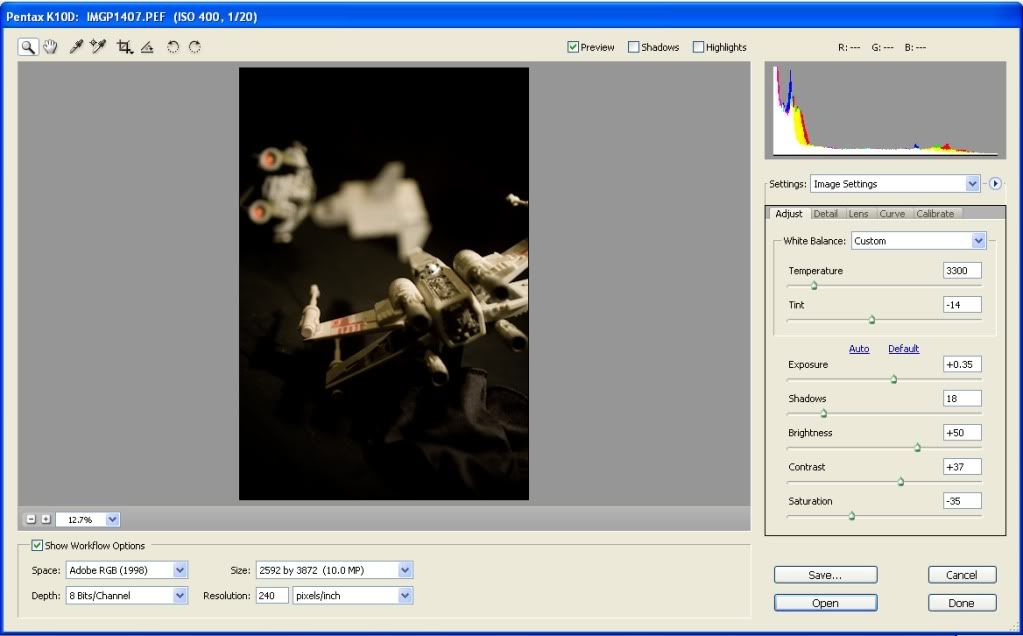
I am just playing, so don't mind the text 'n things..

Le'me see some cool things from you guys please :cool:
 
My favorite playing around,
IMG_3596.jpg

3596.jpg

I think this is more or less making shit shine because the original picture I took wasn't even close to being good but a little Photoshop made it much better.
 
Ahh.. The John Player Special.. Gotta love them colors! :D

Funny picture to play with - tried adding some "speed" just for fun :p

bil%20copy.jpg


Come om peop's - where all the proff people so we can get some new ideas? :D
 
Still a W.I.P., dunno what direction to go in next. Started off as an exercise to see if I could remove the reflections, now I want to see if I can composite the image together with a different foreground and background.

Before:
2-1.jpg


After:
1-1.jpg
 
That's one hell of a pretty car, especially with the reflections removed. Could look good with that background if you faked a lower DOF, in my opinion.
 
So far in every photo posted, I like the pre-'shopped ones better. :p *ducks out of the way of the flying lettuce*
 
I photoshop the pictures I take so they will look better on my desktop as well as to gain experience in touching up photos. Like in the first one, I got rid of the grass in the shot, which is something I could never do that well before.
 
So far in every photo posted, I like the pre-'shopped ones better. :p *ducks out of the way of the flying lettuce*

To be honest, you're right..

The real trick with PS is to not actually make it look like the picture has been photo shopped!
 
or go so much overboard that it is clearly seen its a shopped picture.
 
My new camera kicks ass, so I don't really have to do much to my pictures.

Before:
baf.jpg


After:
bb4.jpg


I basically just made the exposure a little warmer, and a couple of minor adjustments. Shooting RAW makes things so easy!
 
Last edited:
Alright, I think I was modest enough in my approach this time.
Before
9e5d8c73.jpg

After
d168ae26.png

Thoughts?
 
How about writing down what the changes are and how its done? For noobs like me to learn more. Many thanks in advance
 
I'd be happy to post a quick mini-tutorial.

First of all, the key to any good photo is lighting. Knowing a little about lighting will get you a long way. In general, it's always smart to face away from the sun when taking pictures. This gets the most light on your subject while eliminating lens flare and overexposure. For this setup, I used a single desk lamp positioned at an angle, as seen below.

setup.jpg


So here's what the picture looked like straight out of the camera:
fightb4.jpg


I take my pictures RAW, so when I open them up in PS, I get this screen:
tut1.jpg


From here I adjust exposure, temperature, highlights/shadows until I get something that pops a little more. For this project I turned the exposure up and the shadows up considerably, to try to make the background as black as possible.

Now it's time to add the stars. I found a stock photo of some stars through Google, and copied it over to my image. I made sure the stars layer is on top, then clicked the "add layer mask" button.
tut2.jpg


From there it's a pretty straightforward operation. Make sure you have the mask of the stars layer selected (the little box on the right) and press Alt-Delete to fill the mask with black. With the mask still selected, use the brush tool to paint white to expose stars in between the ships. This is relatively easy since you don't have to get the mask perfect. The stars do a nice job of hiding screw-ups.
tut3.jpg


Once the stars are all filled in, we can make the engine glows. Start by selecting a bright purple, and make a dot on each of the engines with the brush tool. (on a new layer of course)
tut4.jpg


Press Ctrl+J to make a copy of that layer. Now, with the first layer selected, go to Filter>Blur>Gaussian Blur. Play with the radius until you get a nice glow around the engines. I used about 27.0 for the radius.

Now, select your copy layer. Go to Filter>Distort>Diffuse Glow. Set graniness at 0, glow amount at 10, and clear amount at 20. This basically makes the dots white. I suppose you could just make a white dot but this is how I did it. Anyway...
tut5.jpg


Now that the dots are white, all we need to do is take the smudge tool and draw them out a little.
tut6.jpg


And there we have it! Pretty simple 'chop job for a pretty nice result. I plan to redo these shots tonight, with the other ships more in focus.

fight2.jpg


Here's a shot of the B-wing I whipped up as well.

Before:
bwingb4.jpg


After:
bwing.jpg
 
Terran I'd suggest taking one picture per model with only that one in frame and try to do them as far away as possible to get the focal depth as long as possible. and you can arange them afterwards. don't forget the stars in the background and I like that you caught fixed the engine exhaust thing that it follows the gradient of the engine.
 
Thanks for the tips. I actually had that same plan and was setting it up right now!

Edit: Here's my second attempt, though I'm still not happy with it. Back to the drawing board I say!

IMGP1412copy.jpg
 
Last edited:
Top