airmenair
Well-Known Member
Hell yea, we have alot of members on here from DFW. Spectre and I almost met up last weekend to go search through some junkyards.

 should be in on wednesday and I'll post some pics!
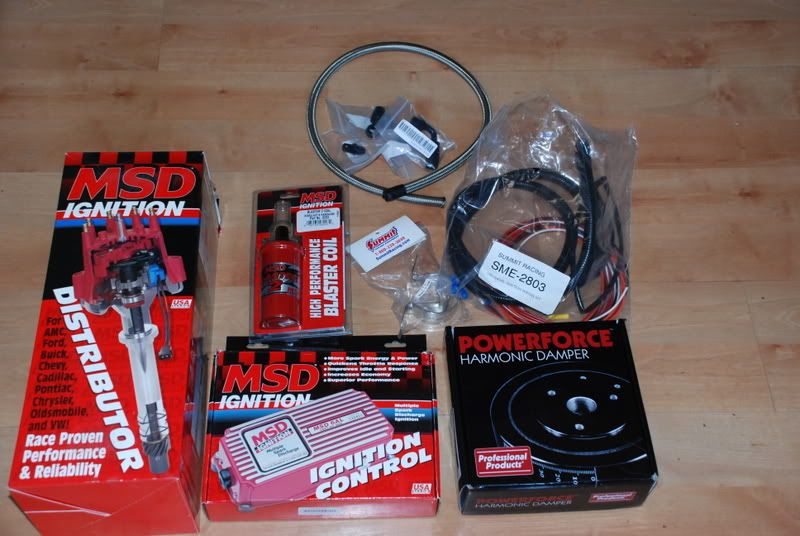
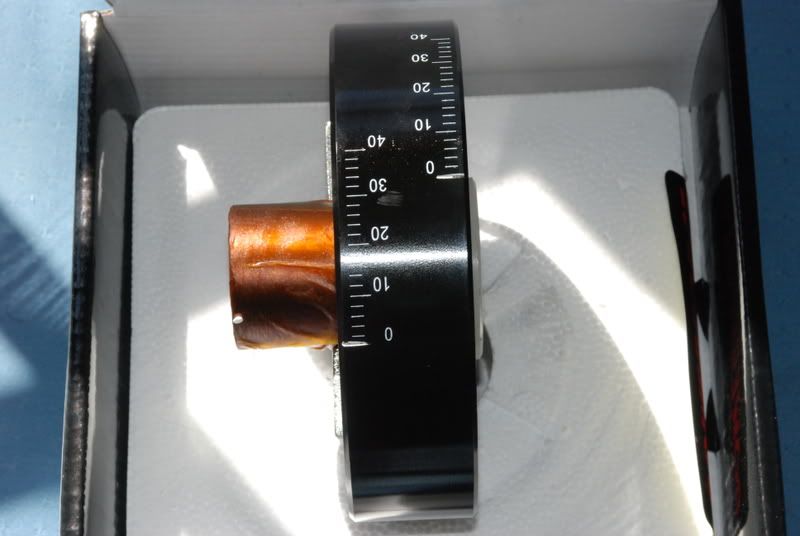
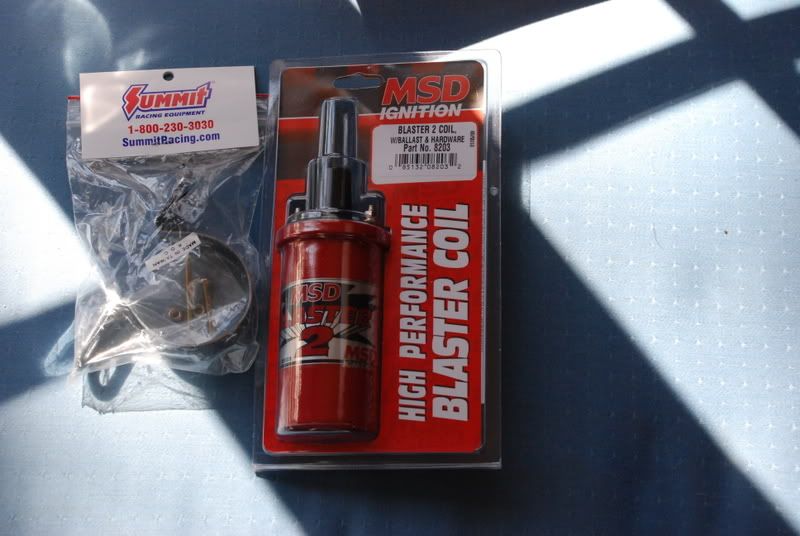
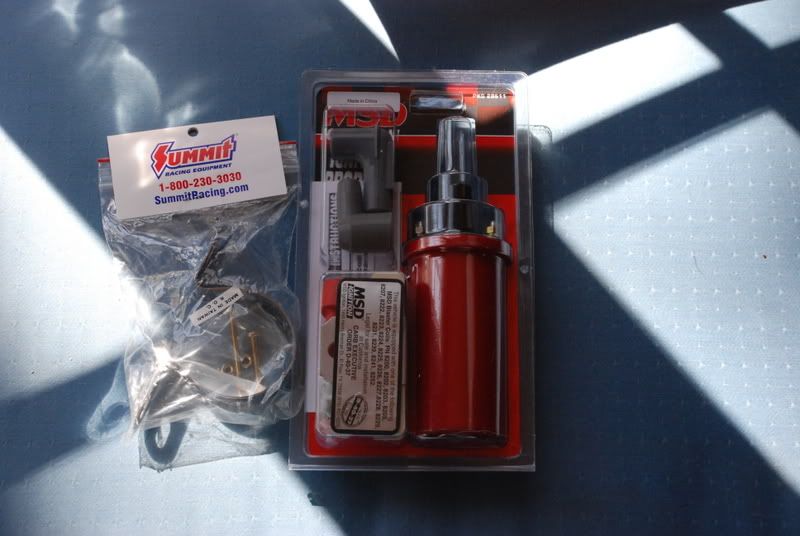
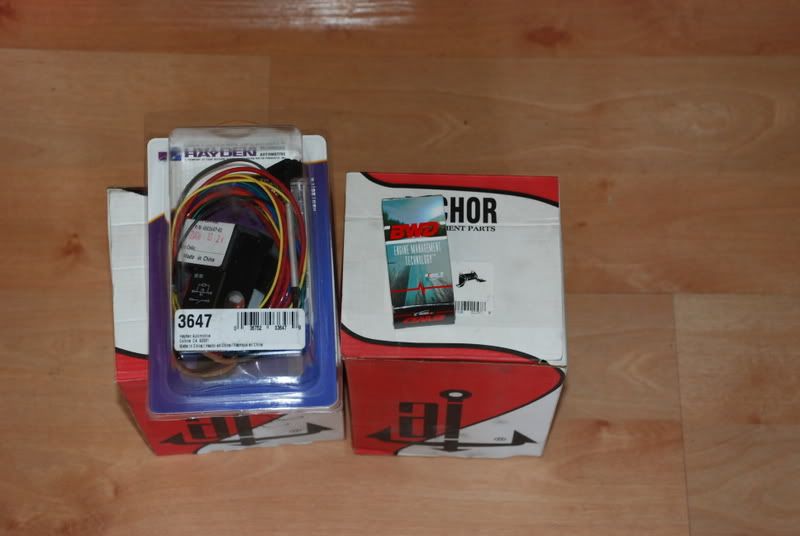
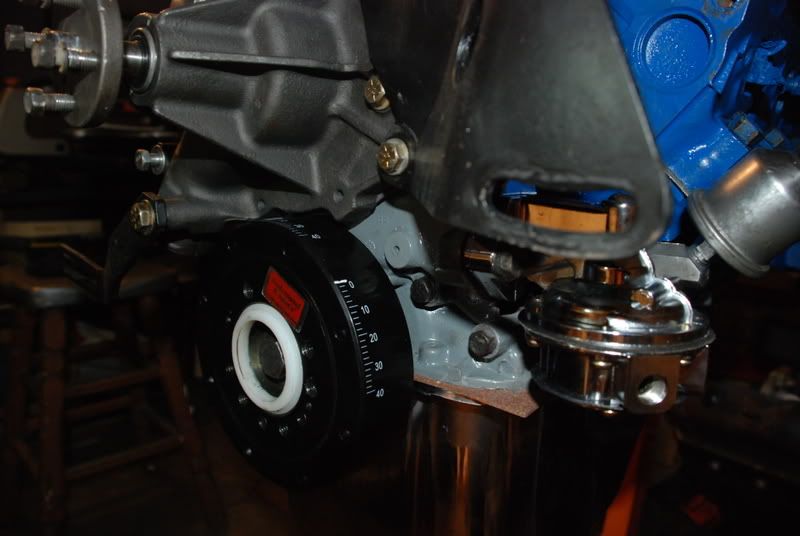
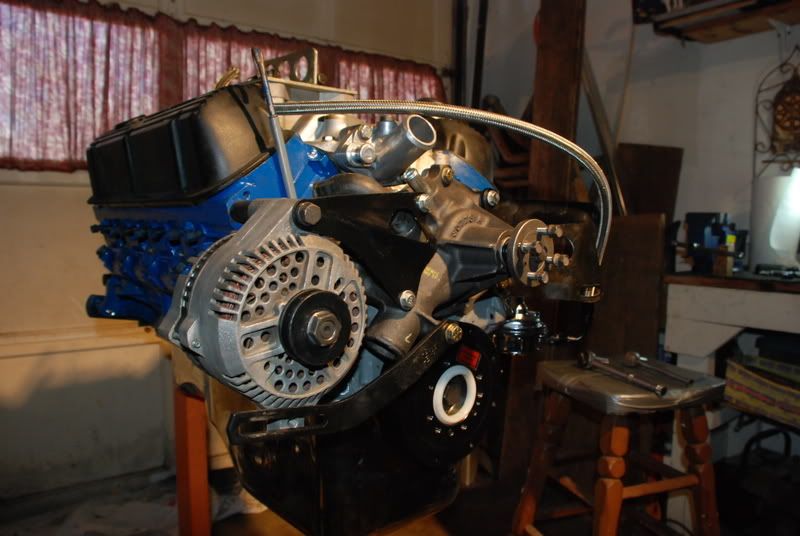
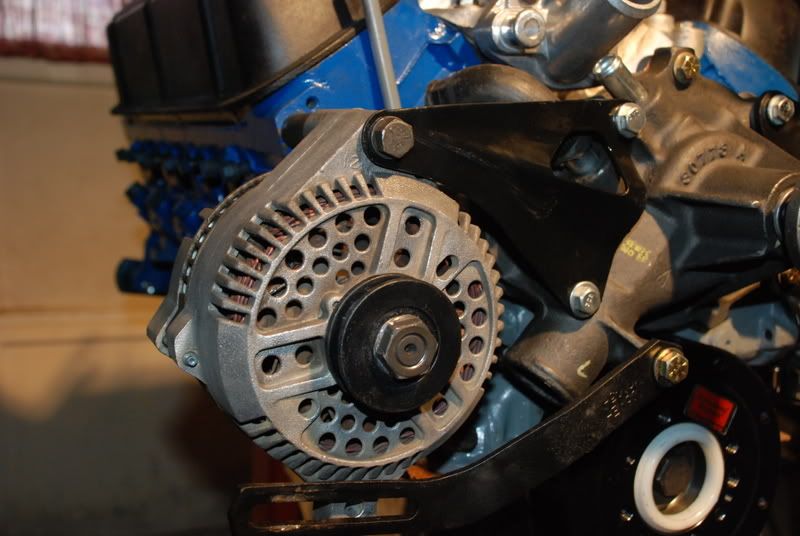
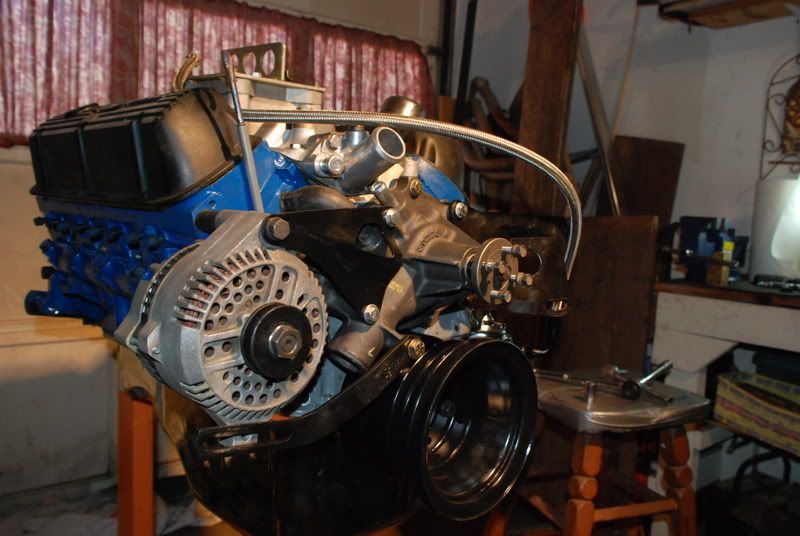
 So I have here a new MSD distributor for my electronic ignition, 6AL box with adjustable rev limiter , new coil, also I had to get a new damper that had the 50 oz. imbalance and the original 3" offset of the 28 oz. damper. This was so I could run my existing pulleys, timing cover, and water pump with the v-groove style belts. Also pictured is a coil bracket, fuel pump kit, and wiring kit for the 6AL.
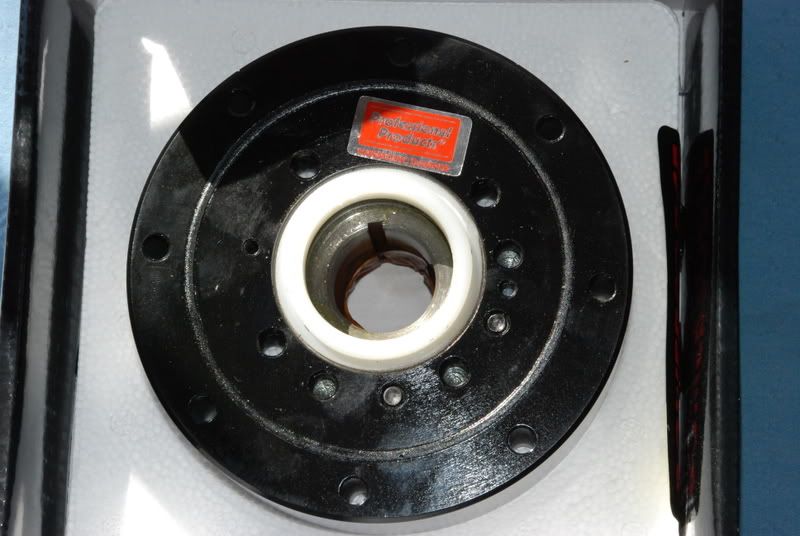
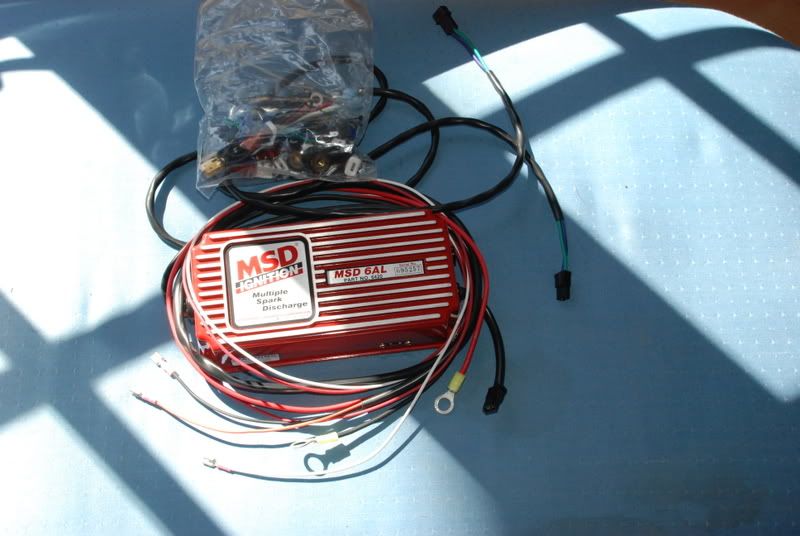


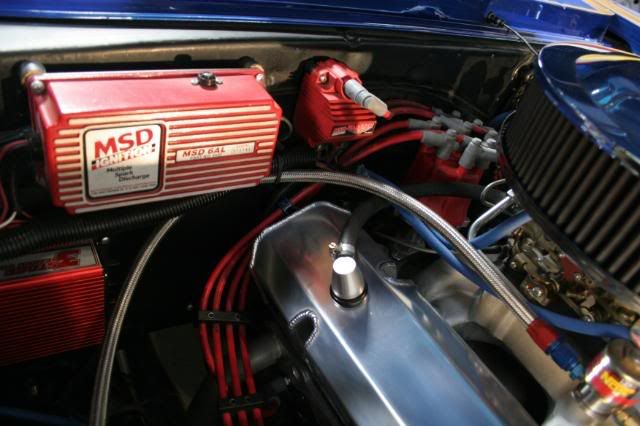
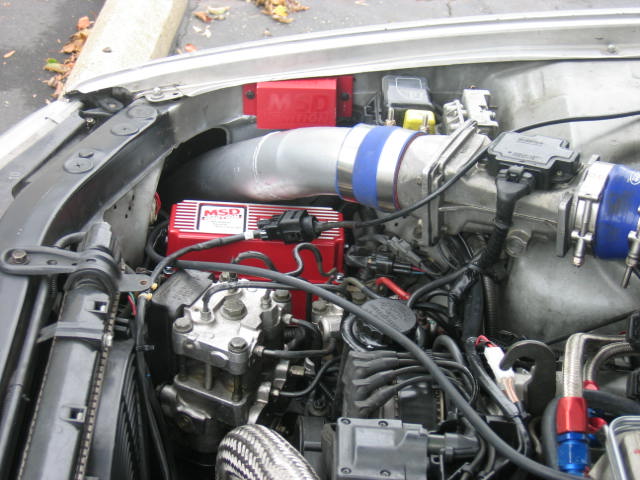


Most people mount the MSD box in the engine bay.
Sealing: Do not attempt to seal the MSD. All of the circuits of an MSD receive a thick
conformal coating of Humi-Seal. This sealant protects the electronics from moisture. If you
were to seal the unit, any moisture or water that may seep in through the wiring grommets
will not be able to drain and may result in corrosion.
...
The MSD can be mounted in most positions, except directly upside down (if upside down,
moisture or water cannot escape). It can be mounted in the engine compartment as long
as it is away from direct engine heat sources. It is not recommended to mount the unit in an
enclosed area such as the glovebox.
When you find a suitable location to mount the unit, make sure the wires of the ignition
reach their connections. Hold the Ignition in place and mark the location of the mounting
holes.
? If you have a 6A Ignition, use an 1/8" drill bit to drill the holes. Use the supplied self
tapping screws to mount the box.
? If you have a 6AL, 6T, 6BTM, 6-Offroad or "N" Series, use a 3/16" drill bit and drill the holes
for the supplied vibration mounts. Install the vibration mounts, then mount the Ignition.

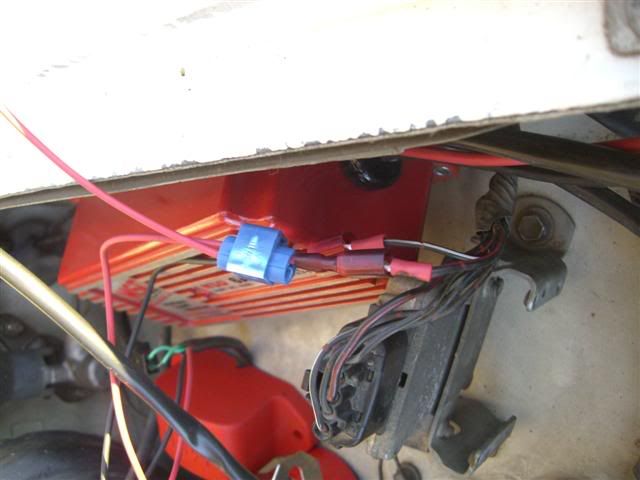
 Anyway, the sheathing and the heatshrink deal with the color coding nicely and since I never see whatever color it was I got for $1/ft, who cares? CarToys sells those offcuts, they just don't advertise it. You might want to consider hitting them up for some for your fans.