• The development of any software program, including, but not limited to, training a machine learning or artificial intelligence (AI) system, is prohibited using the contents and materials on this website.

3D Printing

Working with PVA dissolvable filament is more difficult than I expected. Getting it to stick to the bed is one thing, getting it to stick to itself is another entirely...
 
Had a break from 3D printing for a while, messing around with that PVA stuff really put me off. I've abandoned that idea now and gone back to more standard stuff.

I've wanted a quick-release mount for my Makita charger and batteries for a while but didn't get around to it, after playing with some ideas and reaching some dead ends I decided to use some neodymium magnets I already had to make a set of magnetic feet for the charger along with magnetic cups that fitted on to the pegboard. They're attached to the pegboard using plastic rivets and #8-1/2" screws.

DSC_1334_S1024.jpg


DSC_1341_S1024.jpg


I also made some mounts for the batteries.

DSC_1339_S1024.jpg


I'm no fanboy, honest.

DSC_1338_S1024.jpg


I've almost finished a mount for the tools, I don't expect it to handle the heavy drivers but the LED torch and USB power supply should be fine.
 
Last edited:
I should say that the mounts for the batteries are based on models made by Simhopp on thingiverse. I just altered them to suit the pegboard, actually doing the whole thing in Microsoft 3D Builder. I finished printing three tool holders today, based from the battery model from the same guy. They needed some finishing as the supports are harder to remove and made the tool a tight fit, I found that using heat was the quickest way to loosen them up.

I wasn't expecting them to hold much weight, just small stuff, but to my surprise they will hold my new DTW1002Z impact wrench and that's hard to hold in your hand from the battery end. This thing weighs 3.6kg and that's one heck of a lever on the mount.

2018-01-09_21.01.24_S1024.jpg


Needless to say the mounts are perfectly happy with my impact driver and LED torch.

2018-01-09_22.55.32_S1024.jpg


Edit: Just realised I should post a picture of the mount itself. It's similar to the battery mount, holes for pegboard mounting are exactly the same and at the same depth.

2018-01-09_23.21.47_S1024.jpg
 
Last edited:
I noticed the other week that some of the new 3D printers have this fancy magnetic build platform that can be removed and is flexible, allowing the part to be easily peeled off. The Creality and Ender printers seem to be the ones, I don't have one of those but I wanted in.

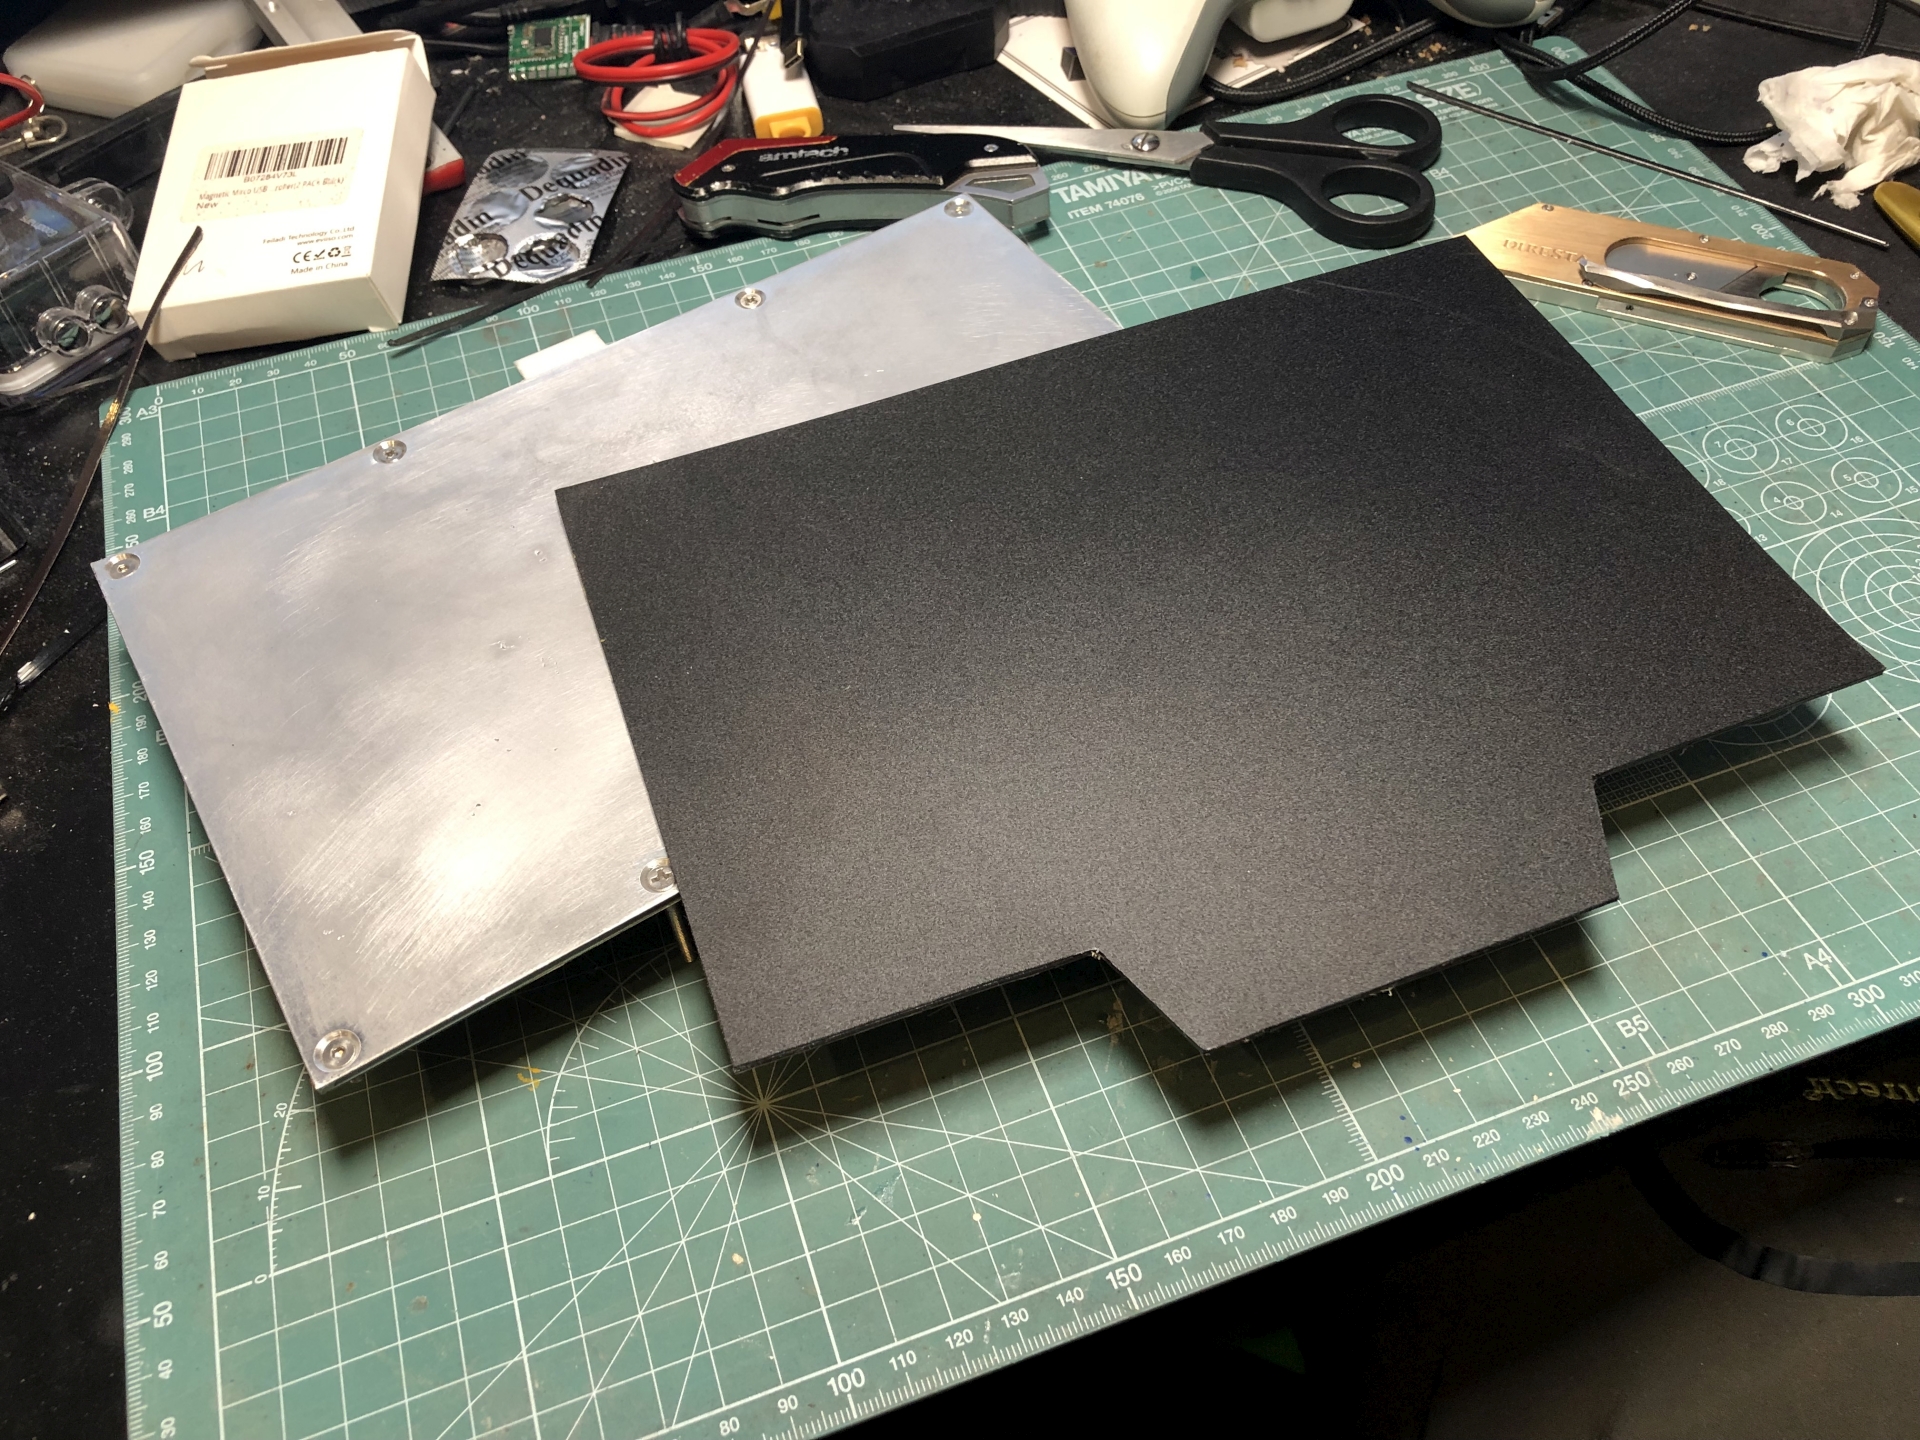
I bought the smallest I could get, 235x235mm, which was just a smidge larger than the 230mm bed width on my CTC. The length had to be cut down to 150mm and this allowed me to leave a lip to lift the material up by. This damn stuff was difficult to cut through.

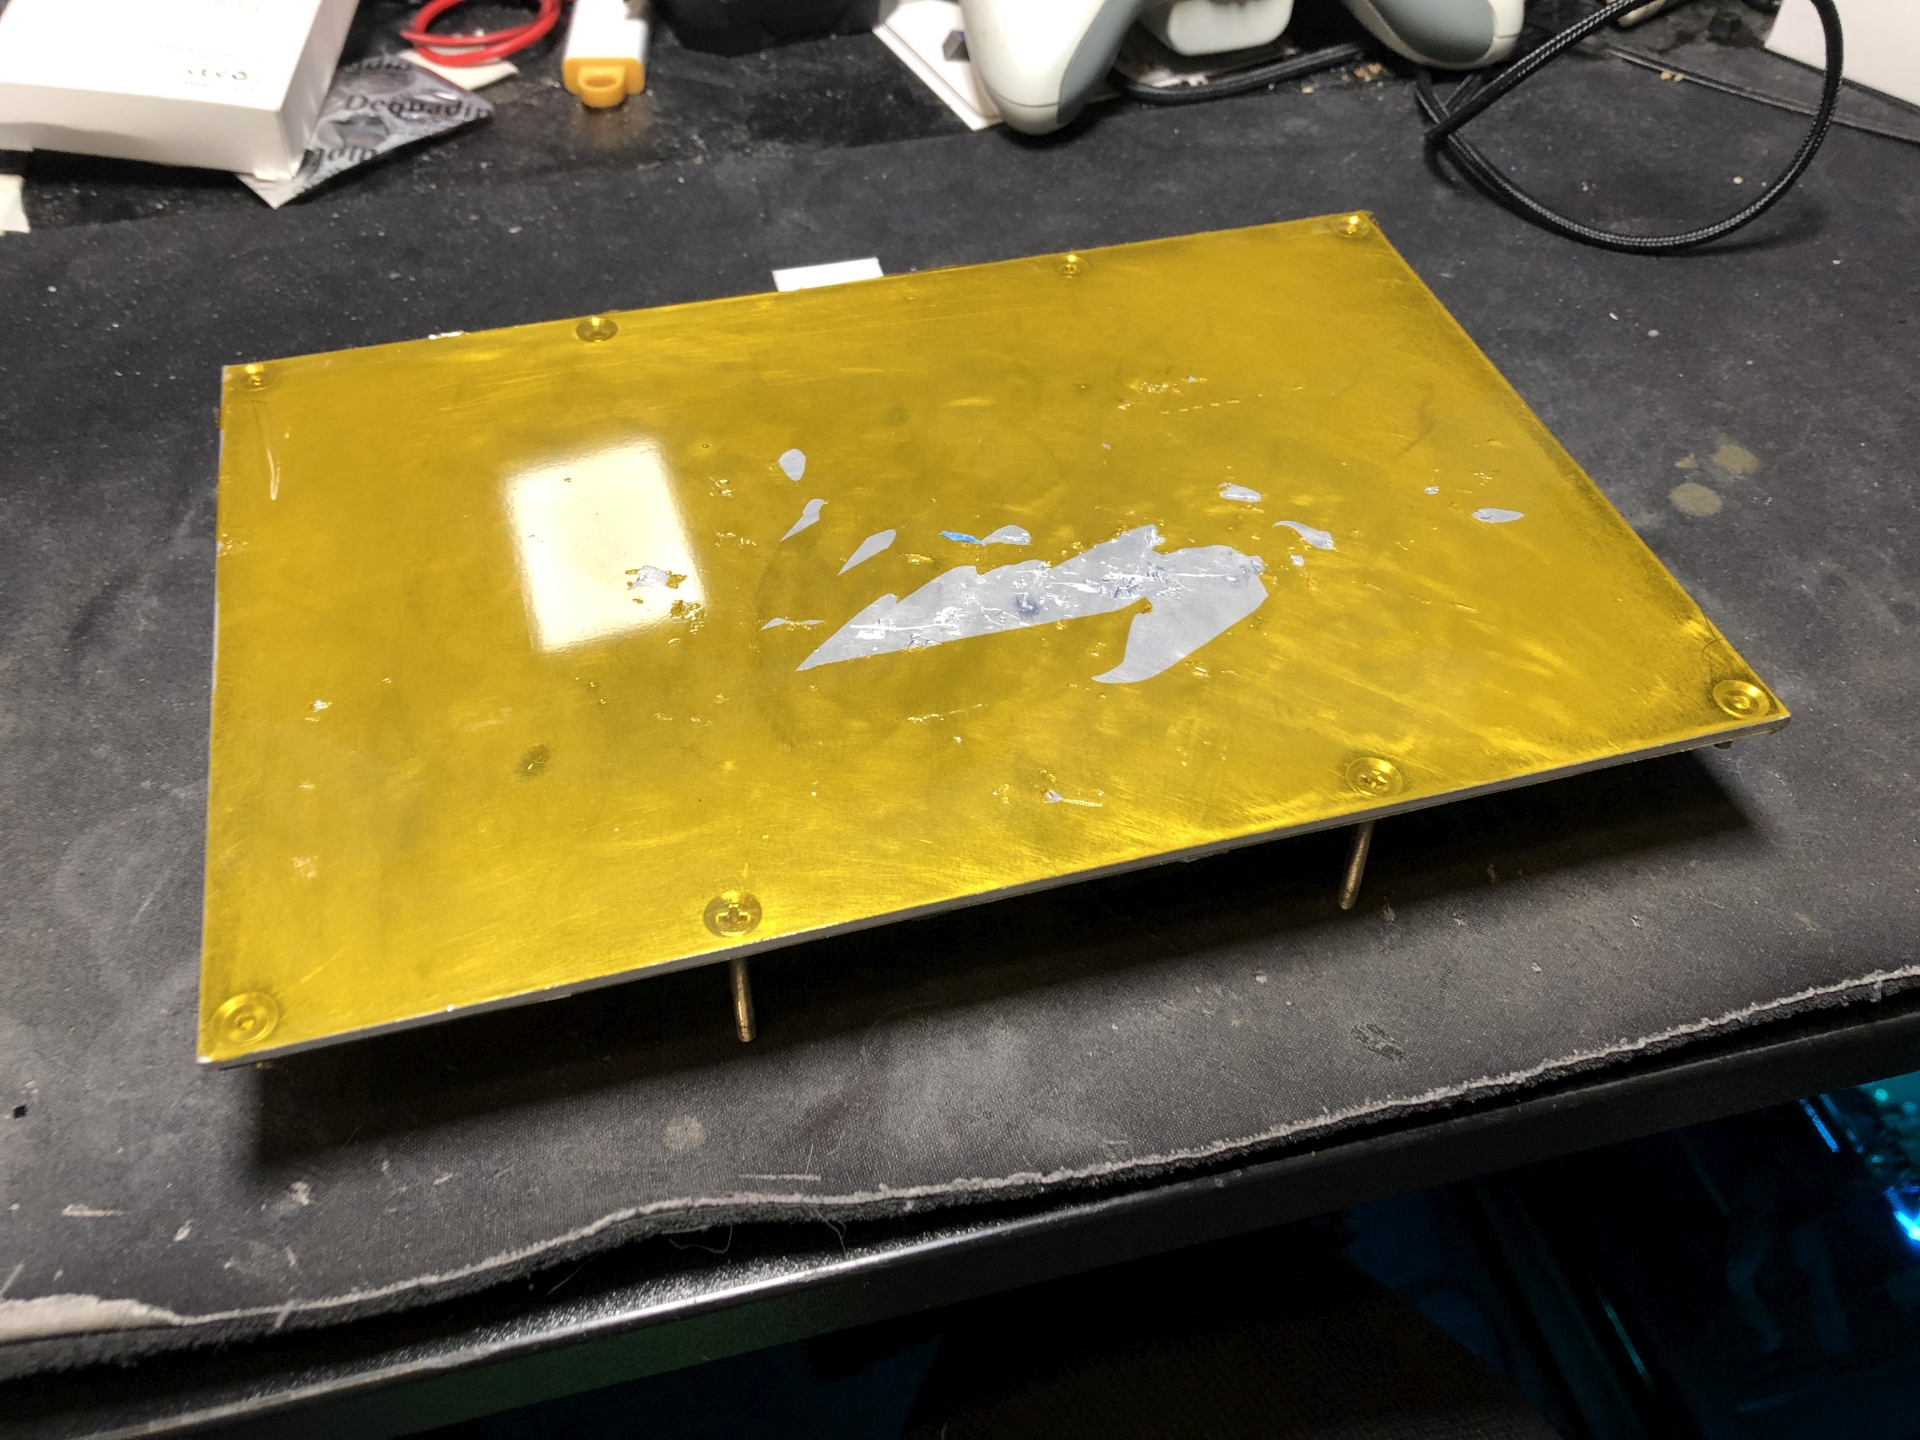
To prep the bed, first I had to peel off the blue tape and the kapton tape, damn stuff. This was well overdue for replacement but in reality I didn't have any issues arising from its neglect. This printer really is robust and now I've found a filament that works again (Athorbot changed their PLA and it became shit) I rarely get failed prints.

IMG_2237_S1920.jpg


I scuffed up the aluminium surface to help the 3M VHB stick and then cleaned it up with IPA. There were some scratches from aggressive attempts to remove parts, I didn't try to get rid of these but just get rid of any sharp edges.

IMG_2240_S1920.jpg


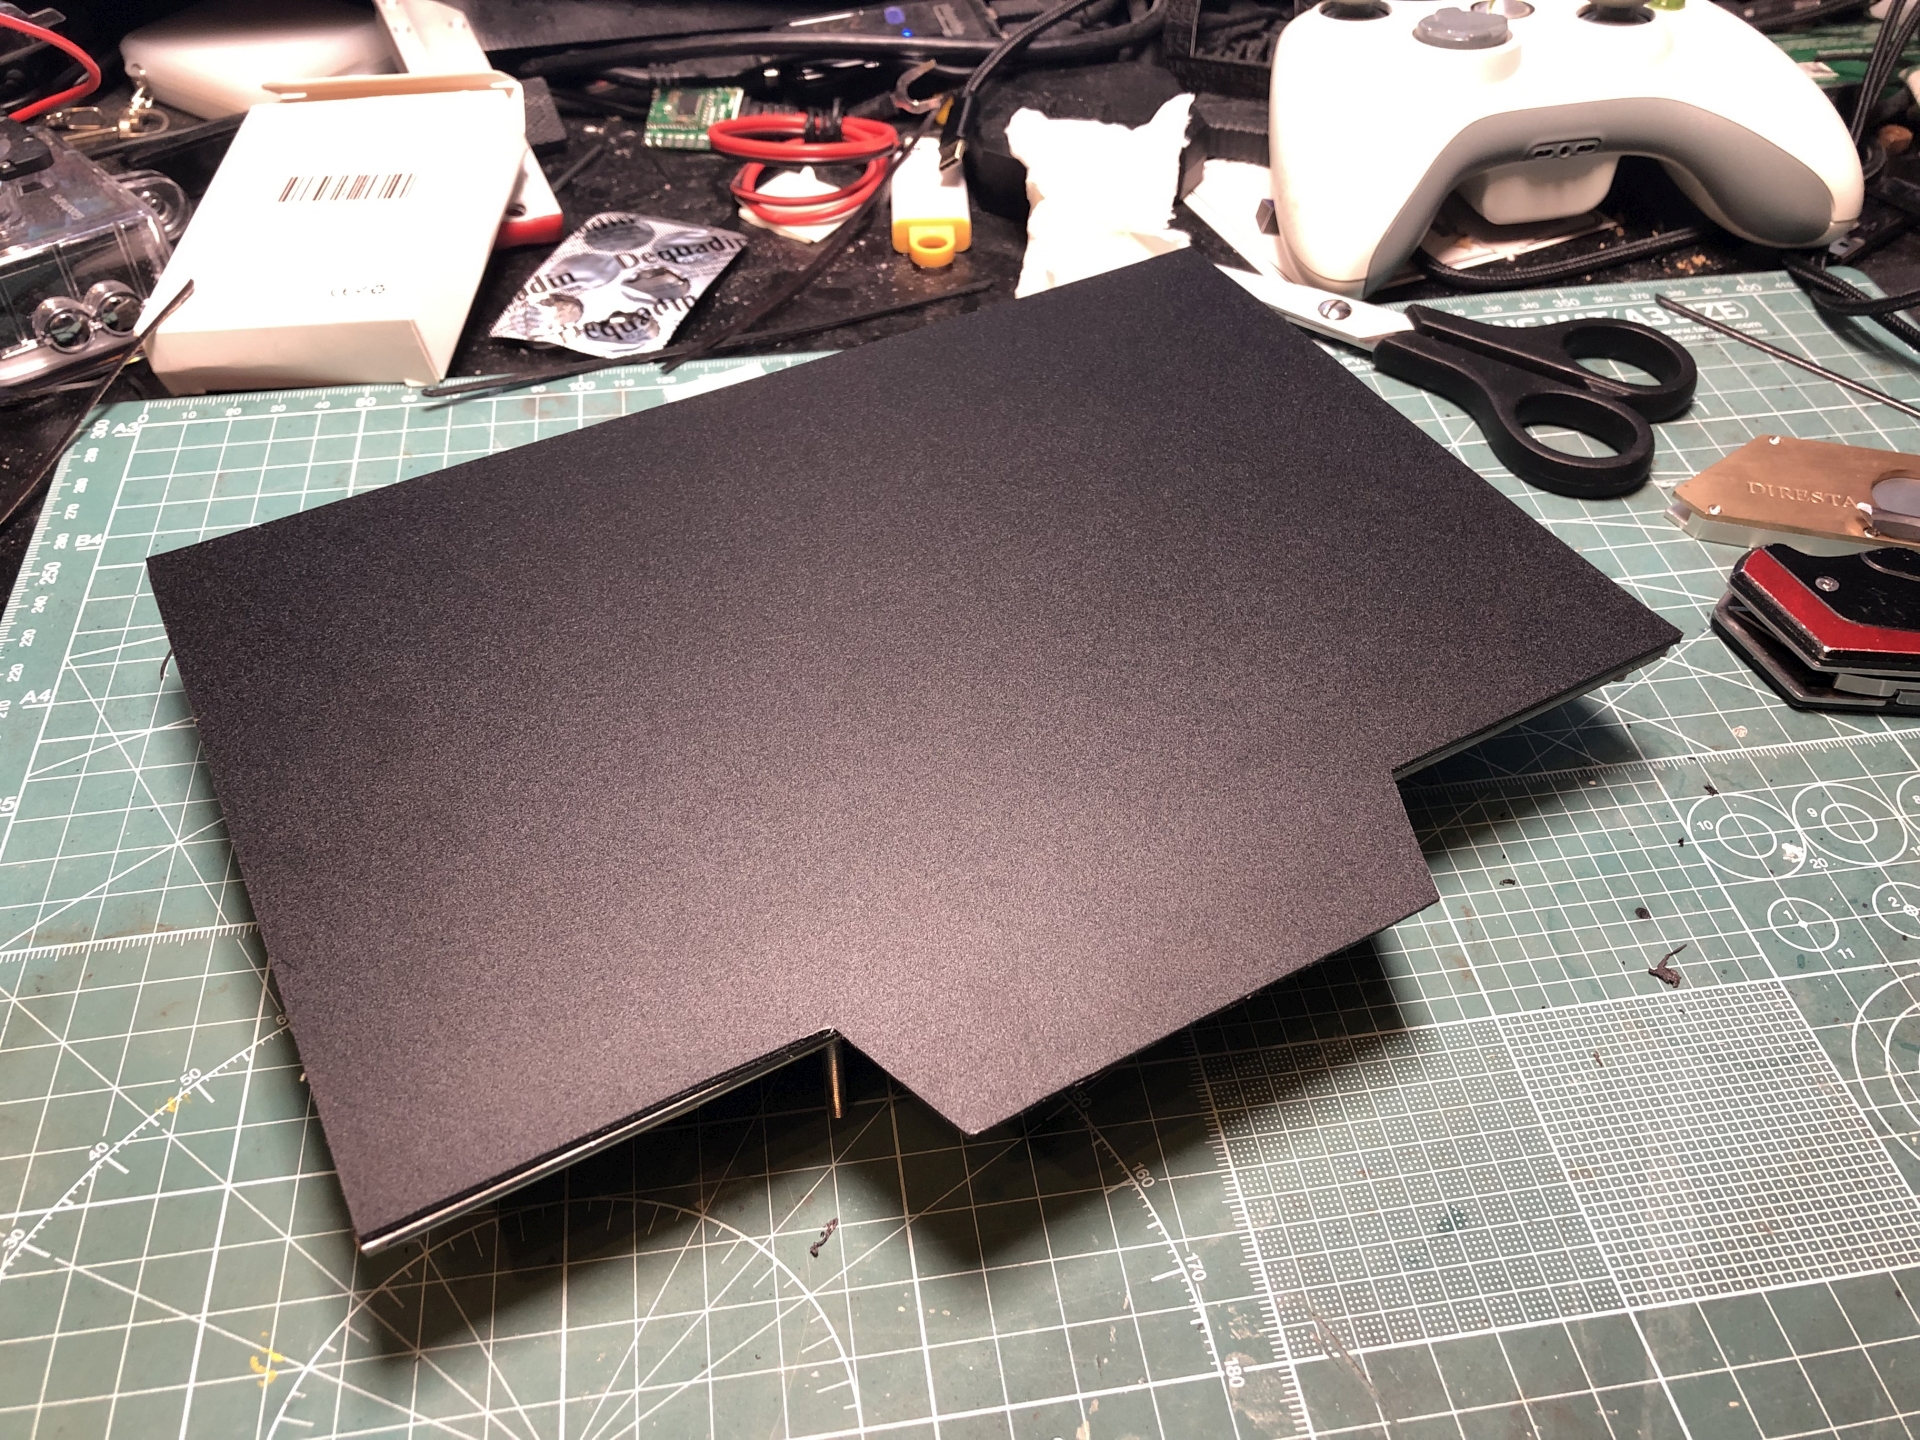
Stuck like shit to a blanket.

IMG_2242_S1920.jpg


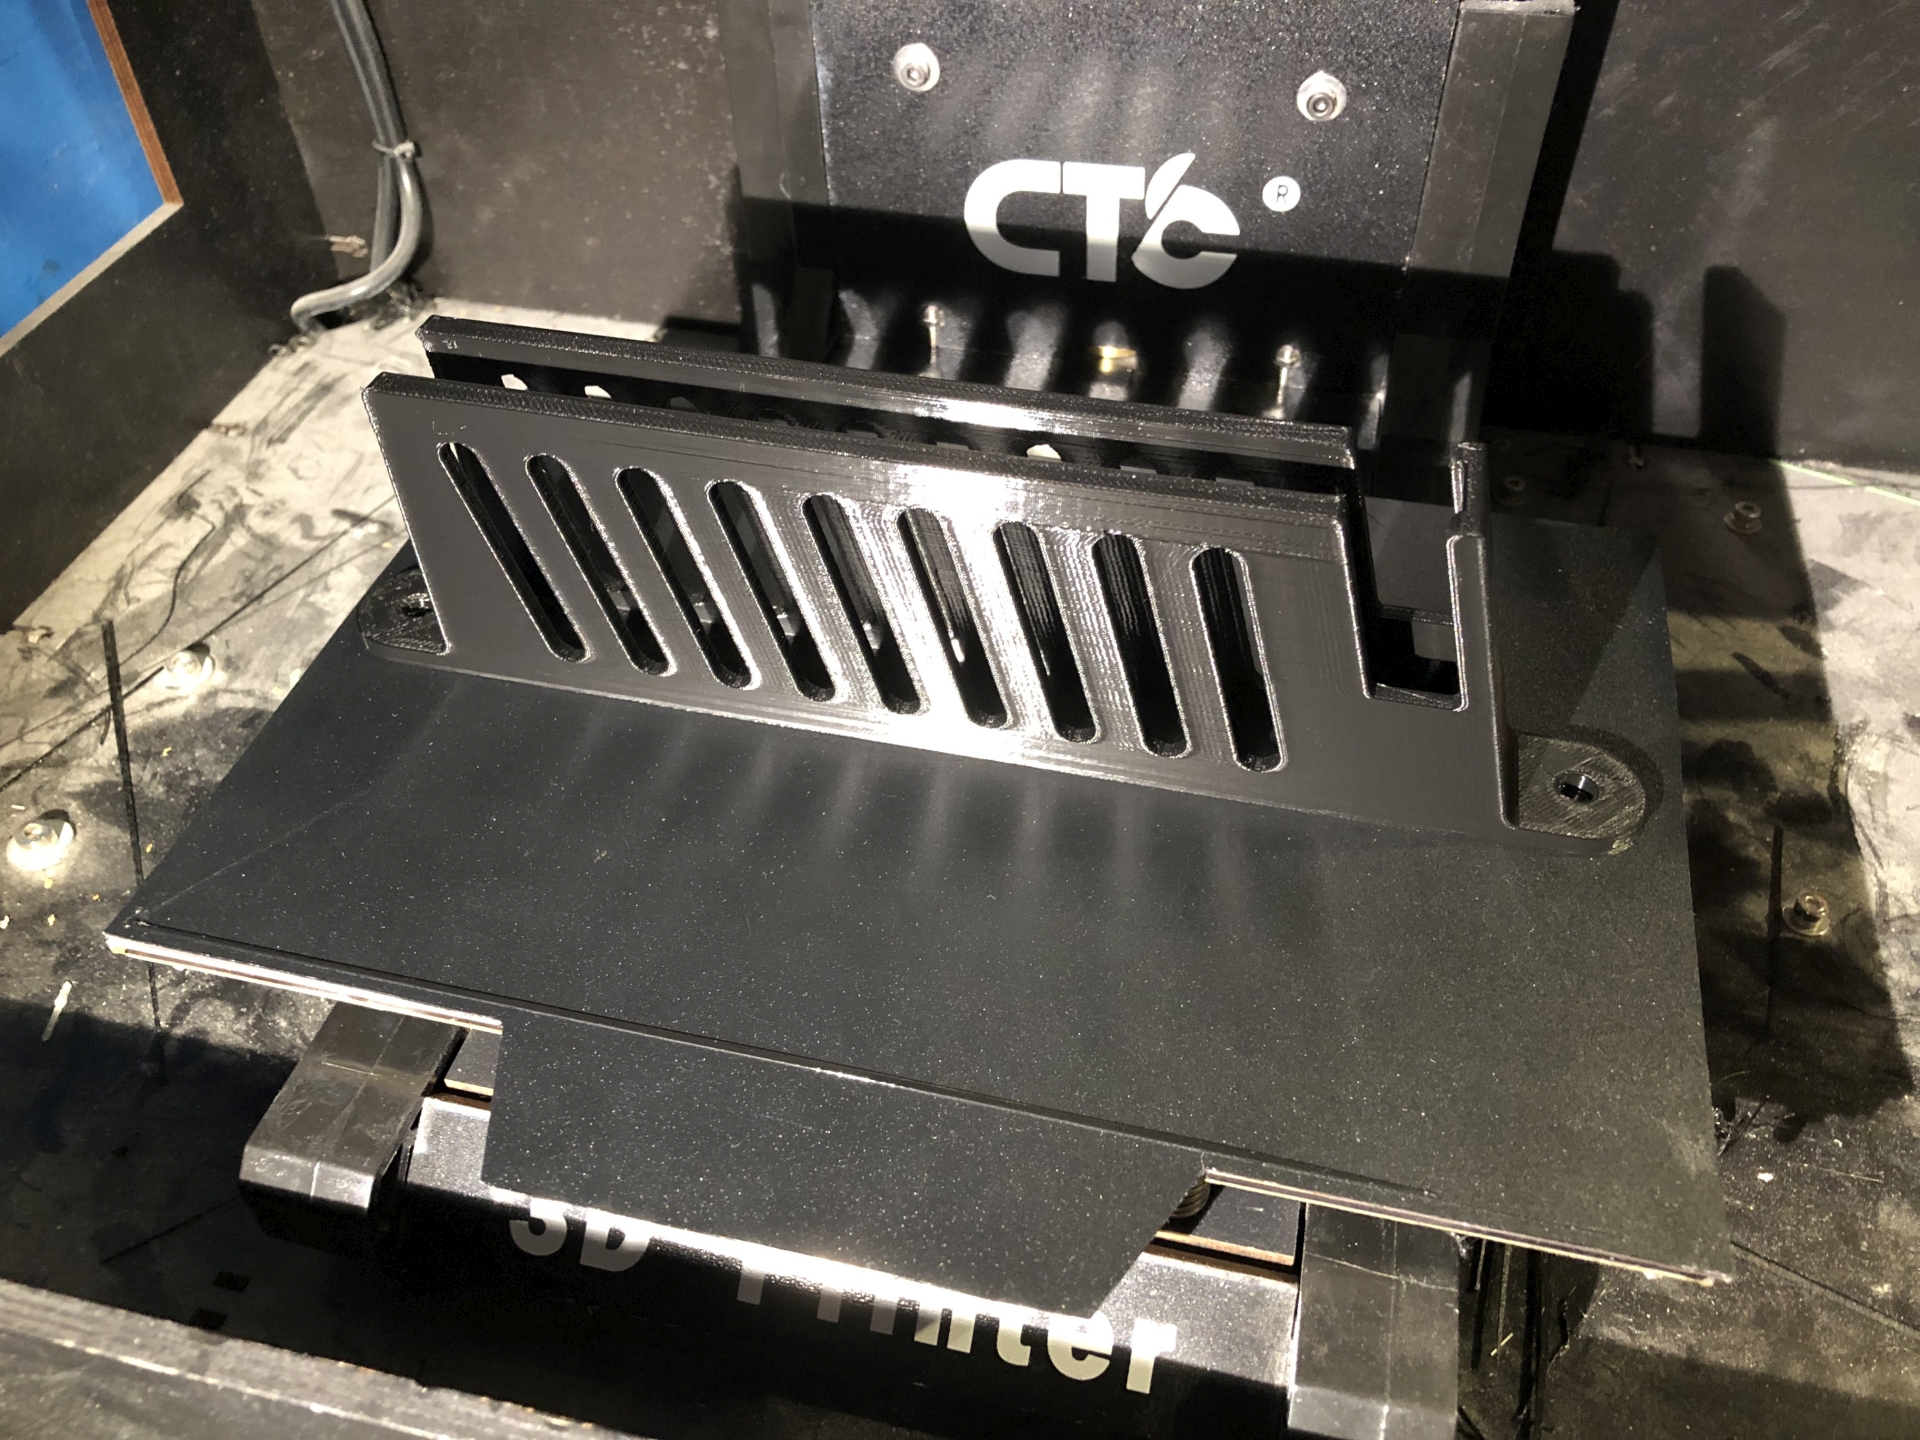
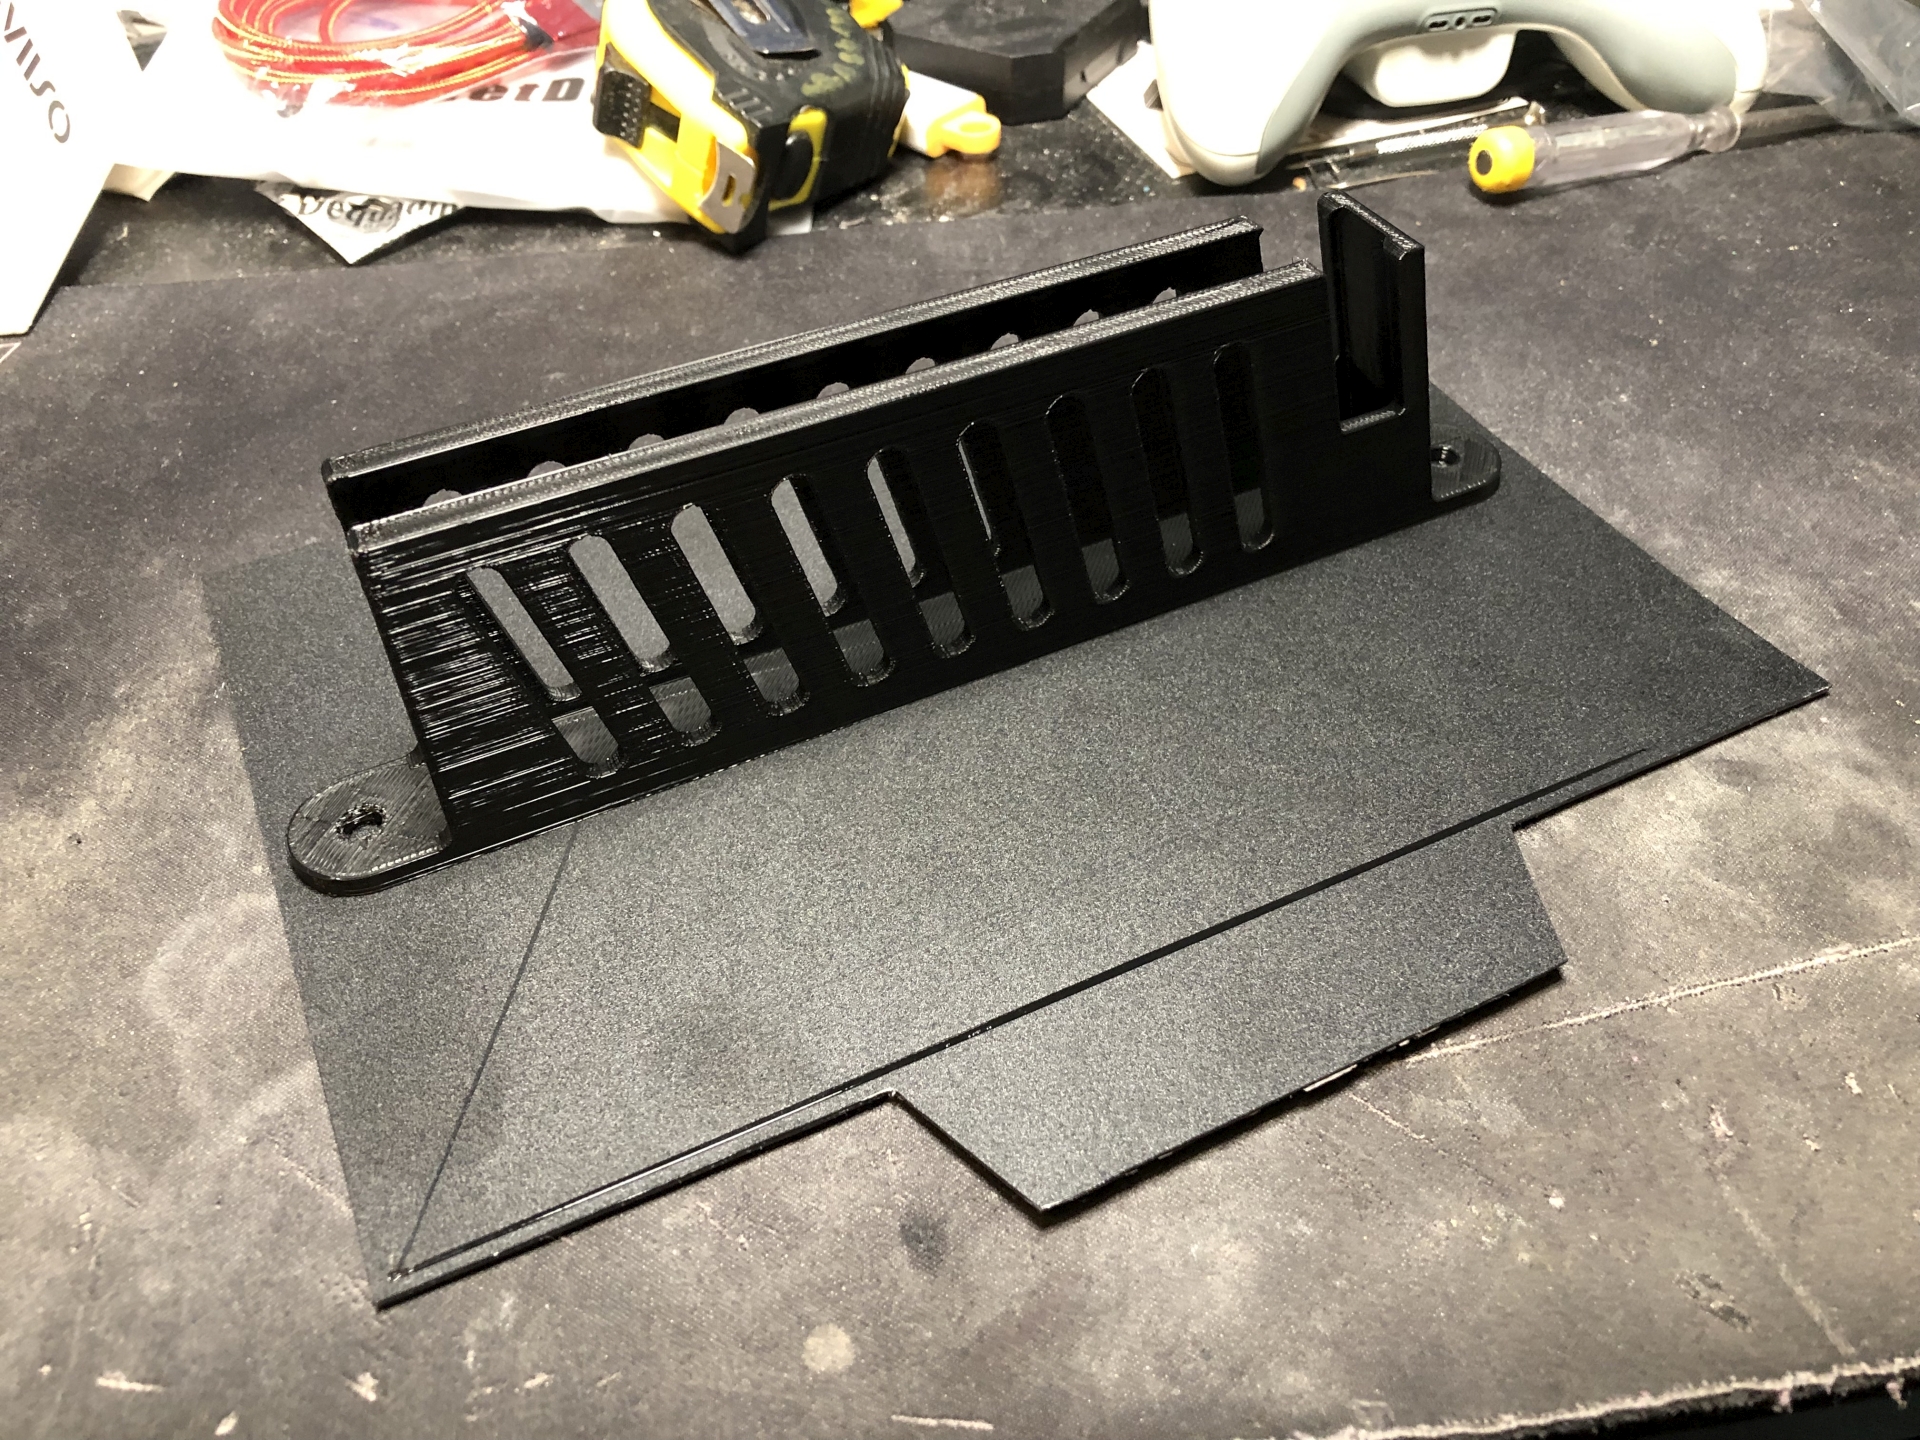
Did a print on it tonight, a AA battery holder for the pegboard. Nice to go from here... (yes that is dust around the printer, it doesn't get cleaned)

IMG_2268_S1920.jpg


...to here without having to remove it from the print surface. Bending the material and peeling off the print was so satisfying and easy compared to the previous method of prying it off with a screwdriver.

IMG_2269_S1920.jpg


As a bonus the material appears to hold the heat well, while the bed took a little bit longer to get up to temp it didn't need to be active anywhere near as much as it did before. That has to be a good thing, for the life of the heated bed if nothing else. :)
 
Fuck.. I want a 3D printer.. because reasons..! What's the cost of admission these days for a simple one, and what's the sweet spot? Or is that based on what one wants to print? (I don't really have an answer for that)
 
For home use the Creality Ender 3 seems to be popular at the moment, over here it comes in at under £200 and is much more modern than mine. It's also apparently great for beginners, because reasons!

Generally, home printing is restricted to a 230mm square print area (230x150mm in my case). That doesn't seem much but you can print pretty big objects on that and there's nothing stopping you from printing diagonally across the bed. Because of this restriction most of the things you download online are designed with this in mind and your own designs would of course need to be based around it. Some objects may need to be split up, such as the phone tray I designed and printed for Bugsy. The Ender 3 would've been able to print the whole thing.

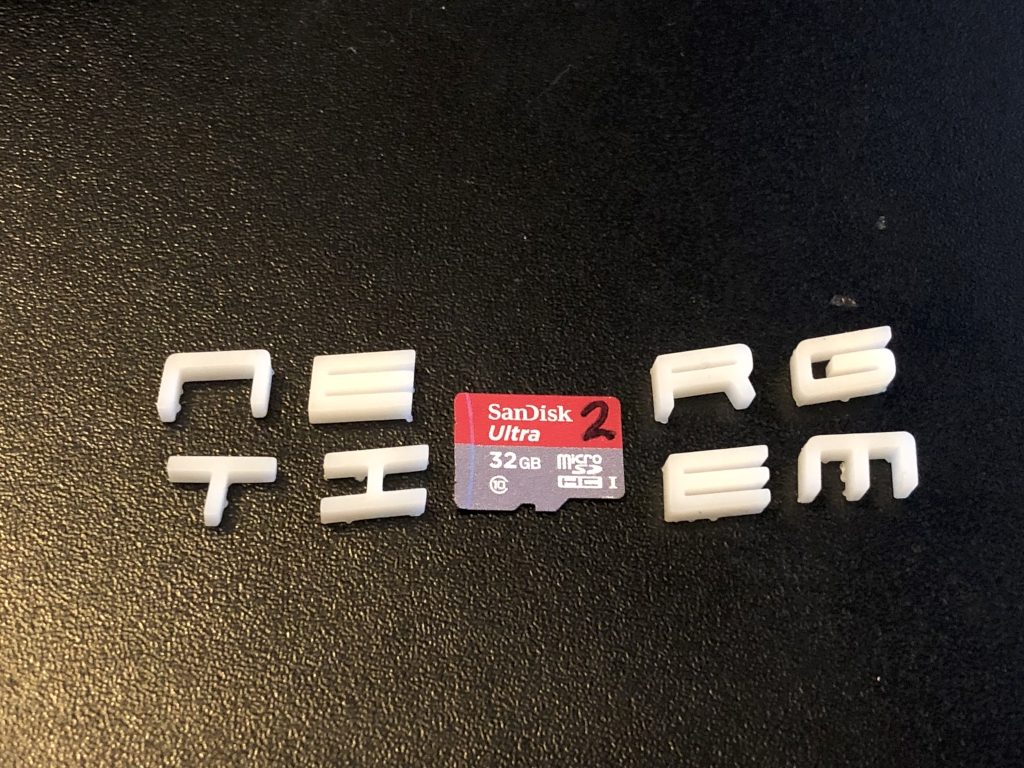
Your bigger restriction is on small things, these FDM printers can only do small detail up to a point as the extruder nozzle is usually around 0.4mm. Beyond that you need to look at resin-based printers like my new-ish Anycubic Photon with its LCD screen and UV light, it's fascinating to see objects emerge from a vat of smelly goo. As it happens, I used it for the second time since September today to make some tiny test objects, micro SD card for scale.

IMG_2293_S1024.jpg
 
Last edited:
Nonsenses, both of you.

It clear says "Get Miner!"
 
I see "GRIME NET" and "GET TRIME".
 
Oh look, a topic I can bump and contribute to!
Rewind a few years and I would have had no use for 3D printing- seen more as a toy than anything I wanted to jump into. Started exploring it for work in relation to building prototypes, and after a year I am in charge of primary engineering and rapid production. What used to take us six figures in development costs/labor and five months can be iterated and rolled out within a week at a fraction of the cost. On the home front, I have two printers that are in use 24/7 producing said items.. however sourcing of reputable quality plastics is pretty hard lately due to increases in consumption for the medical and commercial industries...
 
The irony that the report of the free shield on the Seattle Times site is locked behind a paywall for having an ad-blocker. :roll:
 
As some of you may know, Germany is a cash-heavy country still in 2020, with many places (especially smaller local stores and kiosks) not even having card terminals. This causes small change to accumulate constantly, and I got into a habit of dumping the contents of my pockets into a tray when coming home. The tray eventually grew full and heavy, and I decided to do something about it.

Stupidly, the bank I'm a customer of doesn't offer coin machines in any of their locations nearby. They do, however, accept pre-sorted coins at the register, according to their website. So I went on Thingiverse and found this: https://www.thingiverse.com/thing:2612996

After a couple days of printing, this came out:


Surprisingly, despite using fairly fast/low-quality settings for the most parts, it came together nicely and works a treat. Went through my pile of change with only a couple hickups (mostly caused by random bits of trash inside the pile), resulting in this:

IMG_0324.1024.jpg


Which is, estimating by weight, about 35€. Or about one 1kg roll of high-quality filament, which is way more than this thing took to print. Win.
 
I hate change (the money type but also the other type) but I feel like I need to make a GBP equivalent anyway. How much does it weigh with no coins in it? Just want to get an idea of filament usage. Don't know how it would handle our funny shaped coins but there must be a way.
 
About 180g.

There are several remixes of the original thing on Thingiverse, including an Australian version. I would imagine someone already made a GBP version, but maybe hasn't uploaded it as a remix but as a separate thing instead. This one here looks very similar: https://www.thingiverse.com/thing:3254725
 
@Matt2000 If you decide to make one of those and are willing to make a second I'd be happy to cover costs and shipping.

No rush as we recently pretty much cleared out the whiskey bottle money box.
 
Very unlikely that I'll be printing the coin sorter, the UK version linked seems to be huge, the right side of the coin slots alone is 131g with very low infill. I'll keep looking for alternatives but I checked with my parents and they don't collect coins in a bottle like they used to either. @MWF I'll let you know if I find a suitable one.
 
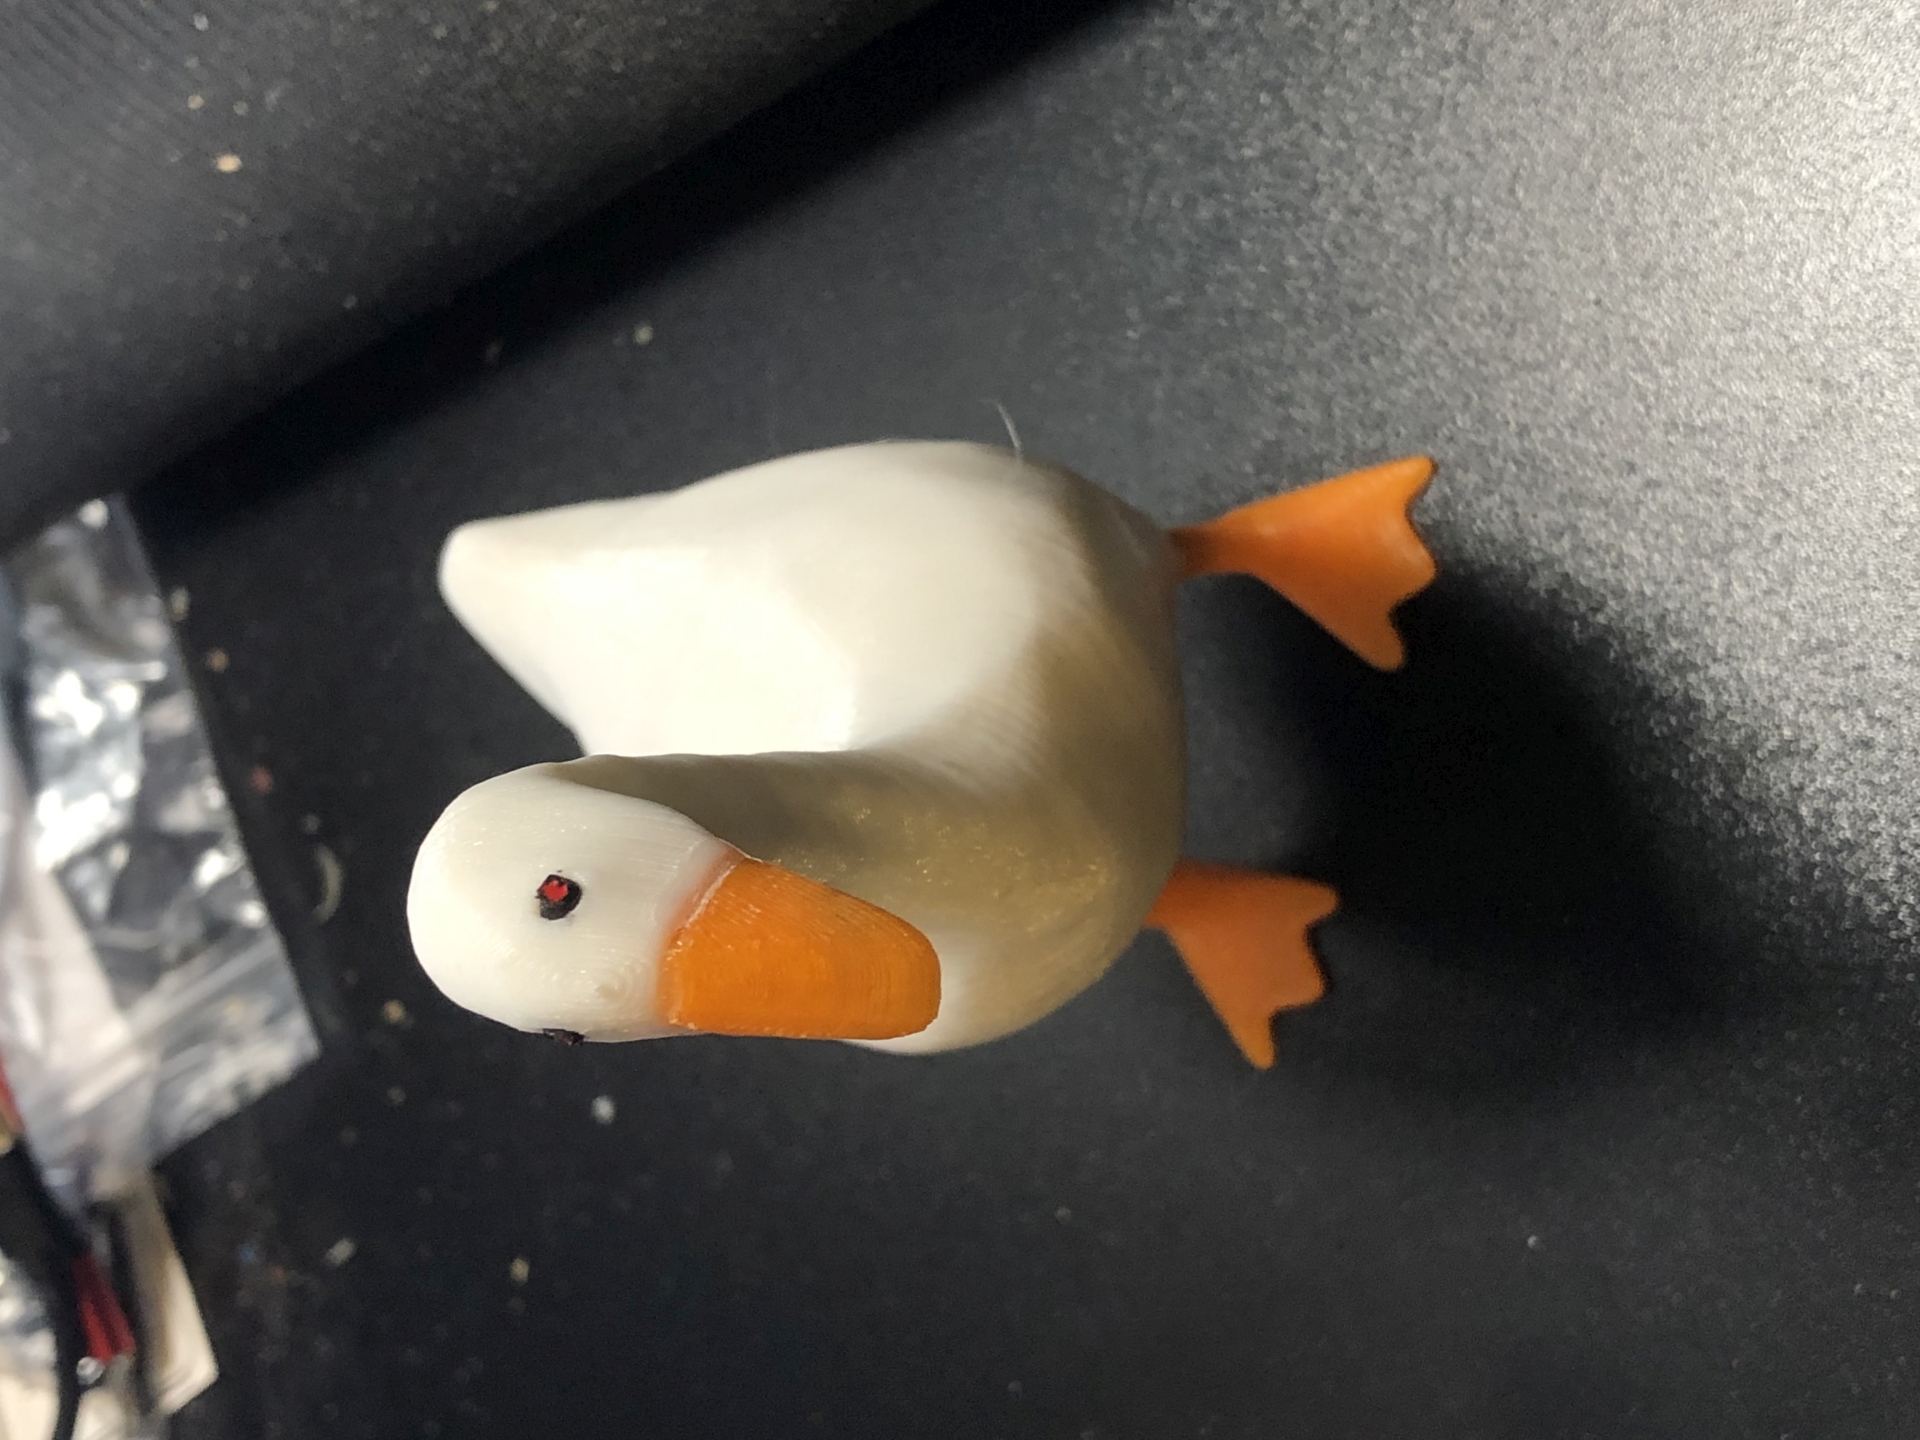
I have stuff to post about a recent, rather involved, modification to my printer but for today here's a plastic goose:

IMG_5786_S1920.jpg


He isn't the prettiest goose but he may be the only one with a piece of wire in his leg and demon eyes made from electrical wire.

https://www.thingiverse.com/thing:3906053
 
Top