- Joined
- Feb 17, 2006
- Messages
- 18,168
- Car(s)
- '12 MX-5 PRHT, '02 Freelander, '90 Disco 1 Bobtail
As of today I have a clutch again. Two weeks and one part that doesn't fit isn't too bad.
These are the nasty parts I removed:

I bought an AP Lockheed master and slave cylinder pair for a 200tdi, as that's what this is. I was aware that the slave cylinder might not be a perfect match, as it's connected to the later R380 gearbox. Cylinder arrived and it fitted fine, so we went back to bleeding. Lots of air came out and we got clear fluid but didn't get a firm clutch pedal. Conclusion at the time was that this cylinder was too short or the pushrod to the clutch fork was too short. The pushrod I had was already the longer of the two types, so I assumed it must be the cylinder. If you know how clutch slave cylinders work, this might be ringing alarm bells.
I ordered a 300tdi cylinder and went to fit that this morning, only to find that the pipe union threads are completely different. I half expected this. We went back to trying to work out what was going on and started by removing the rubber end boot and looking at the bore of the slave cylinder.
I don't have any pictures to demonstrate this, but we saw that there is nothing retaining the piston in the bore. Maybe I should've known this. It meant that there's no way the pushrod or cylinder could be too short, as the piston would just pop out of the cylinder if it was. As that hadn't happened, the combination was long enough and/or there wasn't enough pressure behind the piston. We suspected that the master might be wrong for a while and I checked over the pedal linkage to make sure I didn't make that terrible of mistakes and get the wrong hole. I didn't, there's only one.
The only was that there must just be more air in the system. I slackened the slave cylinder bolts a hair so I could see when it had pressure and we went back to bleeding. A load more air came out that must've been trapped before and then we finally got a pedal. It doesn't feel quite right but as both cylinders are new I'm not surprised that there's a different feel, but it's smooth and the bite point is at the right position.
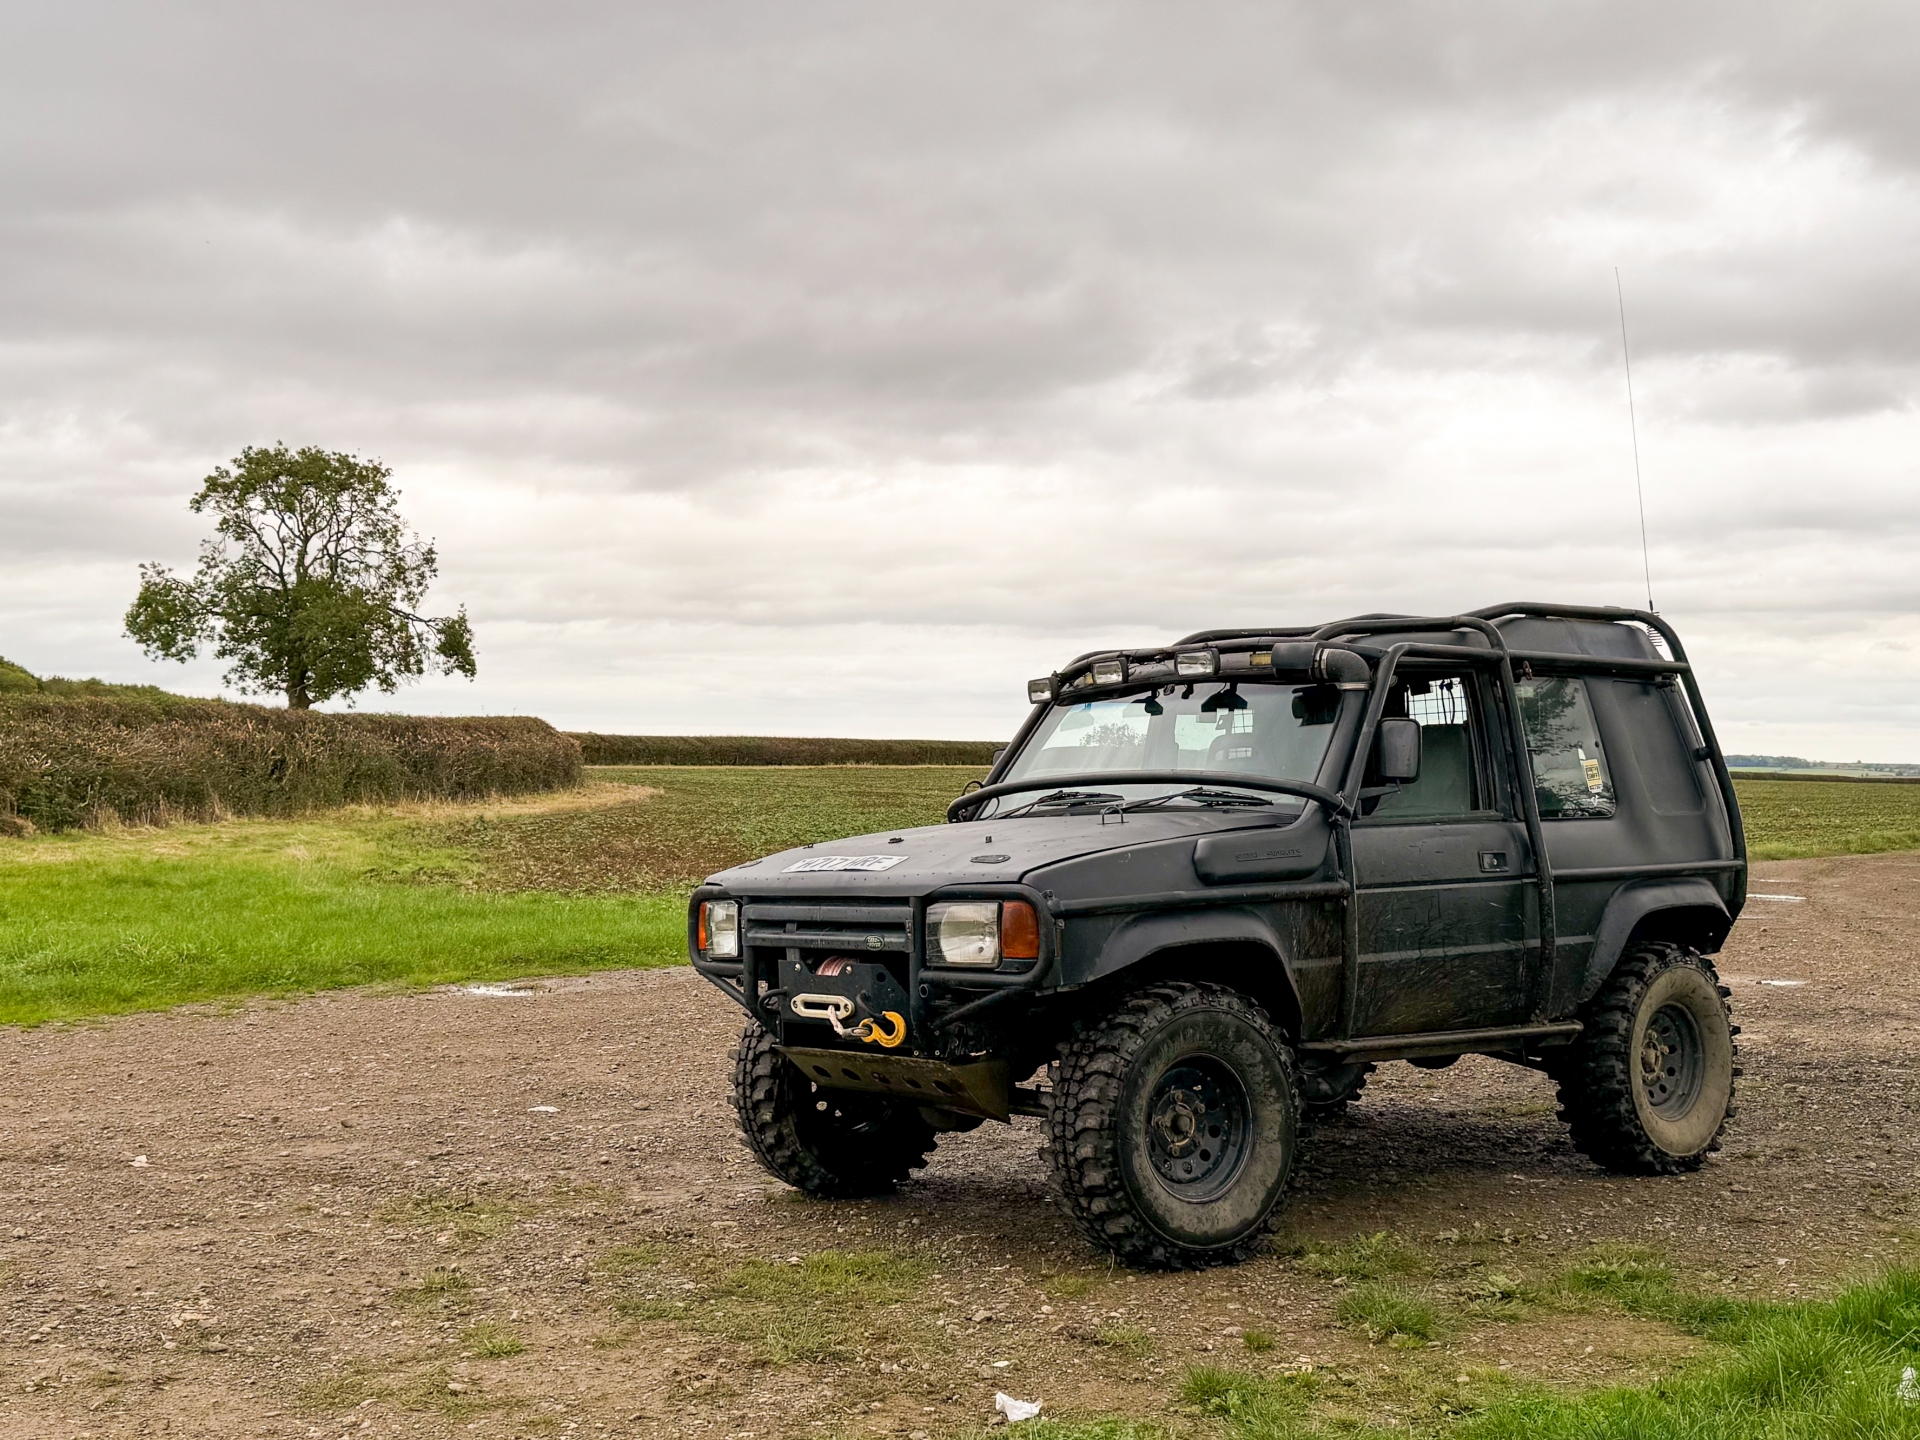
So Bob is back on the road again, until the next mechanical failure. Any bets?
These are the nasty parts I removed:
I bought an AP Lockheed master and slave cylinder pair for a 200tdi, as that's what this is. I was aware that the slave cylinder might not be a perfect match, as it's connected to the later R380 gearbox. Cylinder arrived and it fitted fine, so we went back to bleeding. Lots of air came out and we got clear fluid but didn't get a firm clutch pedal. Conclusion at the time was that this cylinder was too short or the pushrod to the clutch fork was too short. The pushrod I had was already the longer of the two types, so I assumed it must be the cylinder. If you know how clutch slave cylinders work, this might be ringing alarm bells.
I ordered a 300tdi cylinder and went to fit that this morning, only to find that the pipe union threads are completely different. I half expected this. We went back to trying to work out what was going on and started by removing the rubber end boot and looking at the bore of the slave cylinder.
I don't have any pictures to demonstrate this, but we saw that there is nothing retaining the piston in the bore. Maybe I should've known this. It meant that there's no way the pushrod or cylinder could be too short, as the piston would just pop out of the cylinder if it was. As that hadn't happened, the combination was long enough and/or there wasn't enough pressure behind the piston. We suspected that the master might be wrong for a while and I checked over the pedal linkage to make sure I didn't make that terrible of mistakes and get the wrong hole. I didn't, there's only one.
The only was that there must just be more air in the system. I slackened the slave cylinder bolts a hair so I could see when it had pressure and we went back to bleeding. A load more air came out that must've been trapped before and then we finally got a pedal. It doesn't feel quite right but as both cylinders are new I'm not surprised that there's a different feel, but it's smooth and the bite point is at the right position.
So Bob is back on the road again, until the next mechanical failure. Any bets?
Last edited: