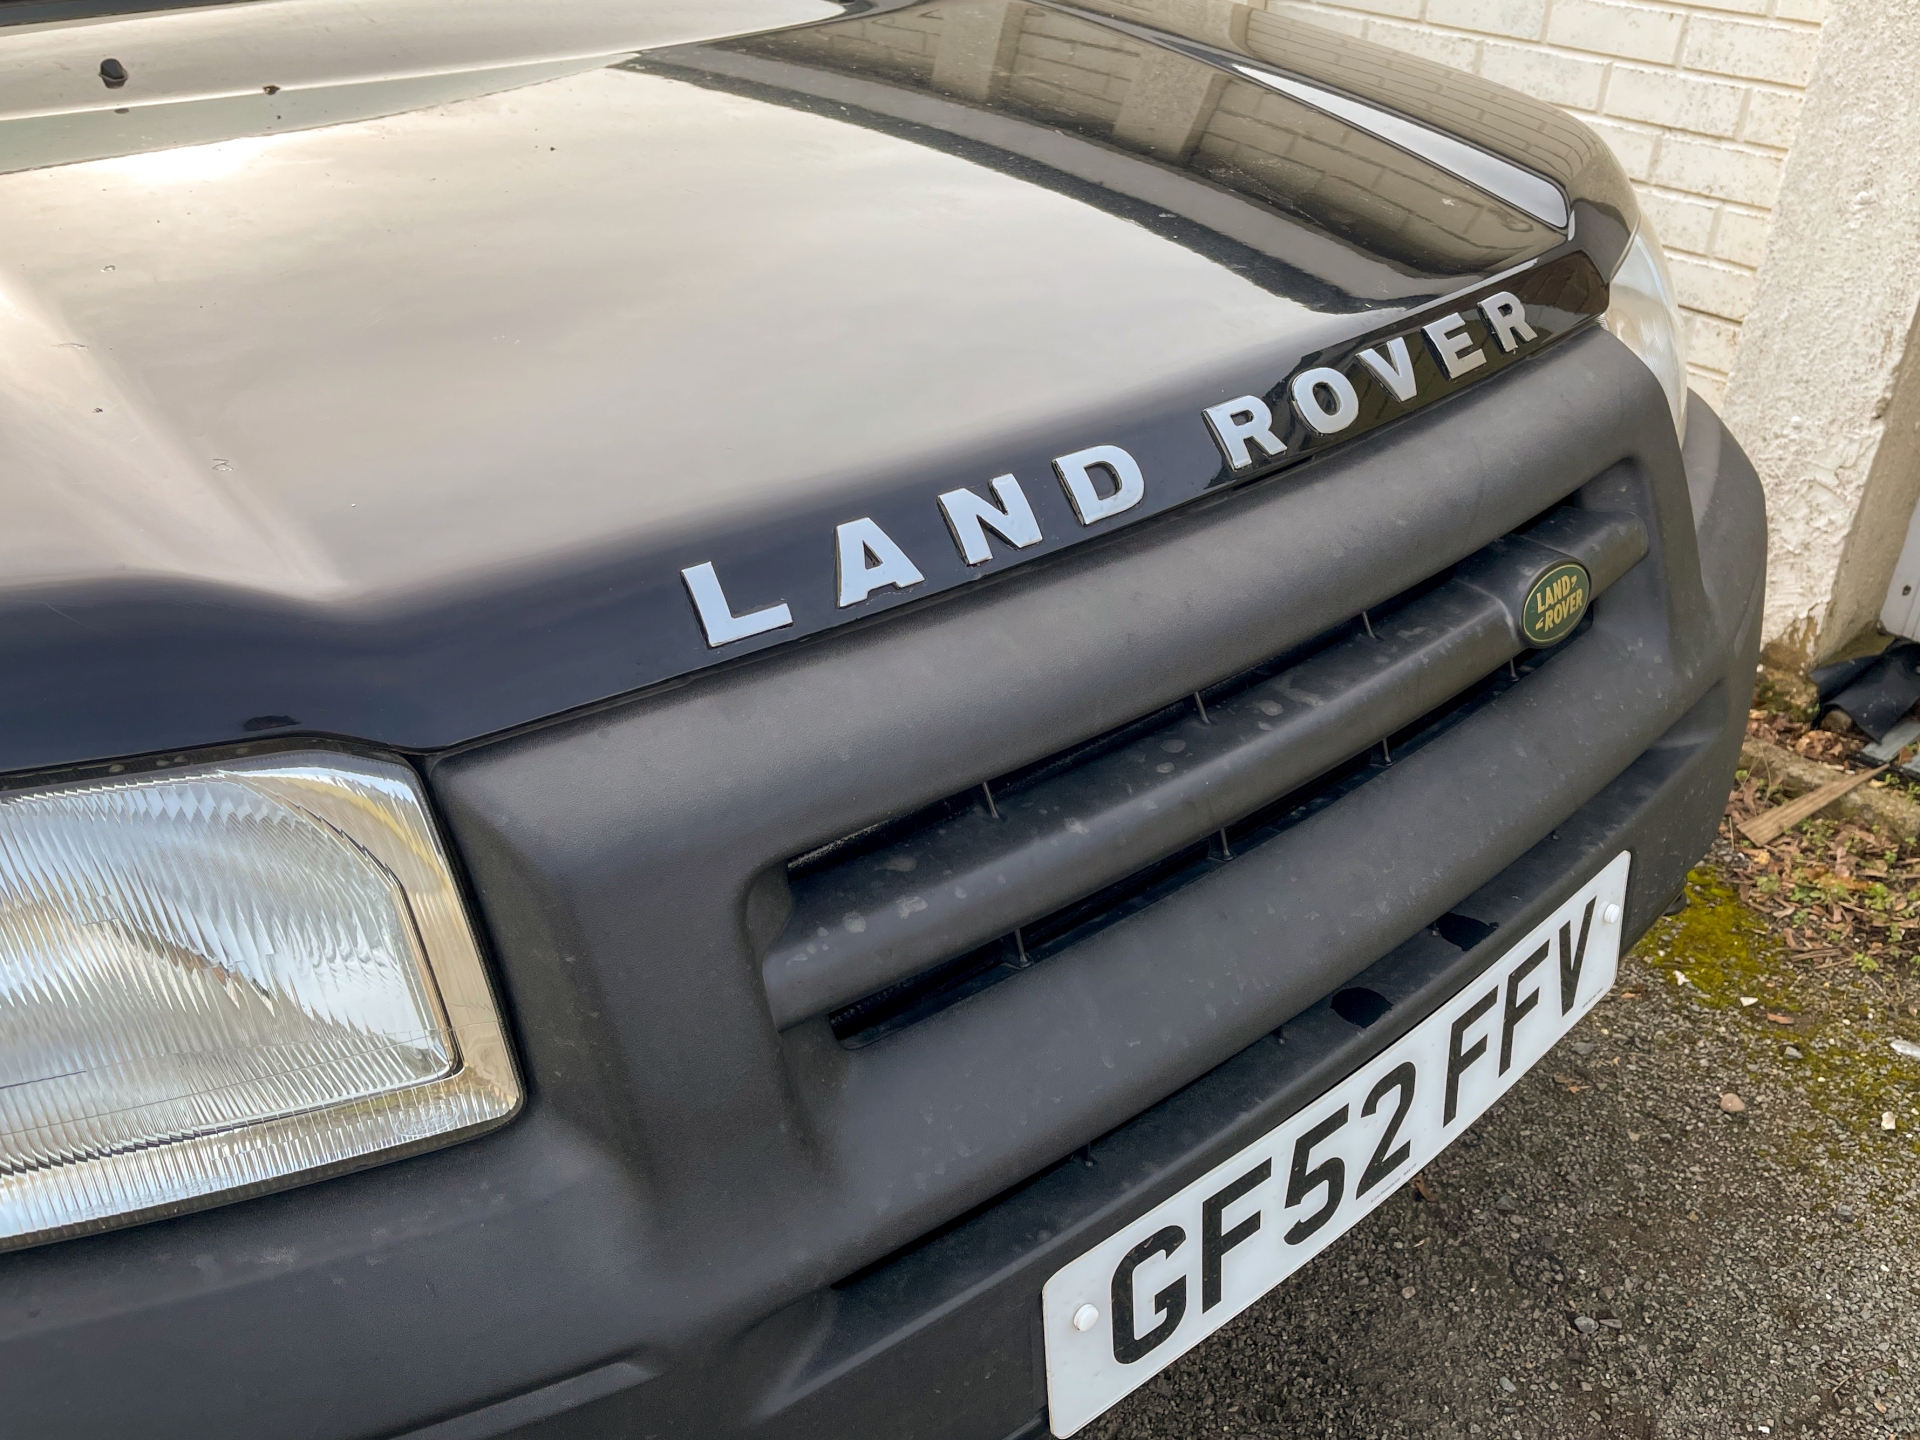
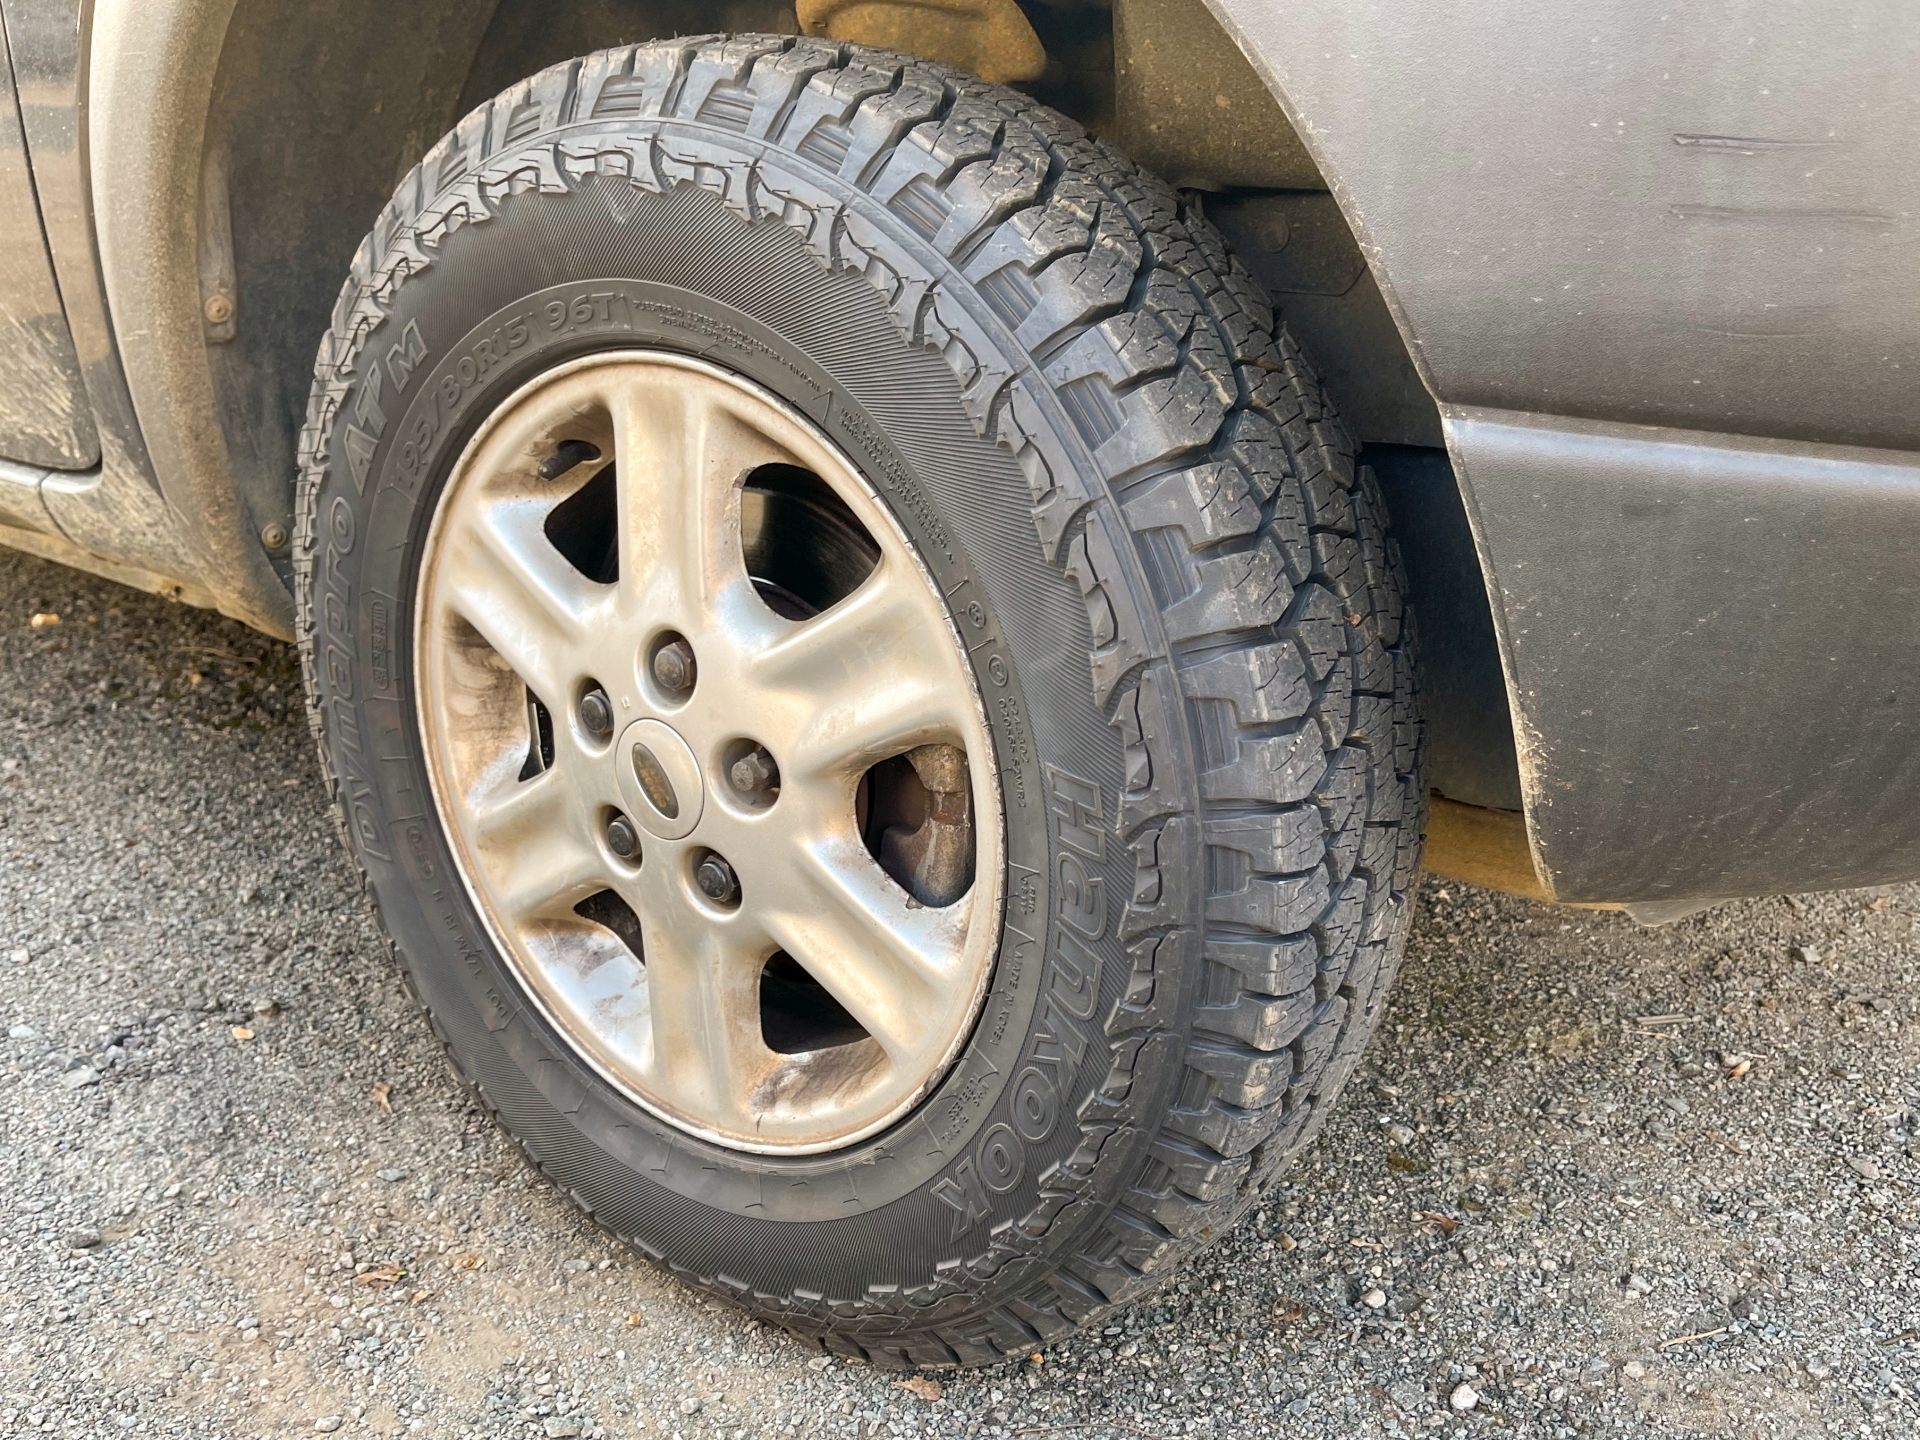
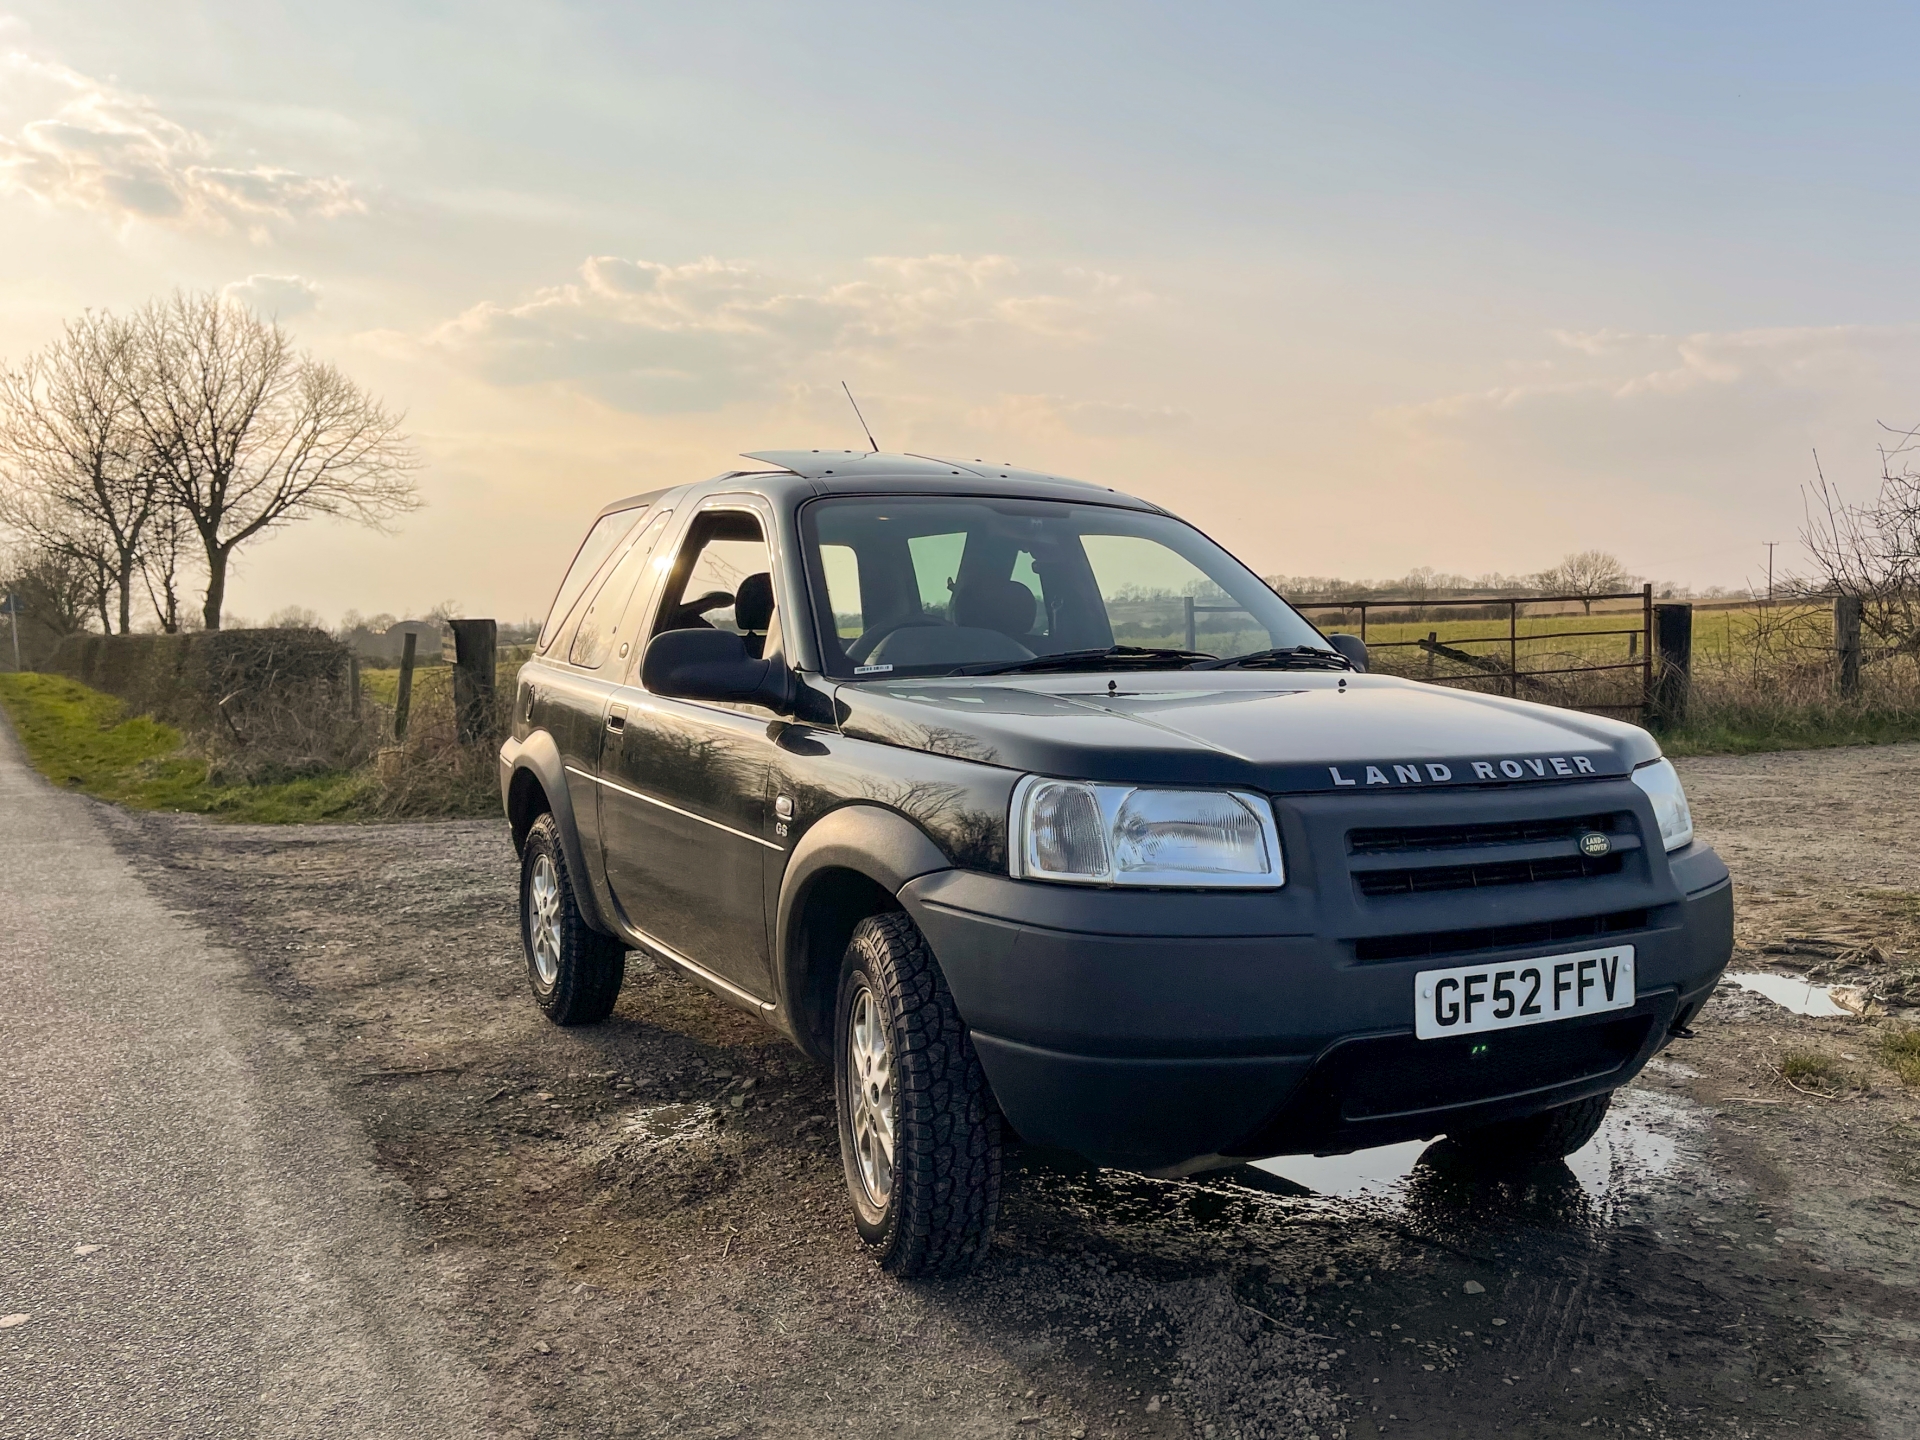
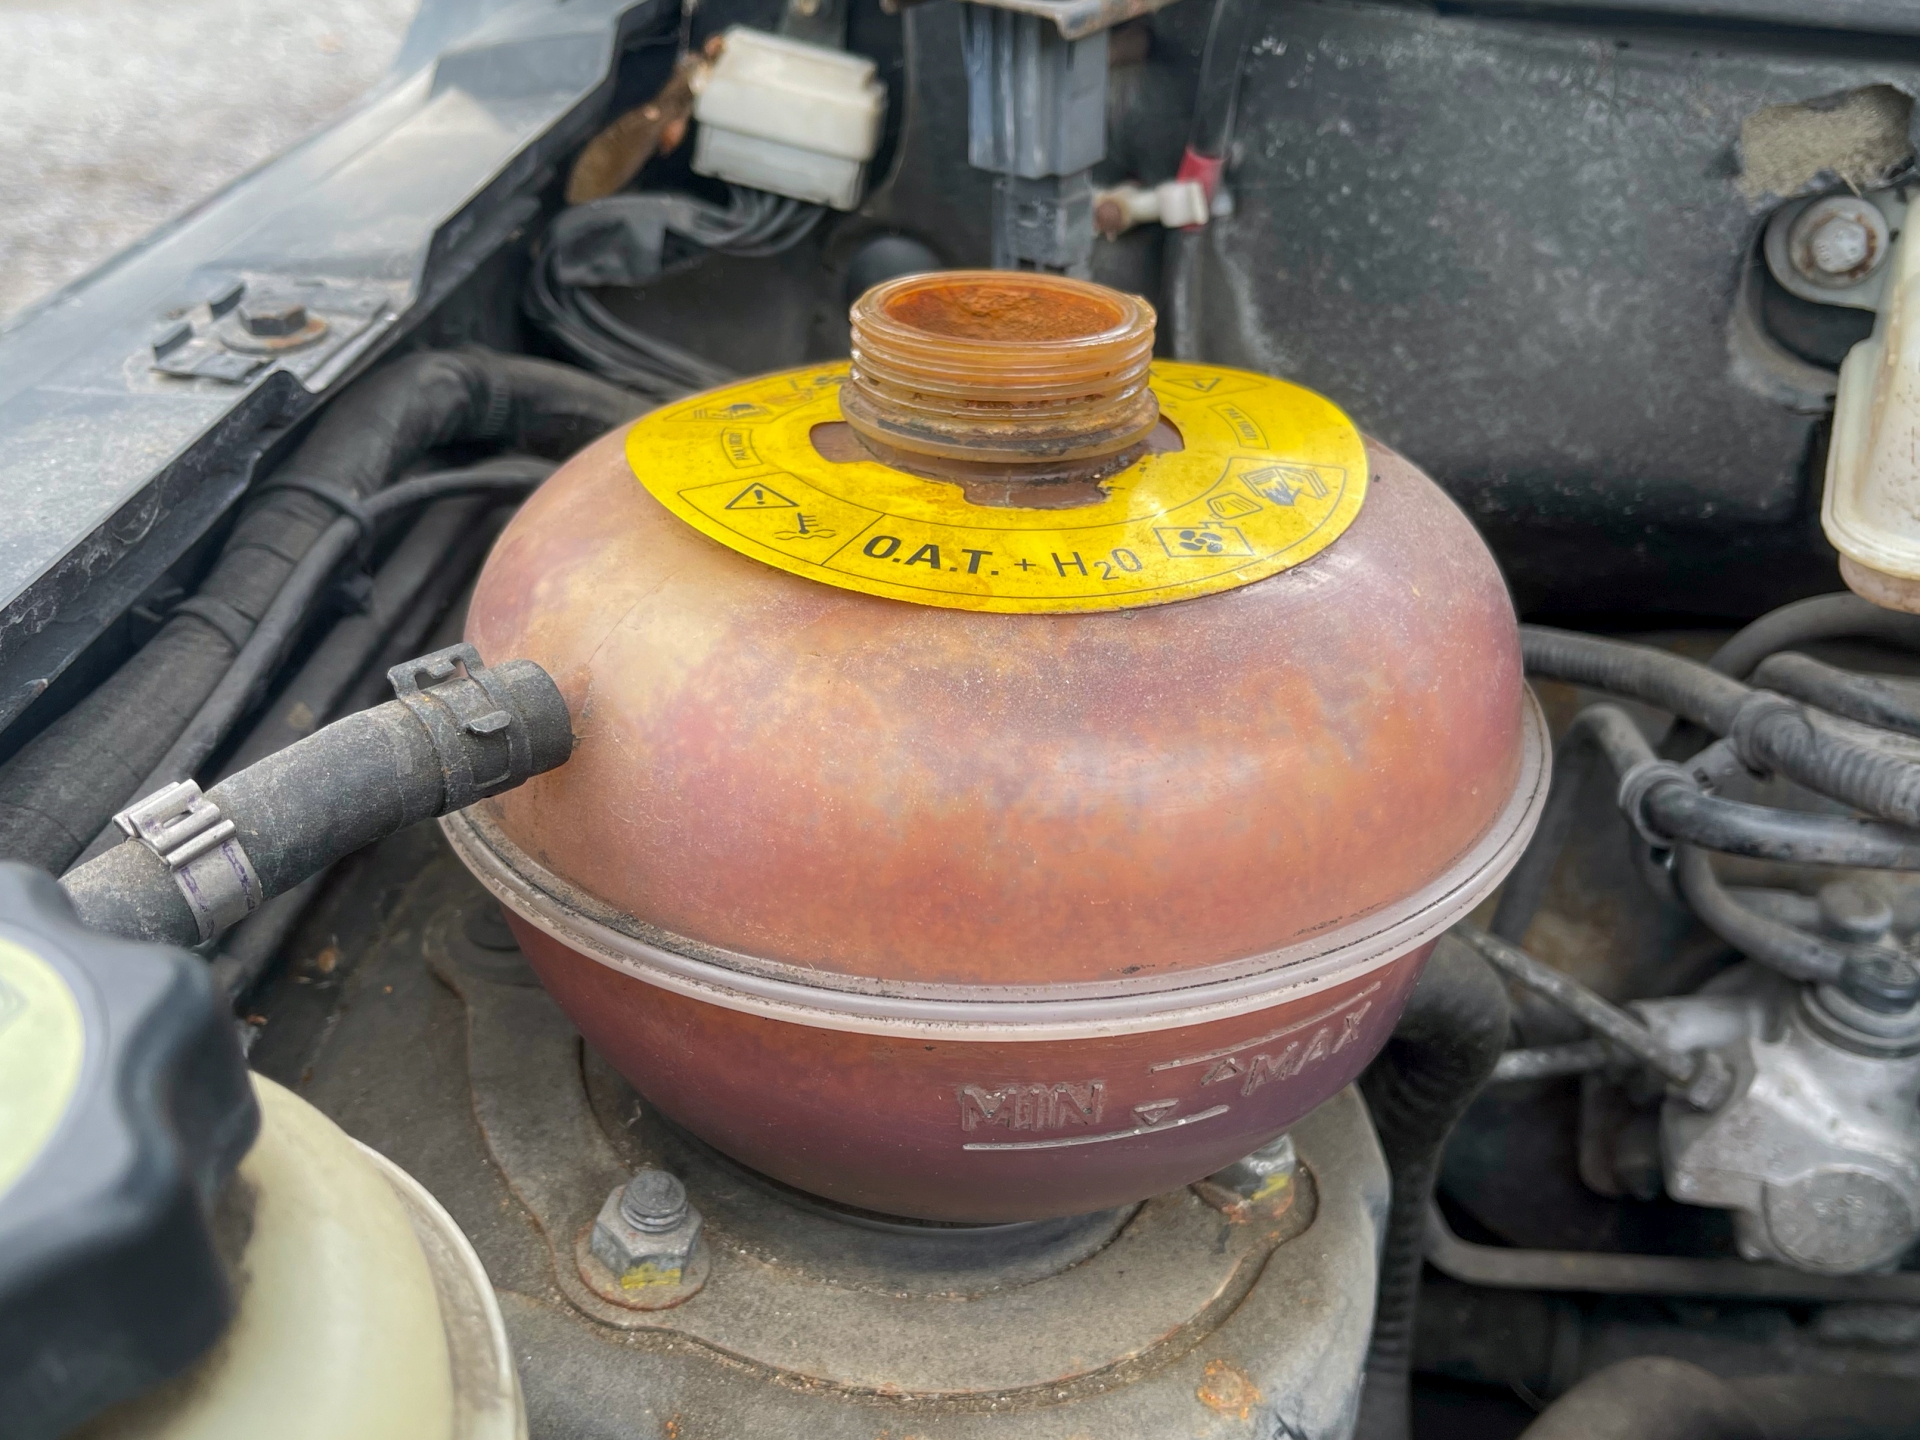
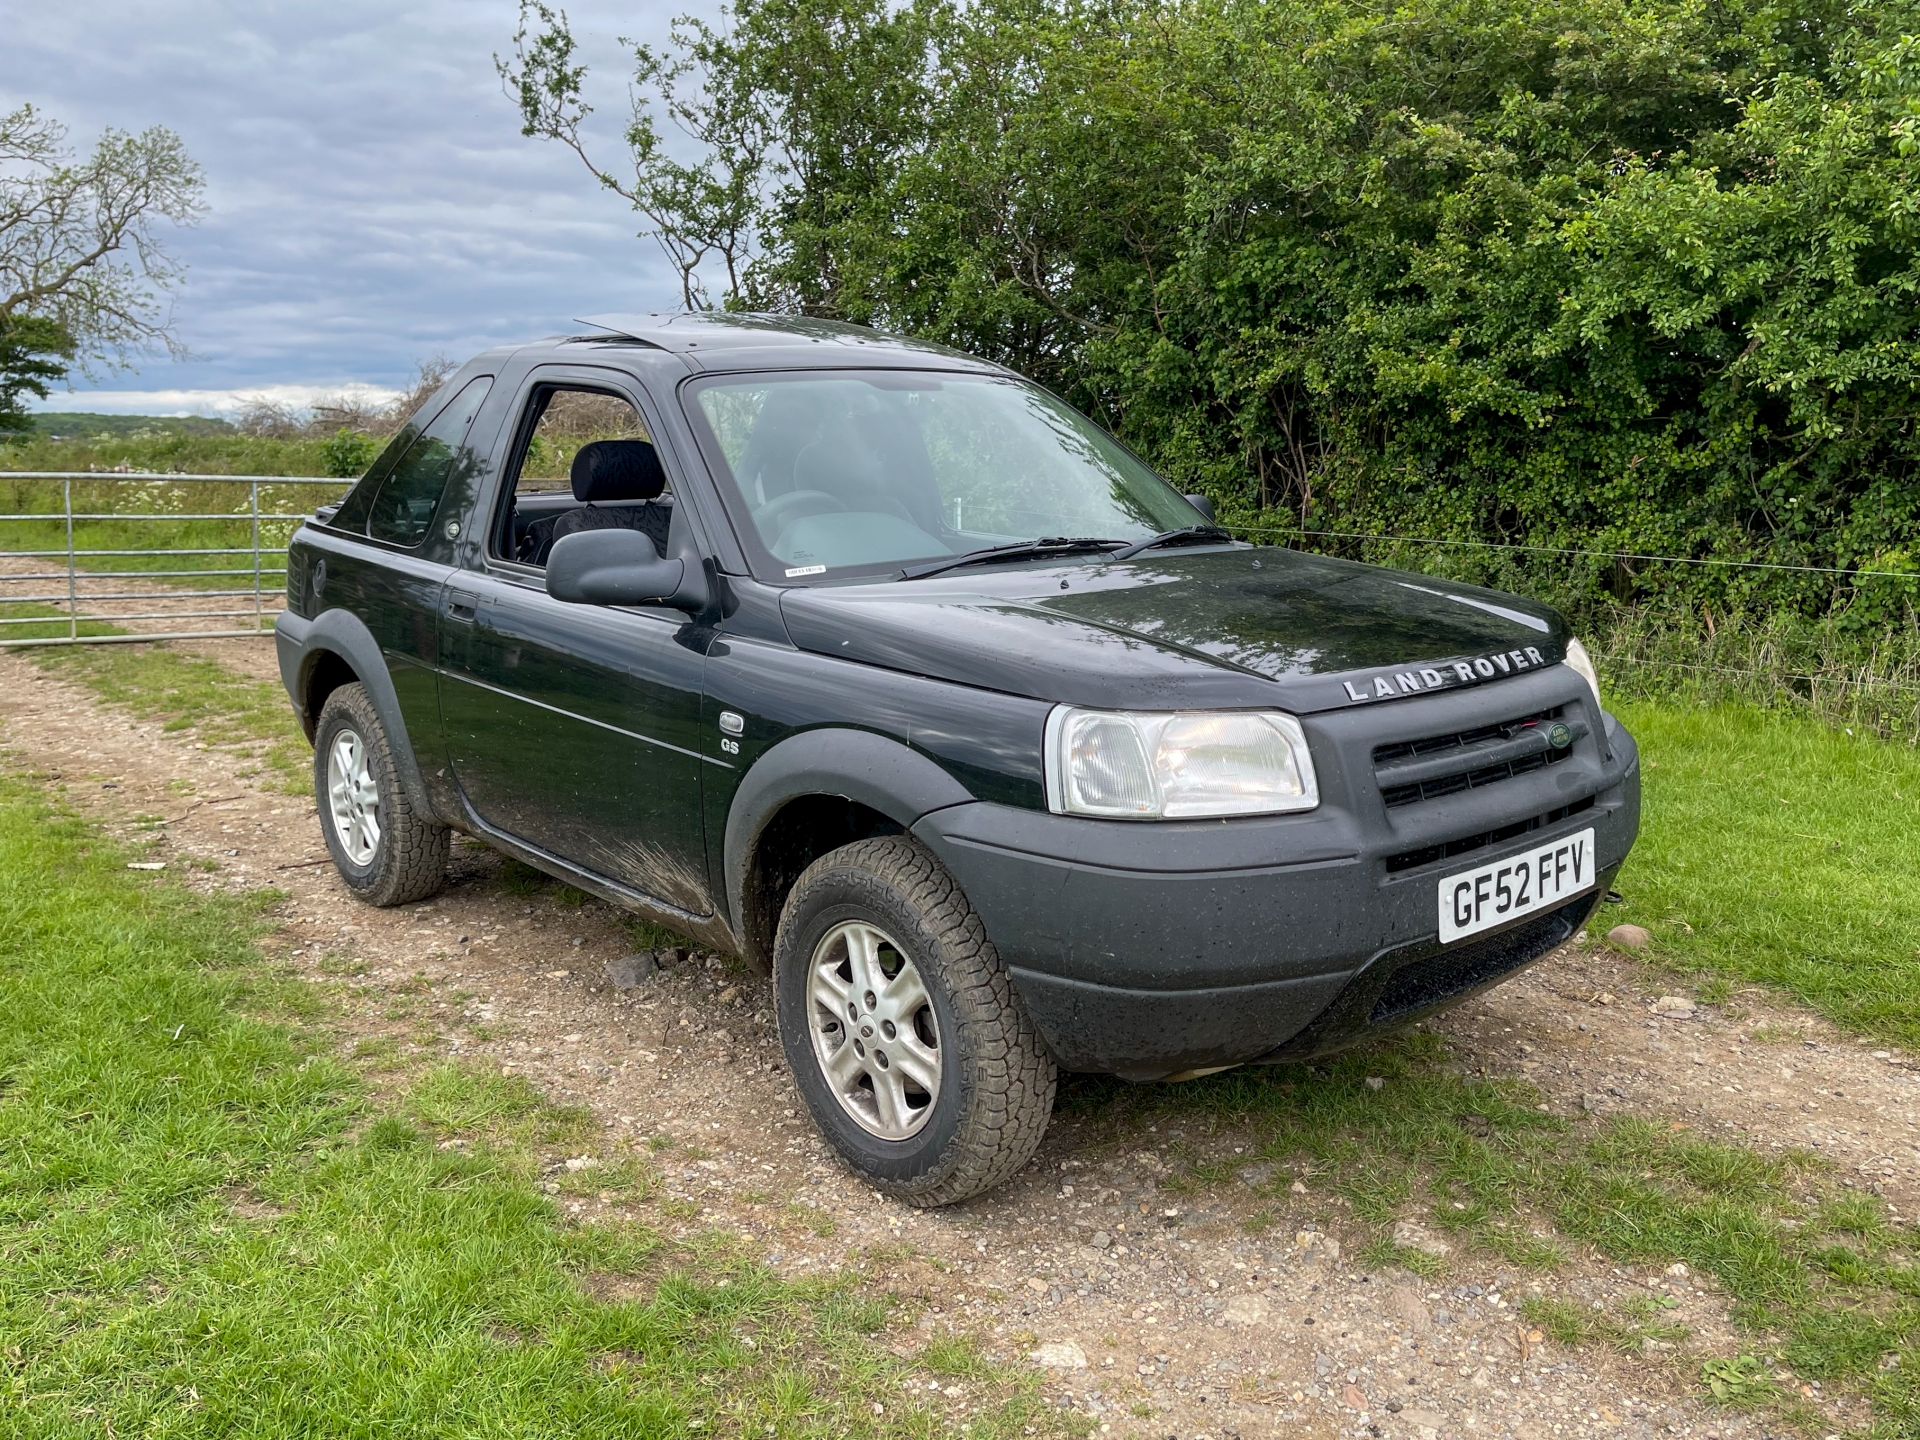
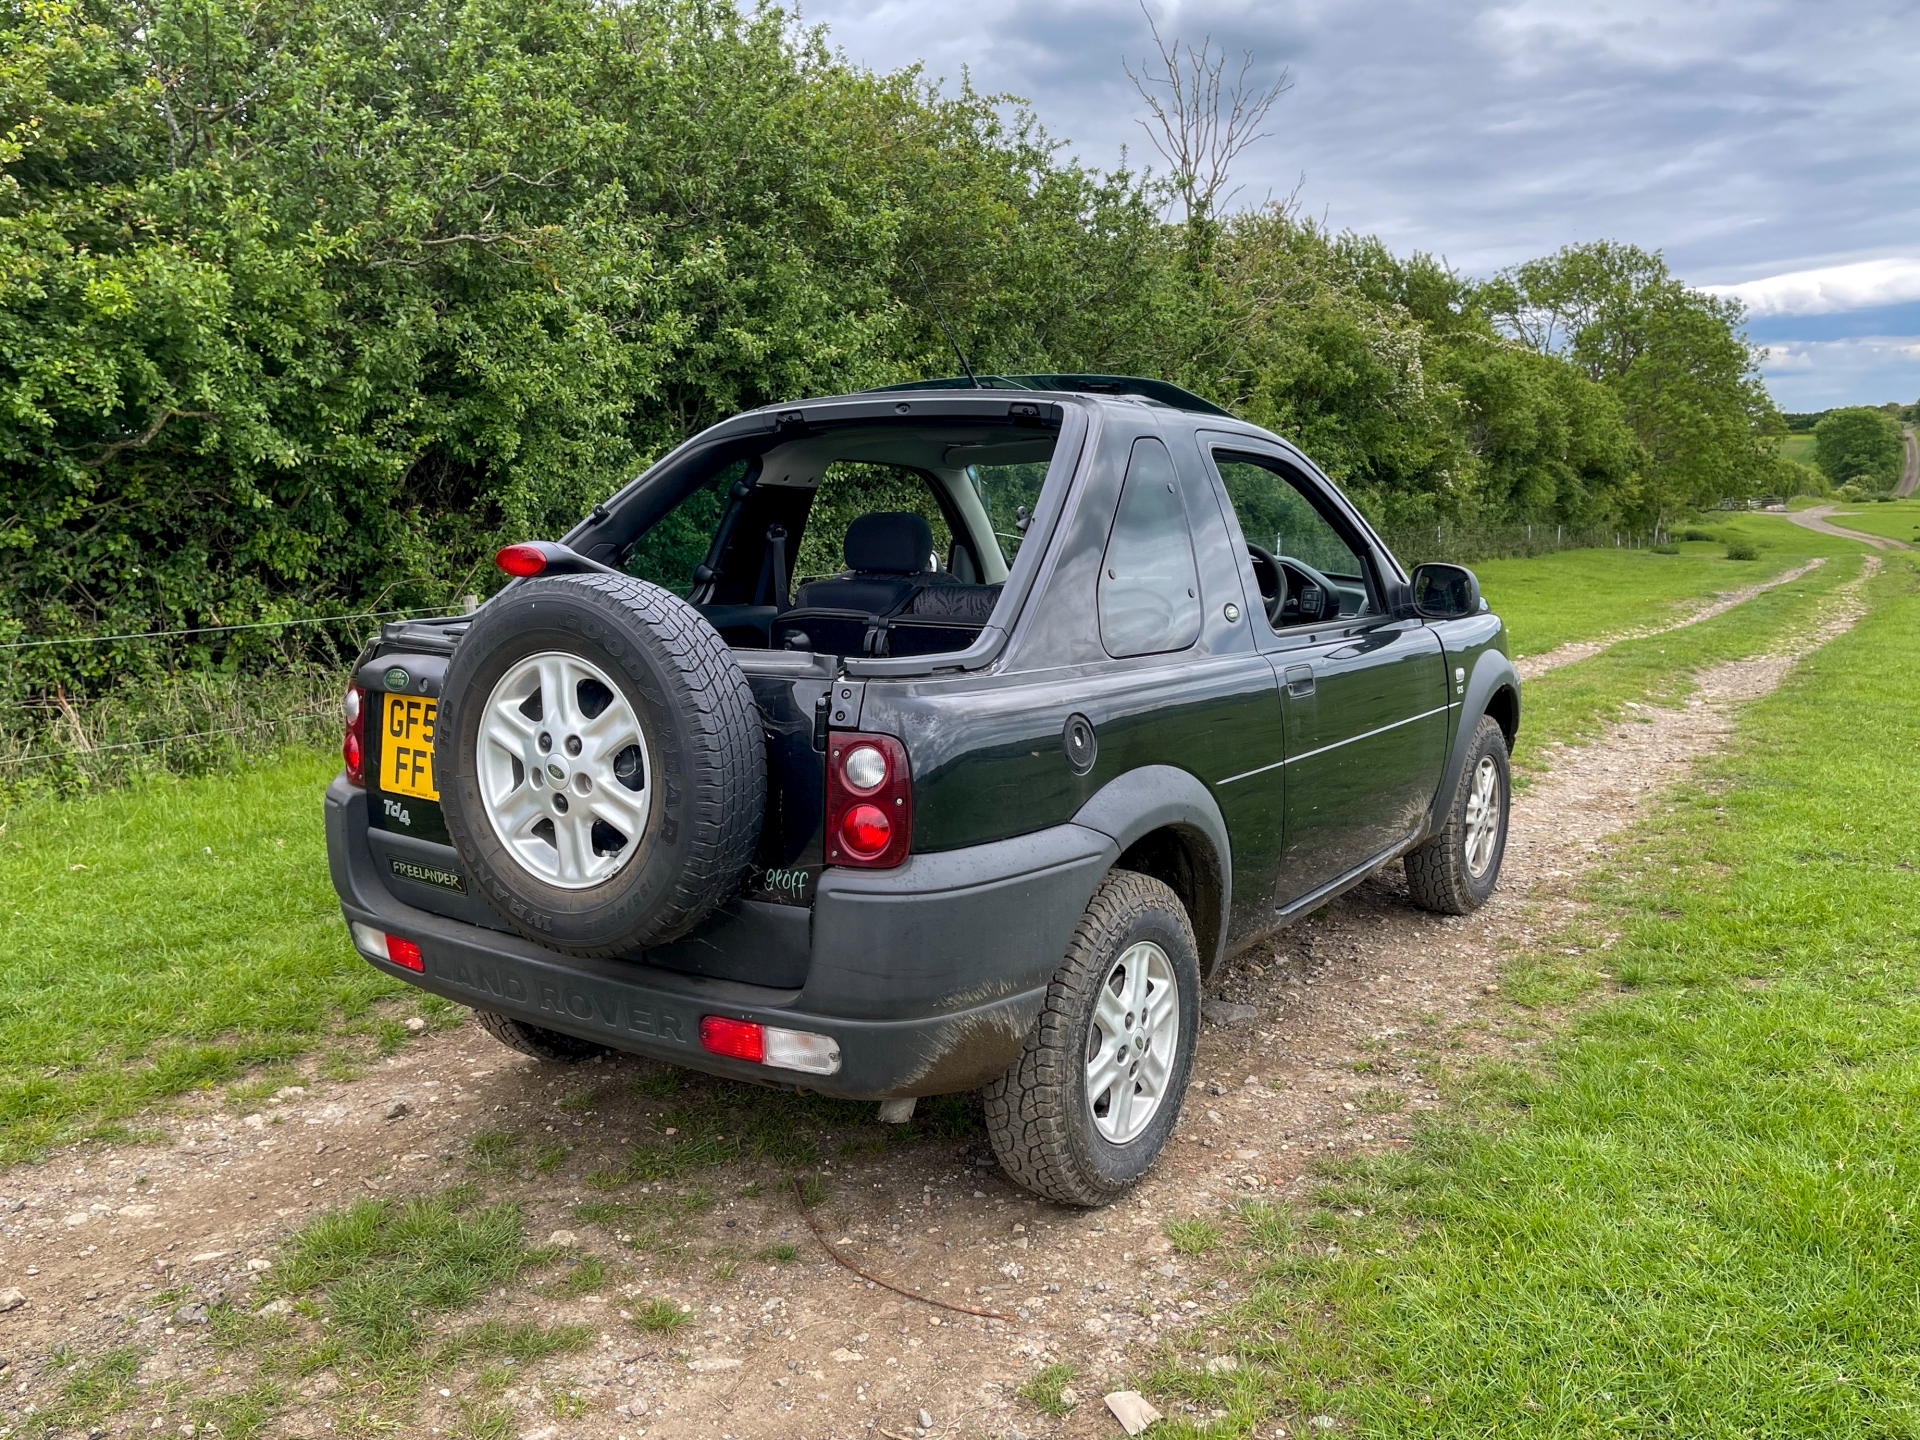
Time to turn my attention to Geoff again.
Act I
After the tailgate opened itself while driving a few weeks ago due to the latch/button (it's just a microswitch and there is no mechanical connection) and I had to tap the brakes to close it, I decided I should get a new set of springs.
I was worried that I would have to take the door card off and unbolt the whole latch assembly to replace the springs, but it came out spurprisingly easily after removing the two screws that held it on. *Foreshadowing*
Old springs were broken as expected but the plastic was fine
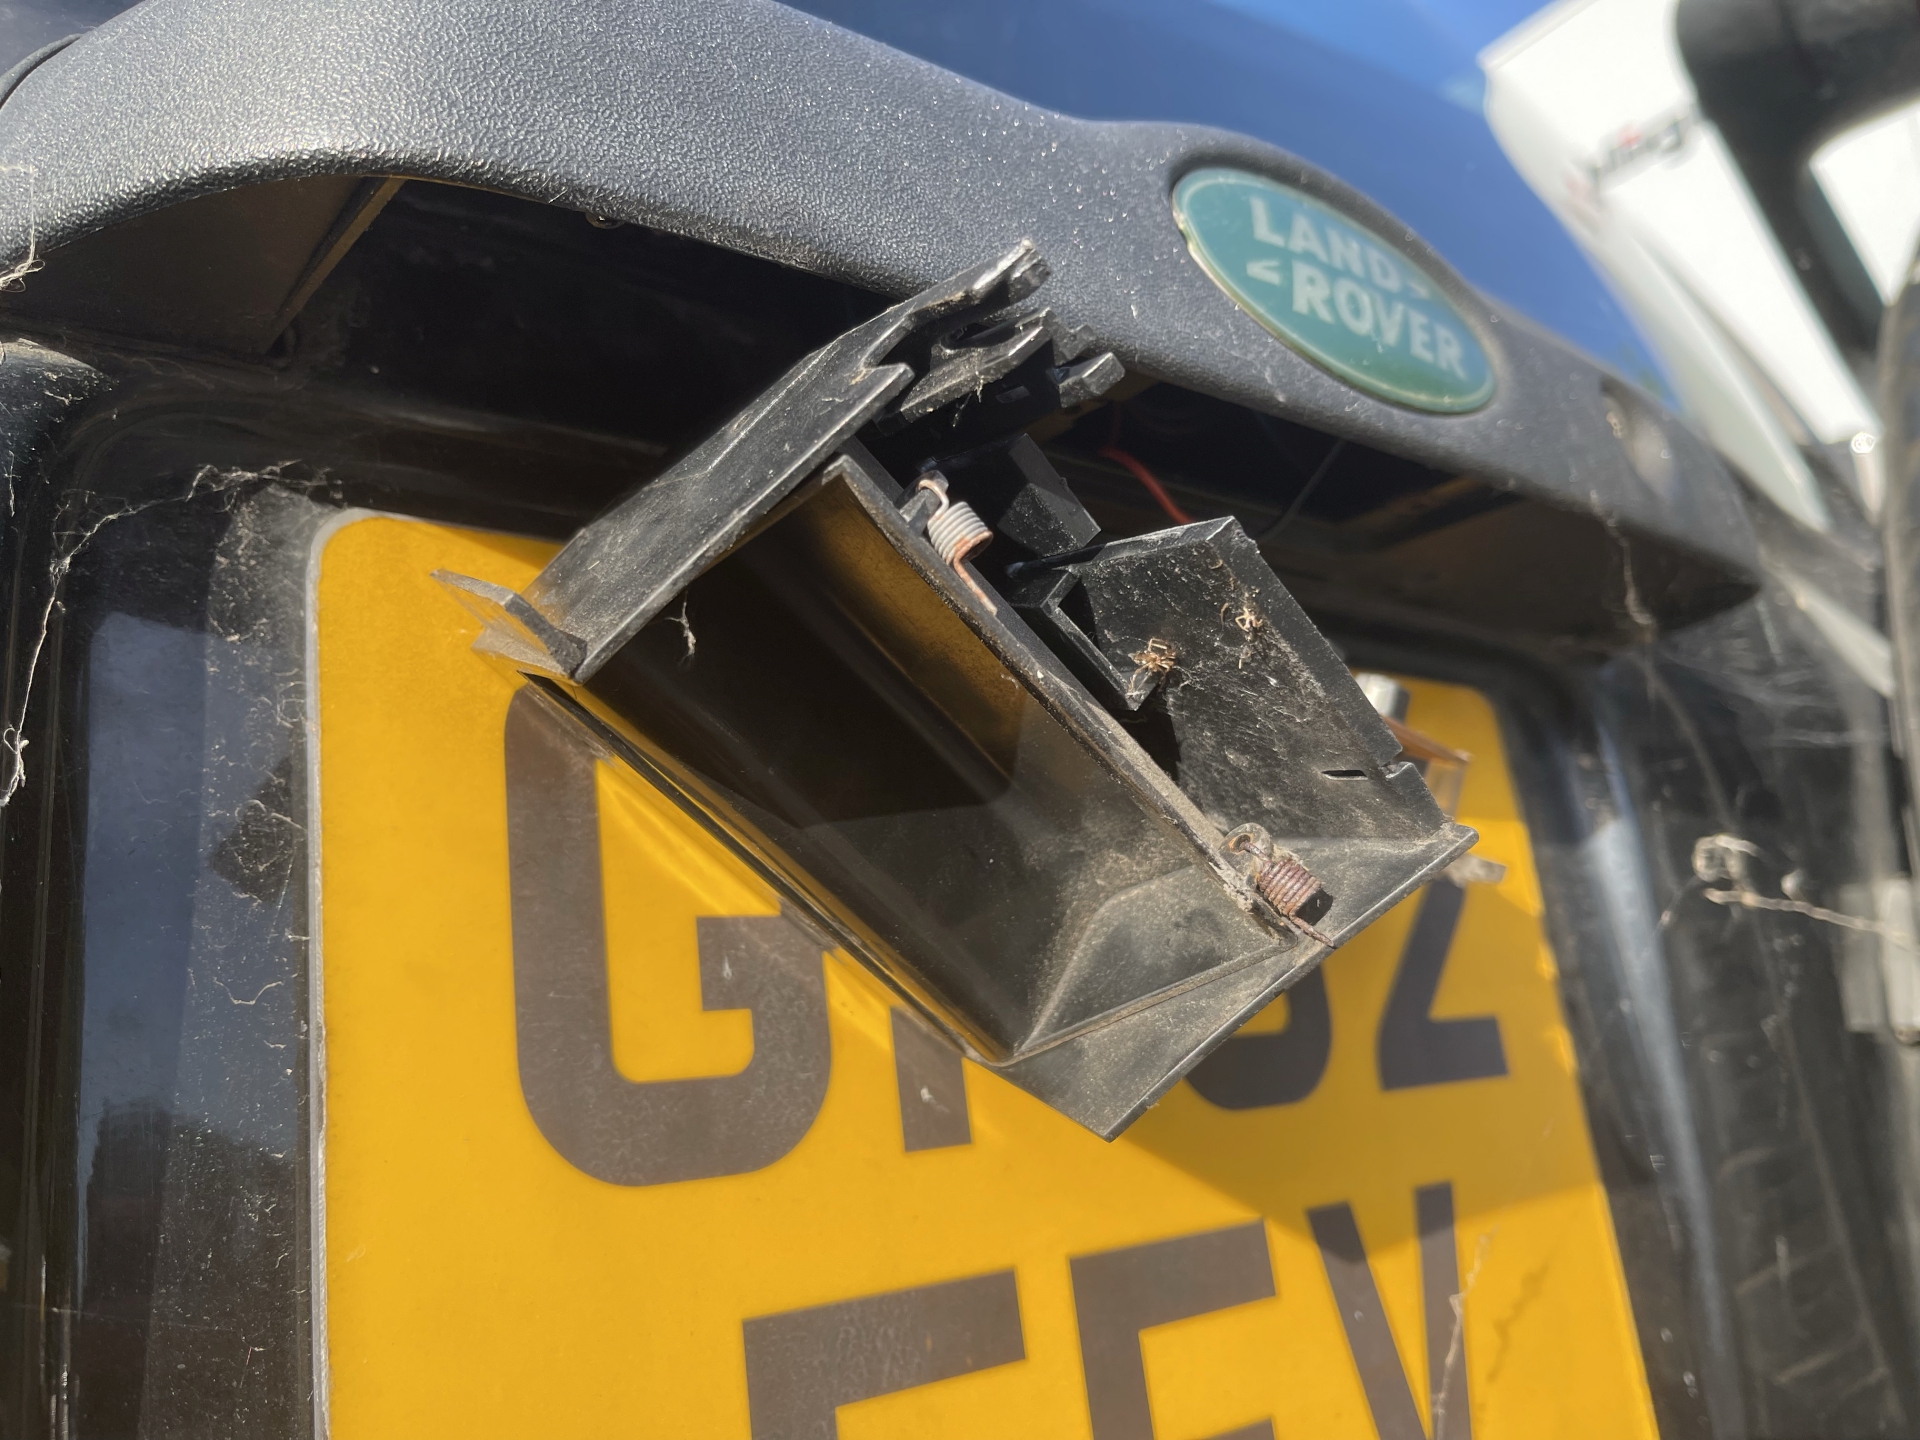
After removing the old ones, cleaning it all up, evicting the spider that lived inside the latch and fitting the new springs without losing one.
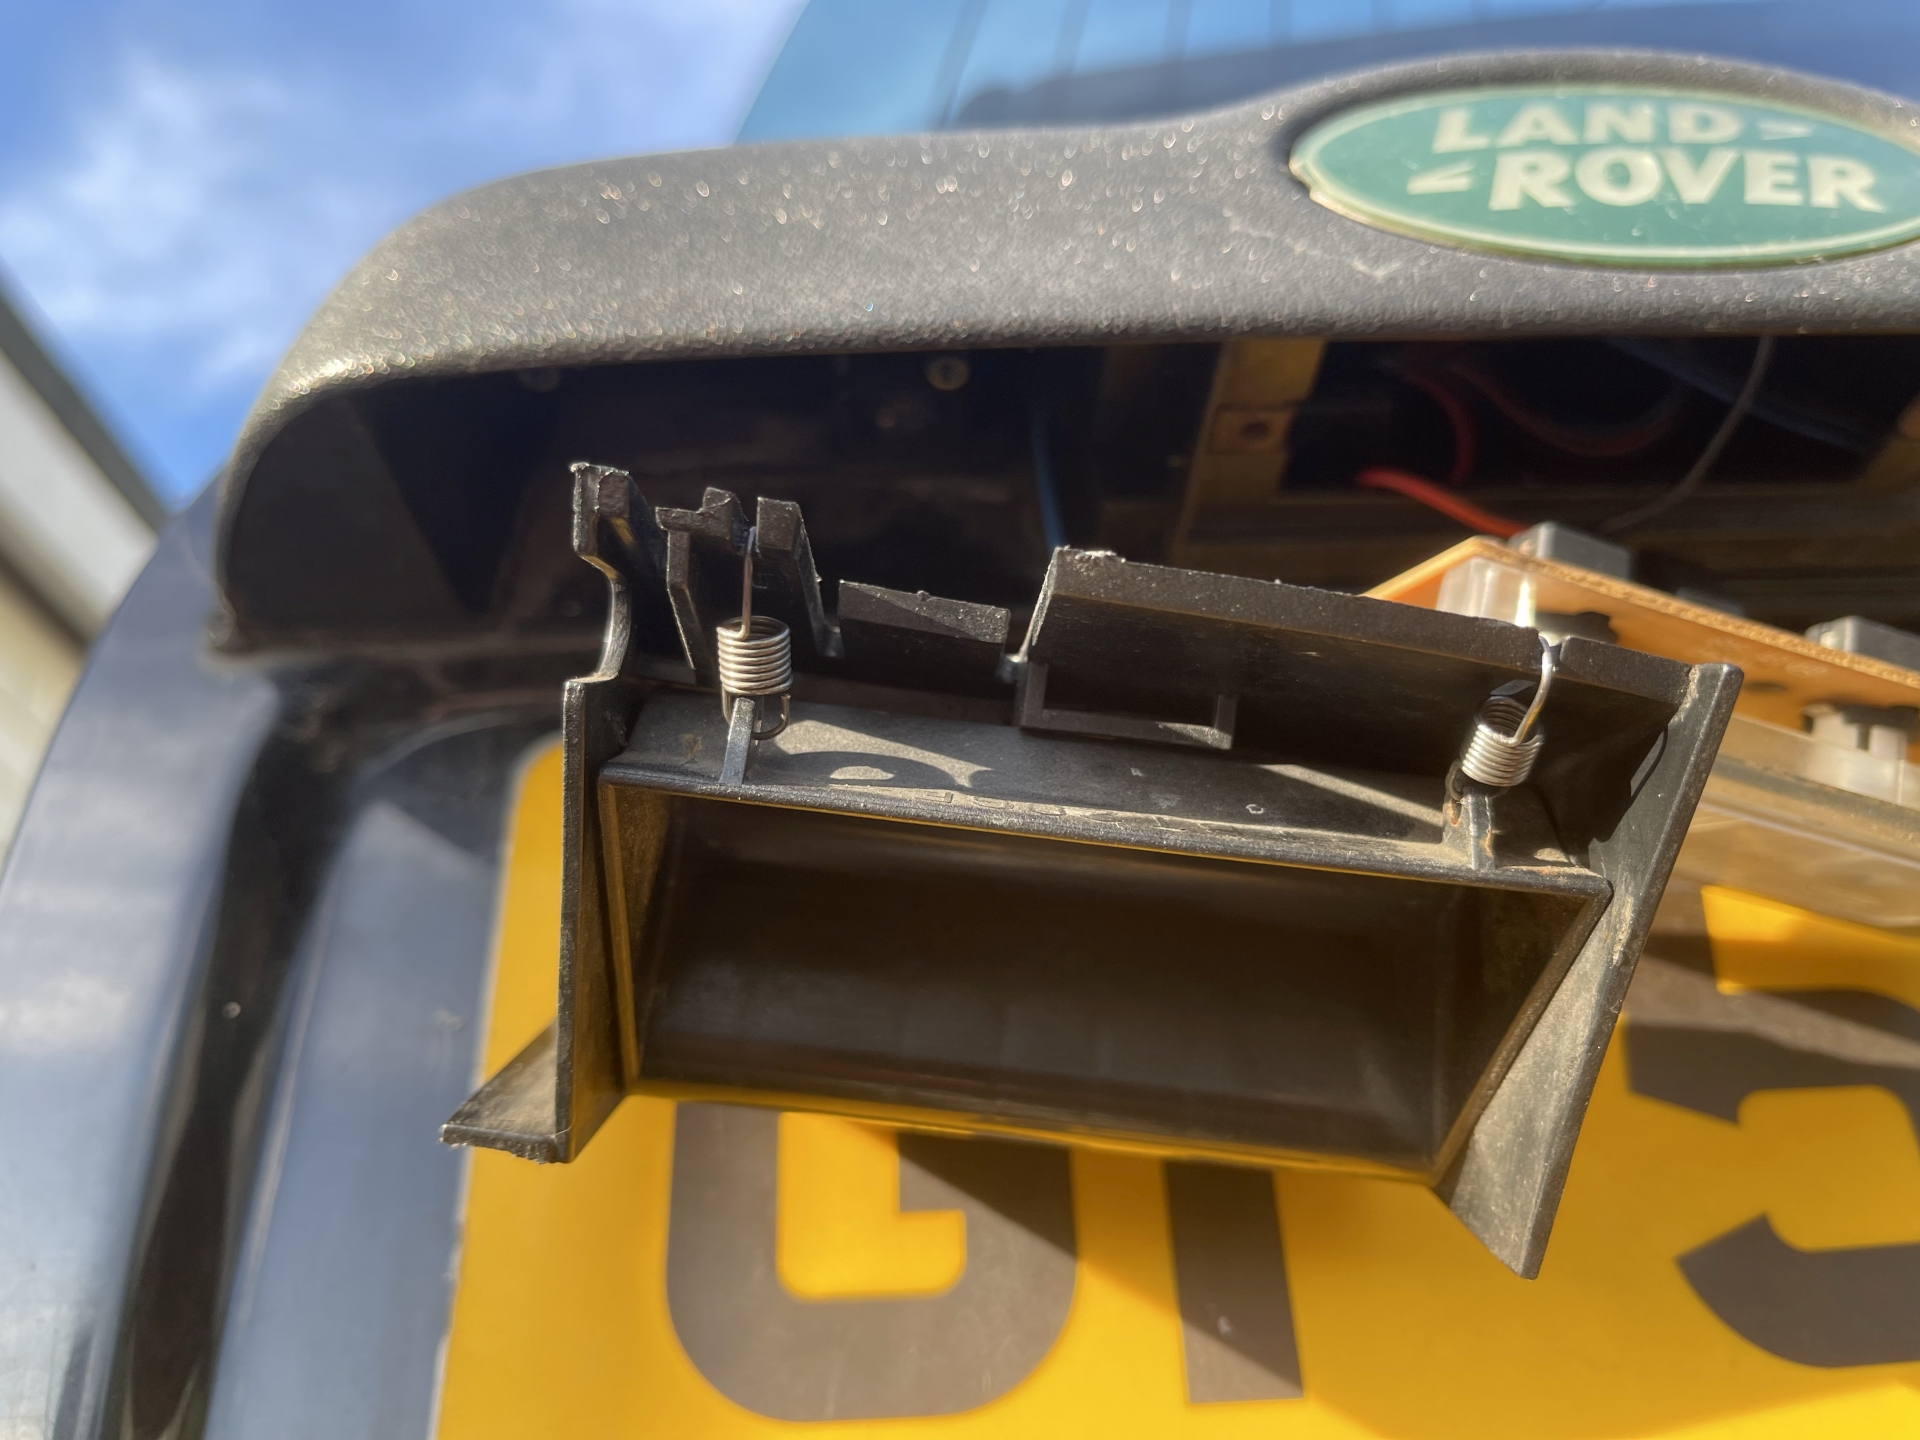
So remember me saying that was going too easily? Well I put the latch back in, which took quite a bit of force but it still went. The button to open the tailgate worked fine until I tightened the screws and then it stopped working. One of the wires inside got cut because they aren't guided very well. One end of the wire was very short so after everything was apart again, touching the wires together to open the tailgate was difficult.
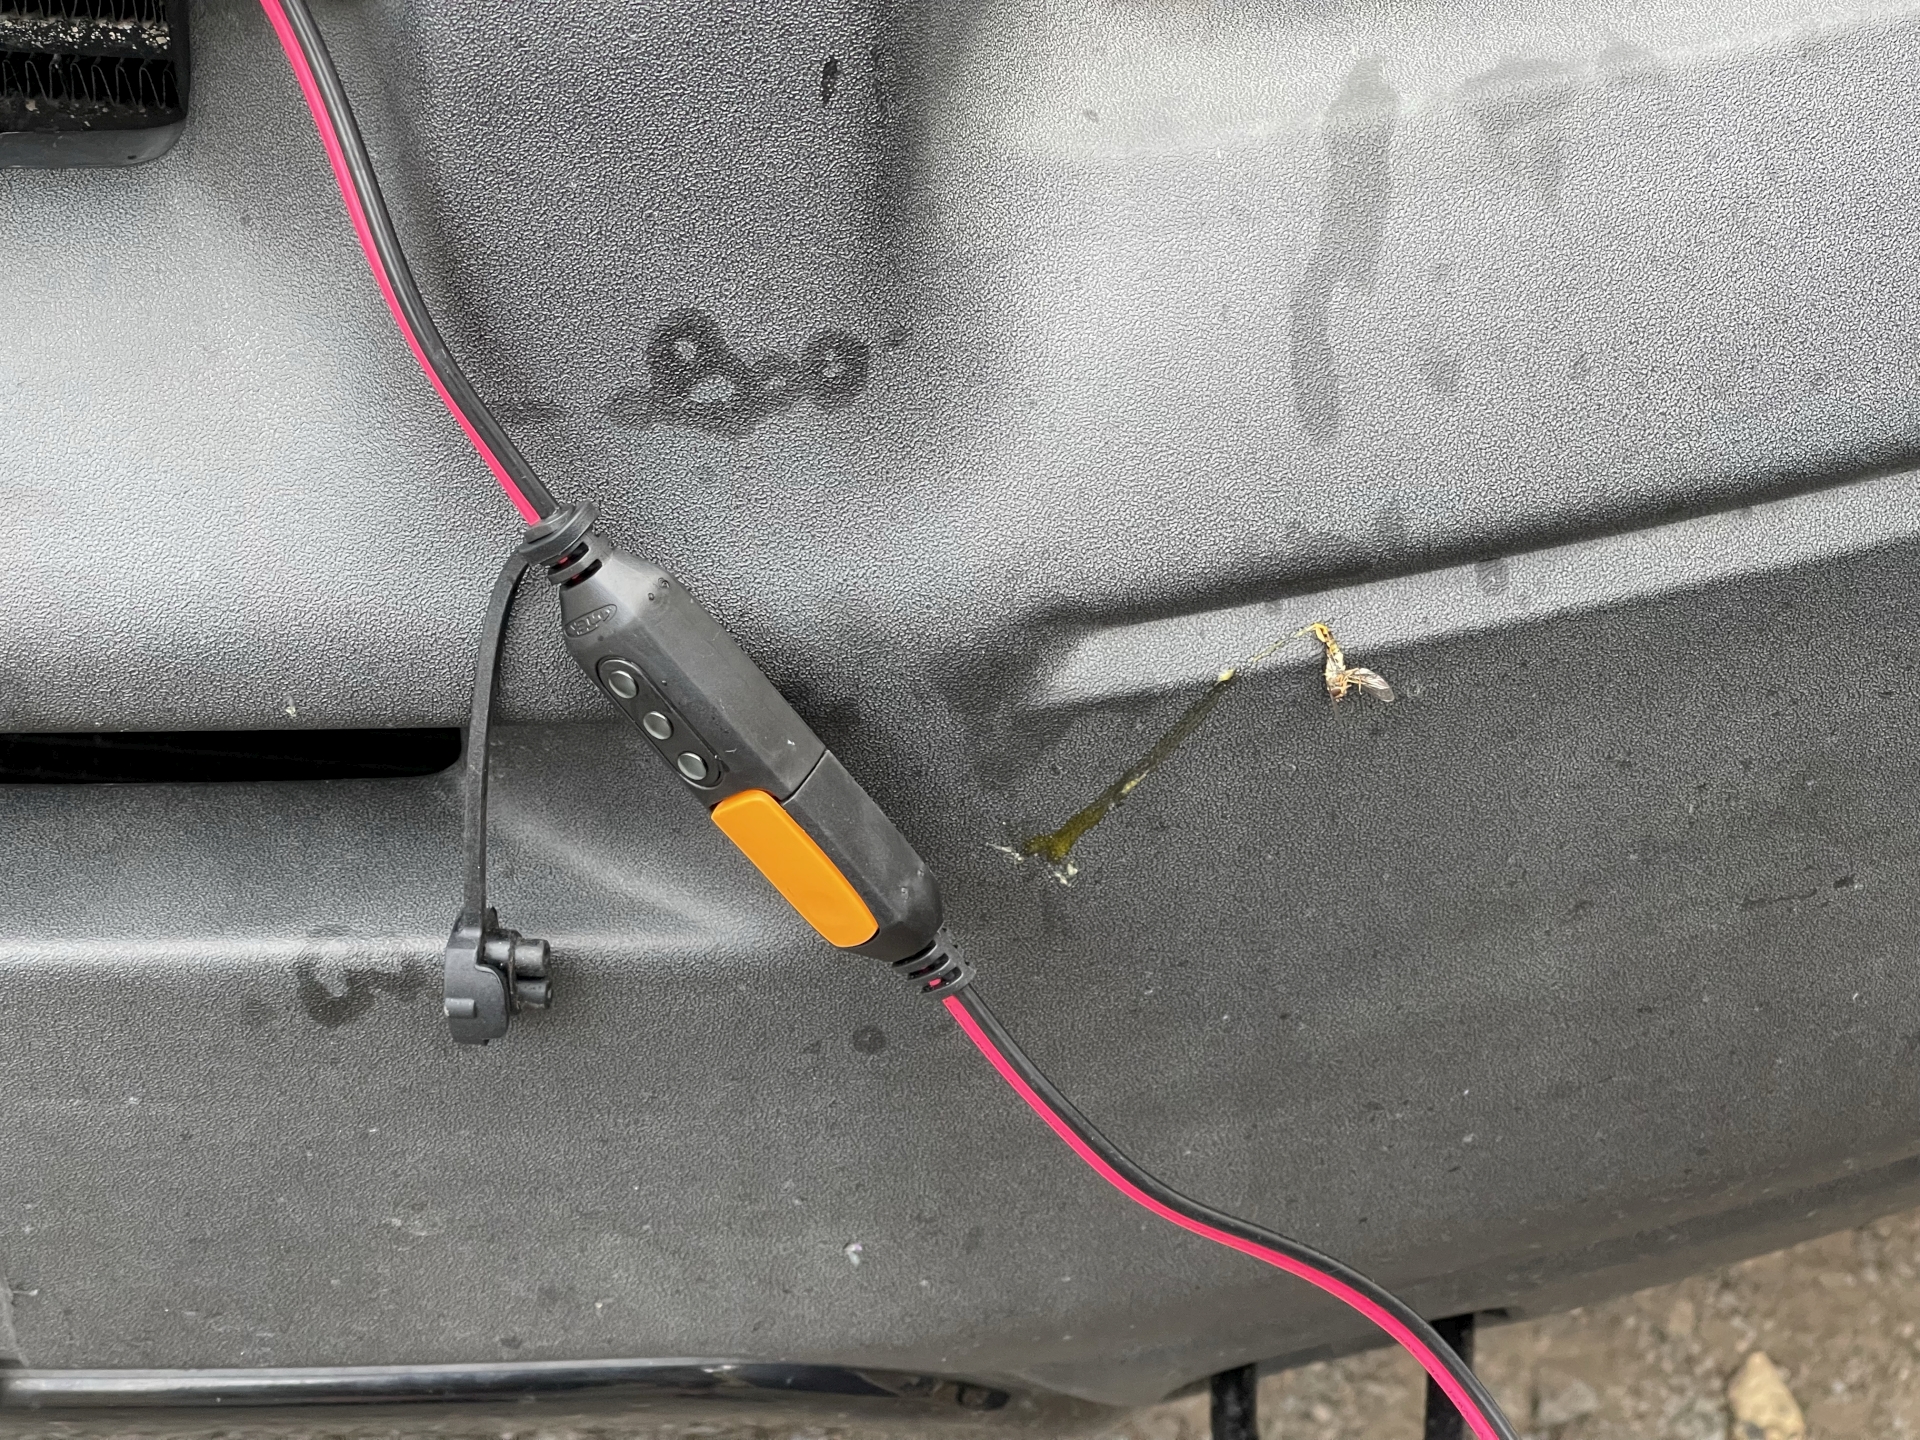
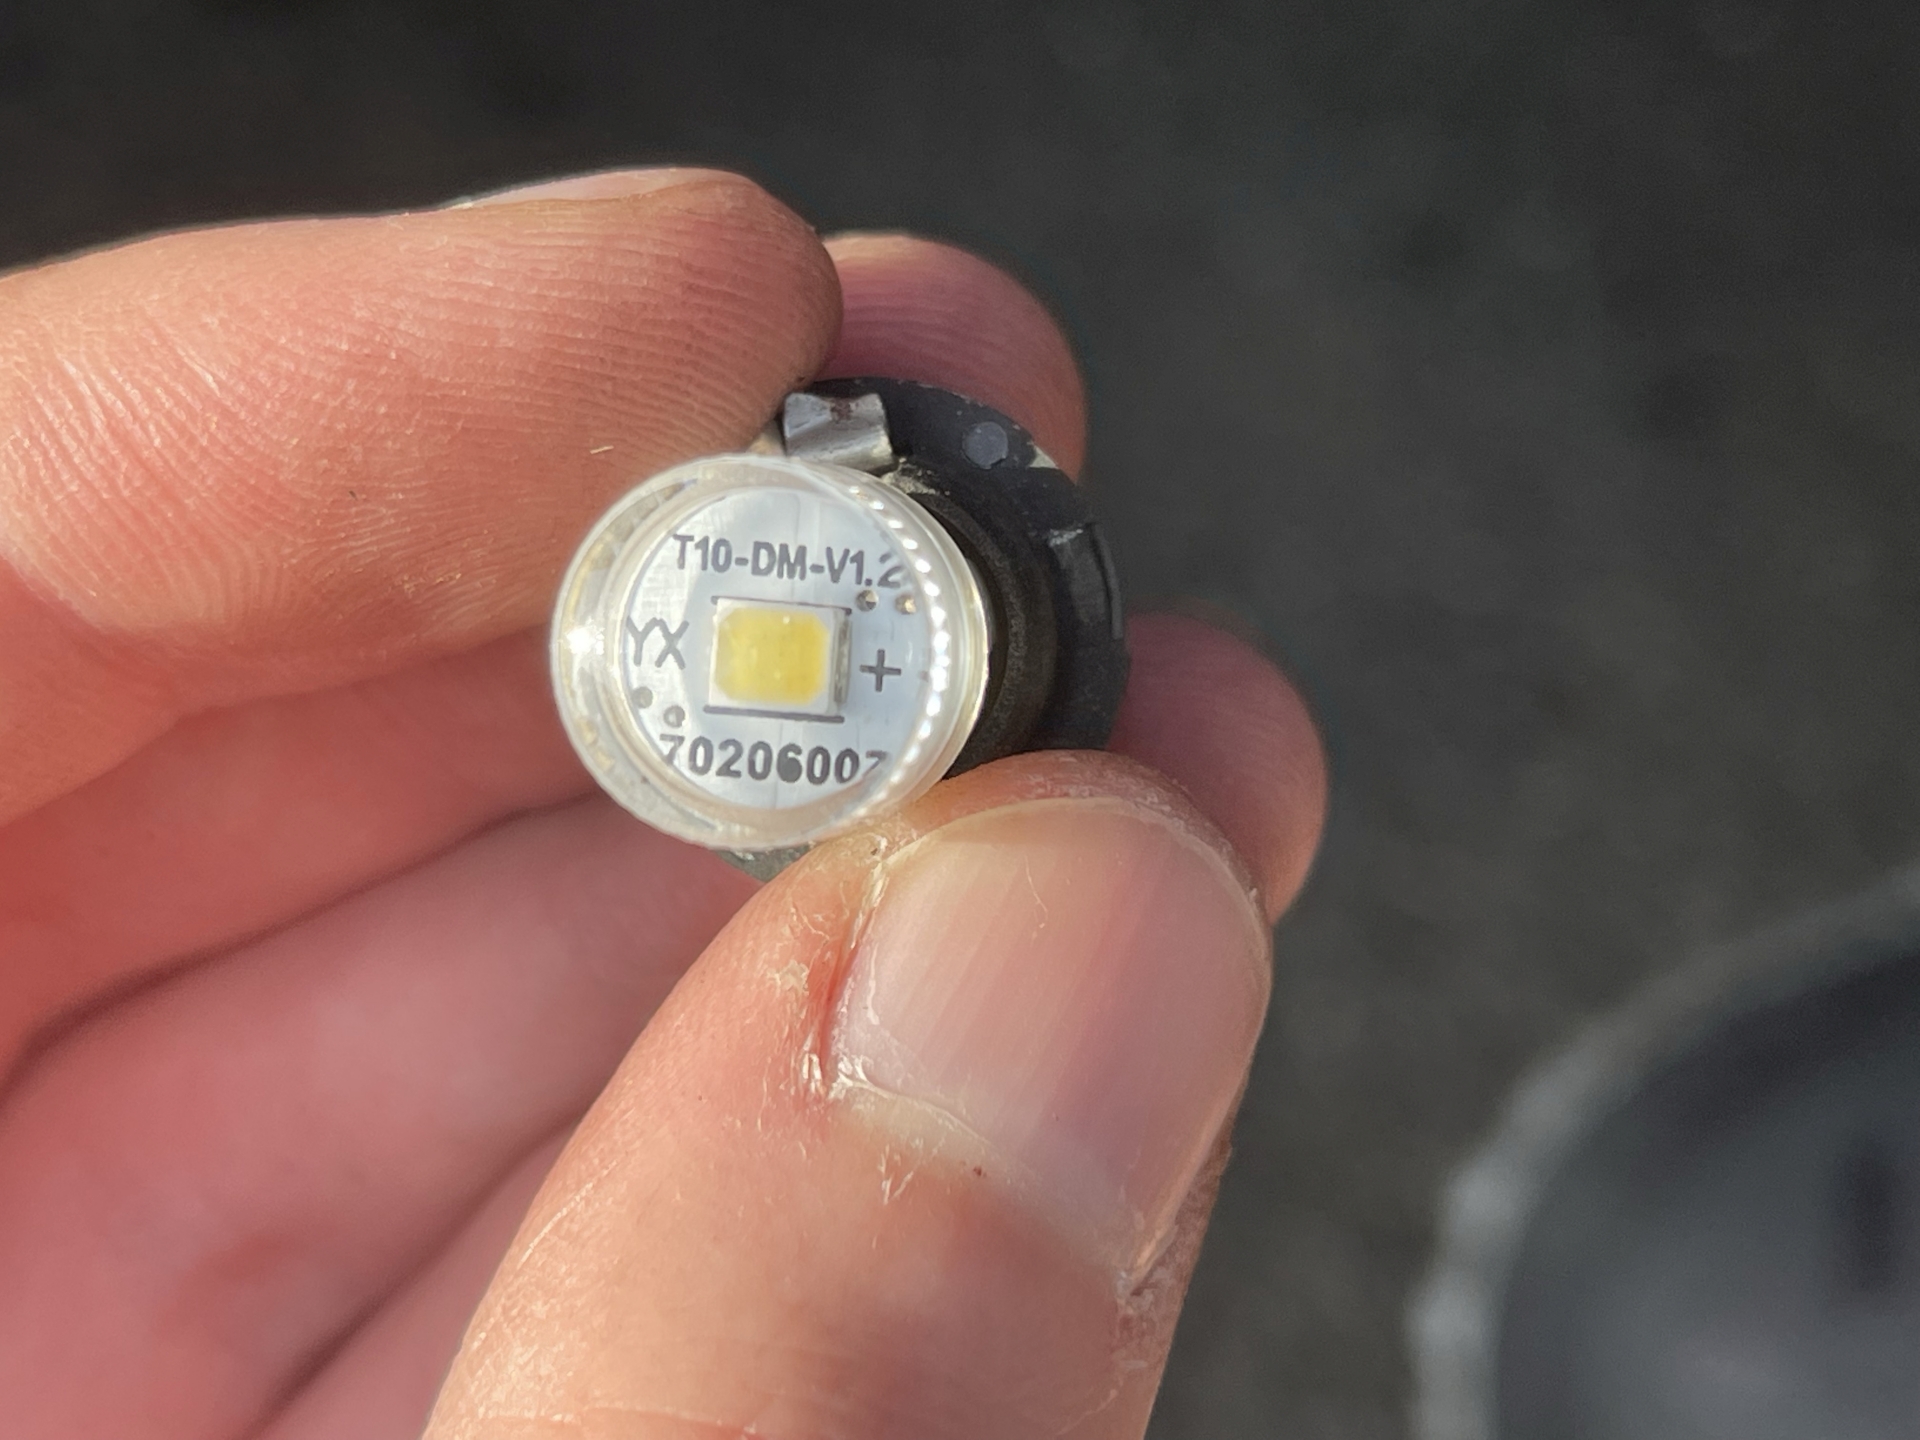
Initially I took the number plate light off and found I could shove the cut end of the wire on the switch into the earth terminal of the light and get the tailgate to open. I also noticed that someone put LED lamps in here.
So now I had to take the entire latch off. It wasn't too bad as there are four screws and three trim clips that are easy to pop off without breaking them. There should be a couple more but they were already broken and the foam moisture barrier thing was completely torn off. I don't really mind but it does explain why it can get damp inside. Anyway when I took the latch off things didn't look too nice.
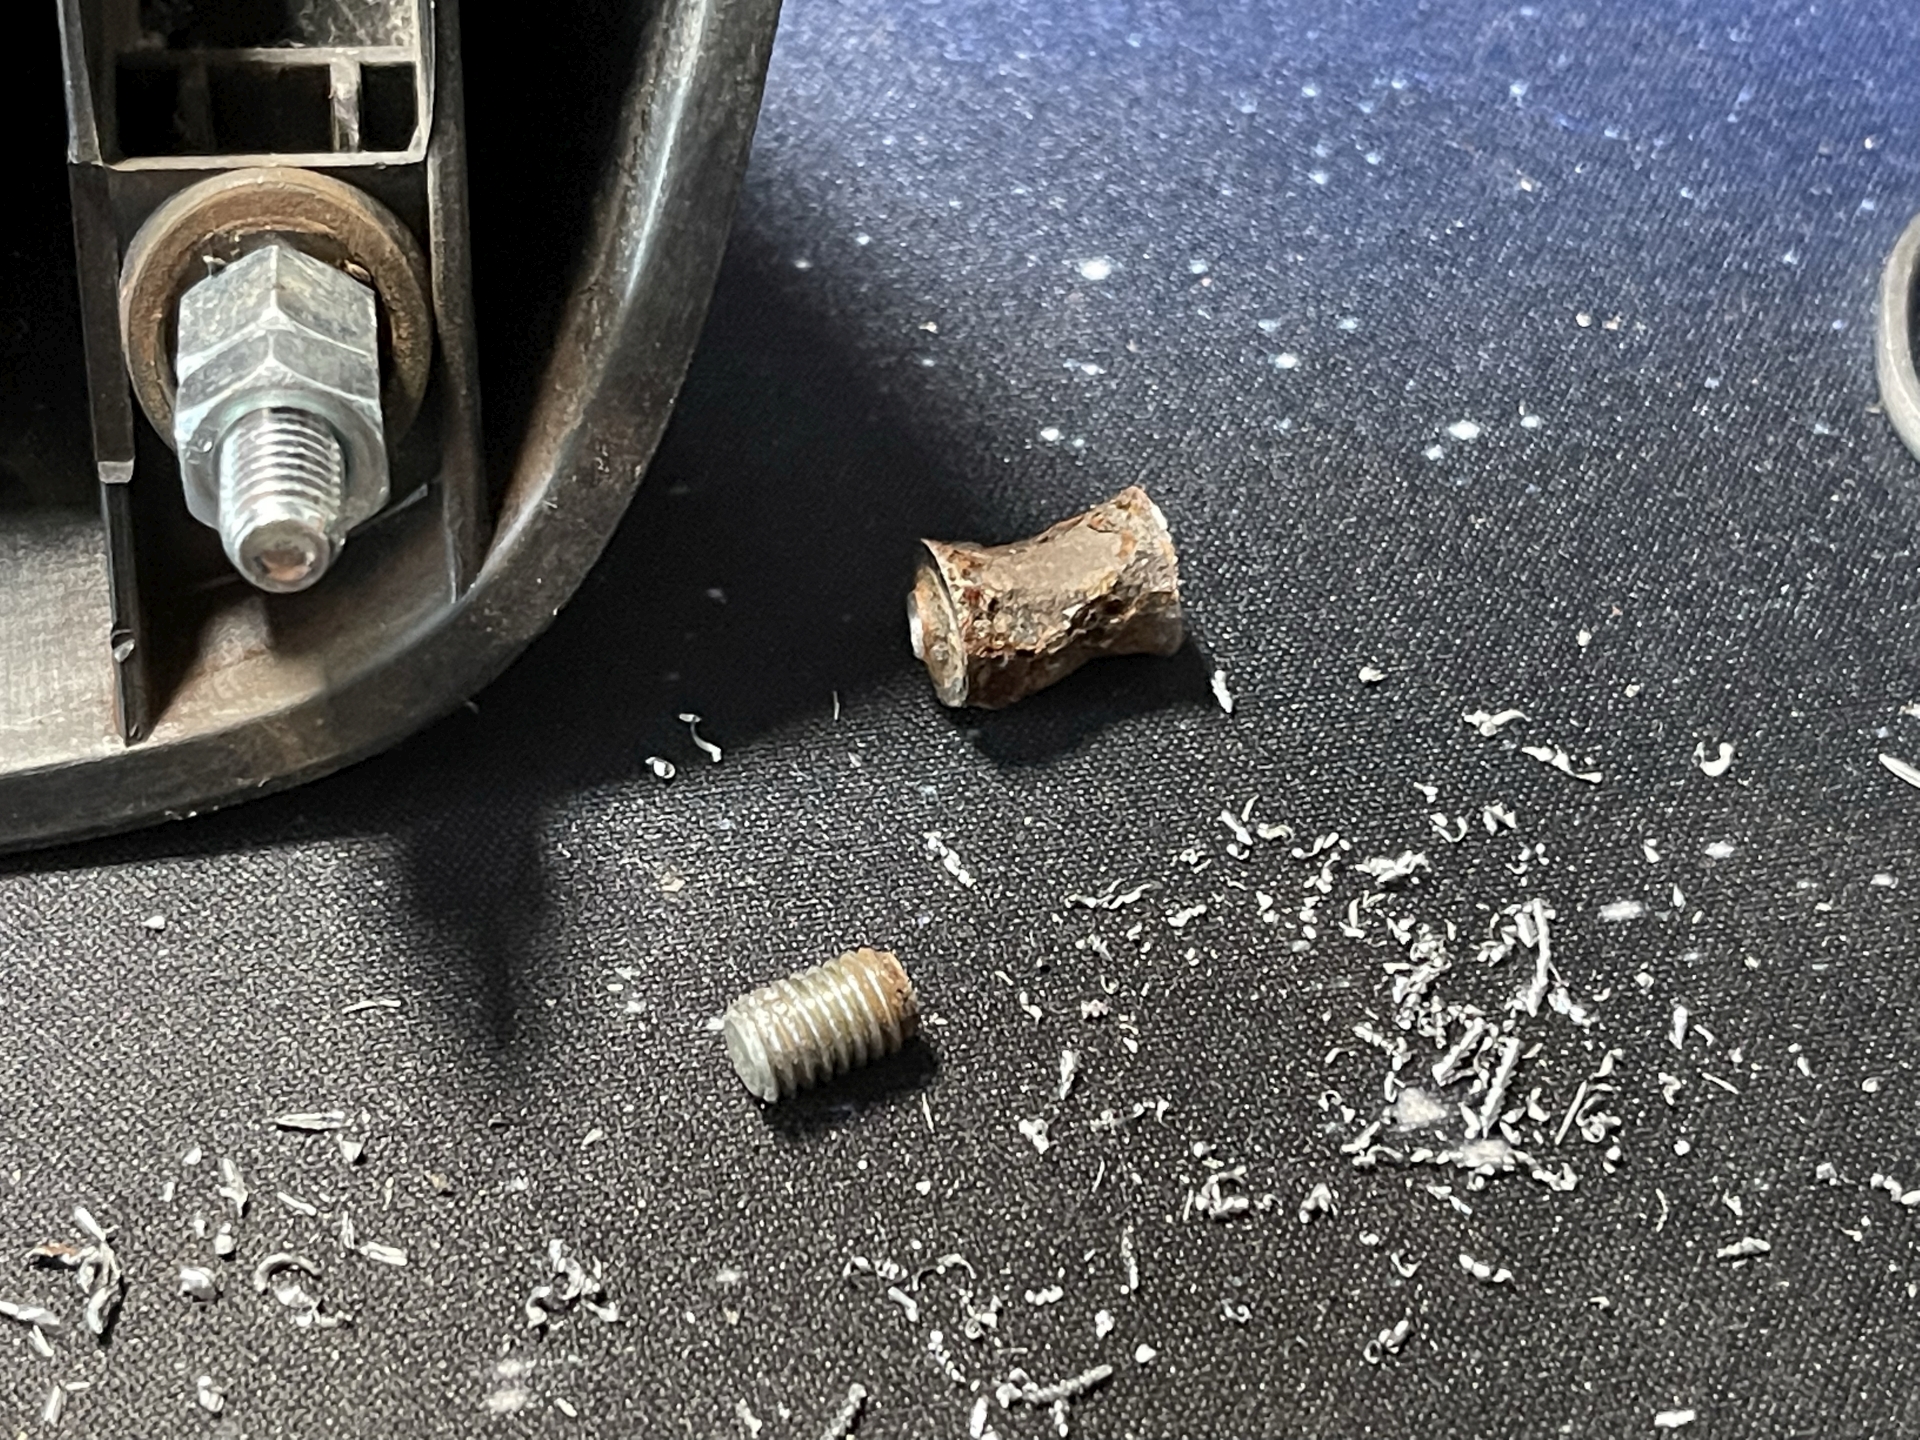
These spacers are known to go rusty and they can cause the bodywork in this area to rust too. These are better than some I've seen. The third was completely fine
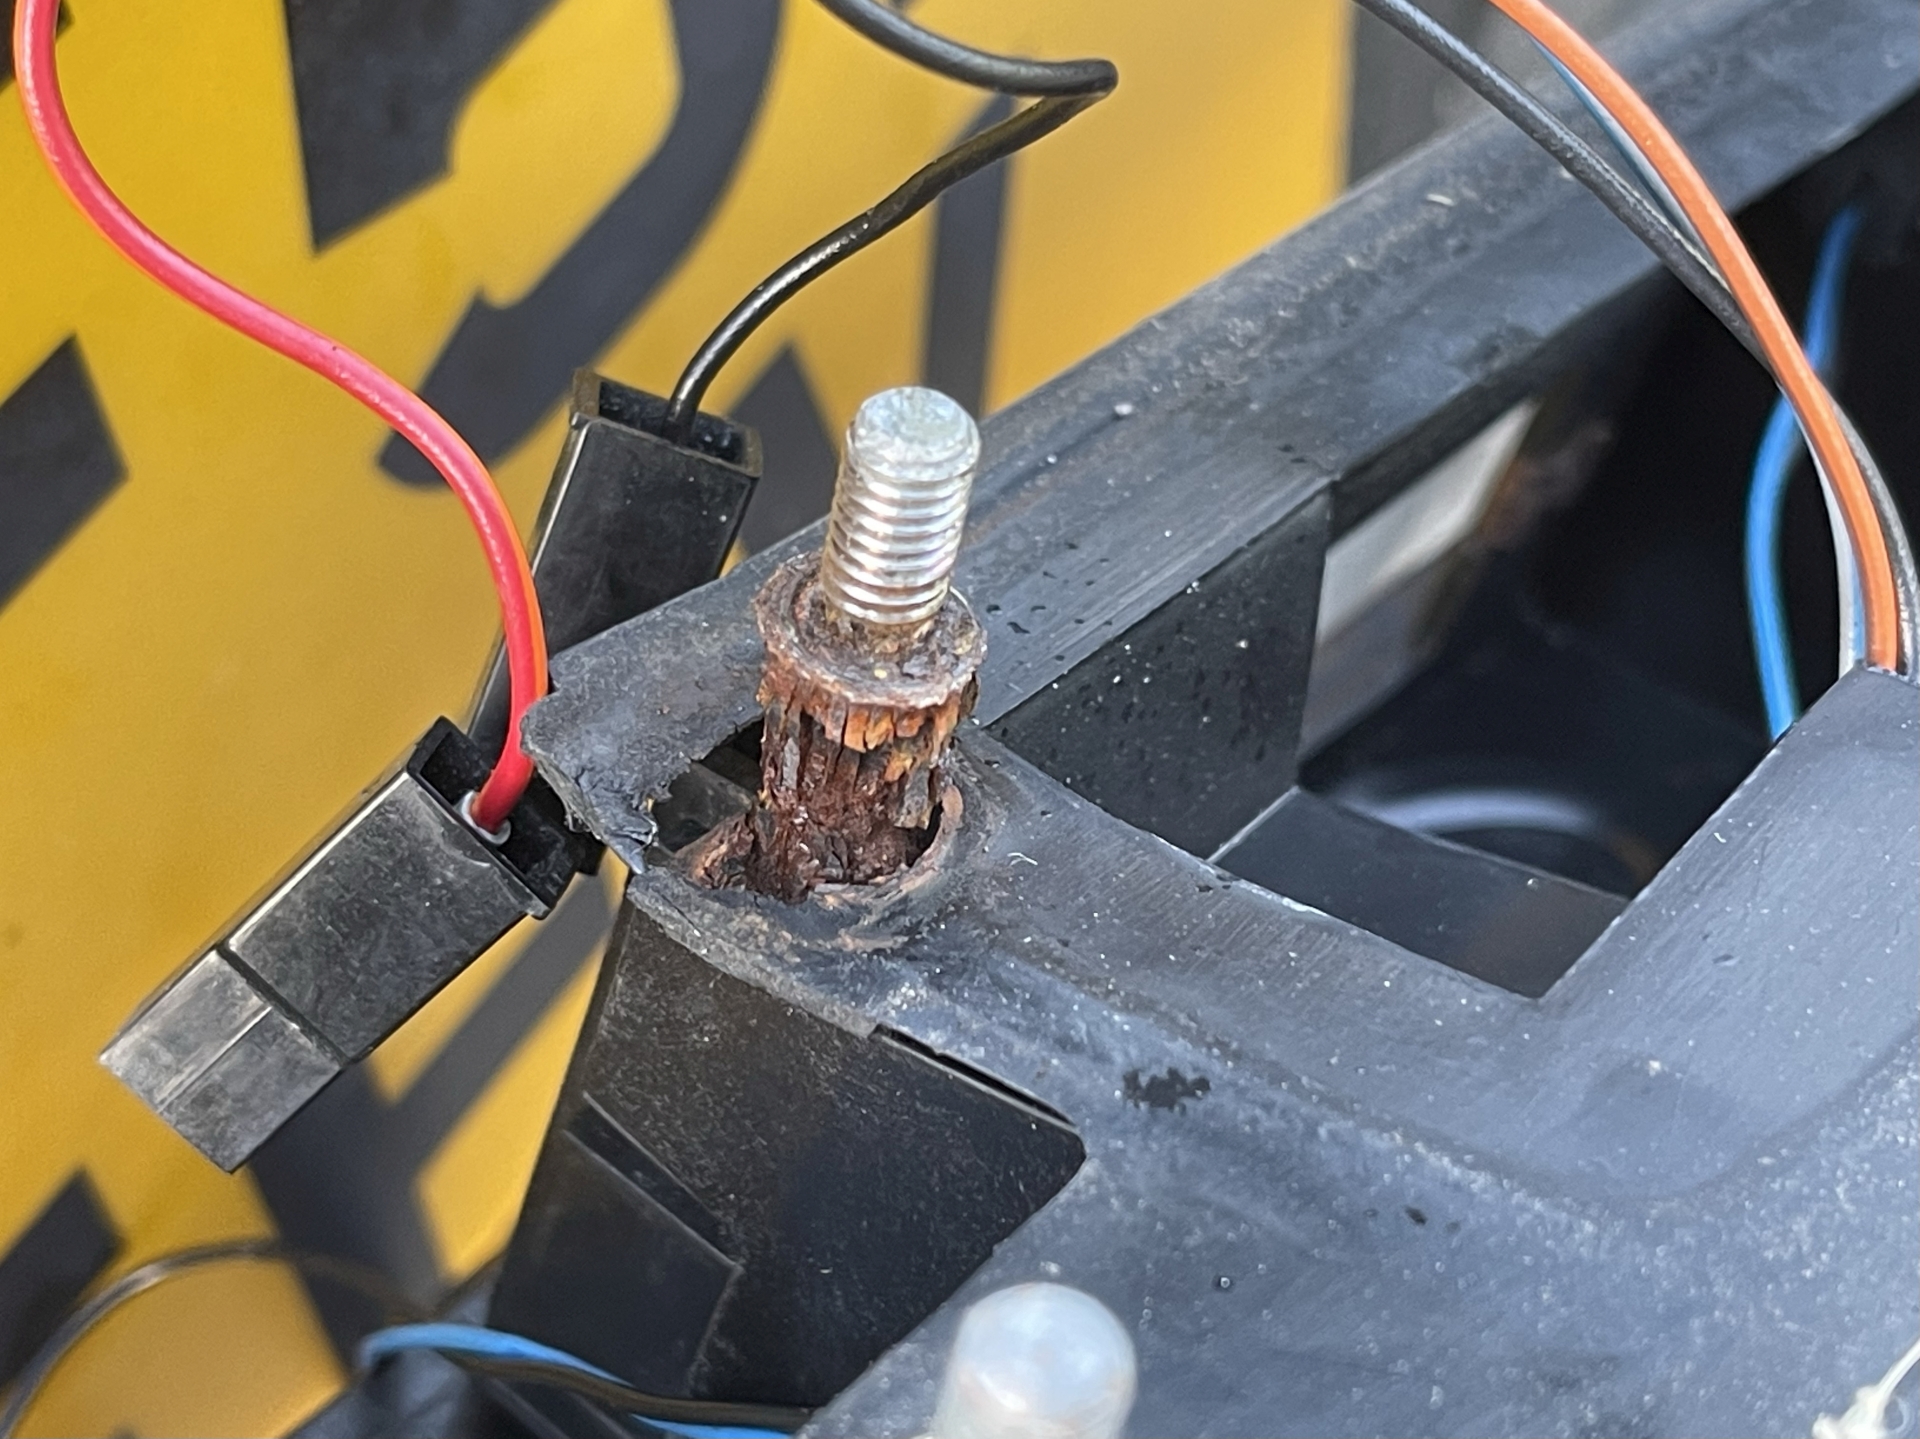
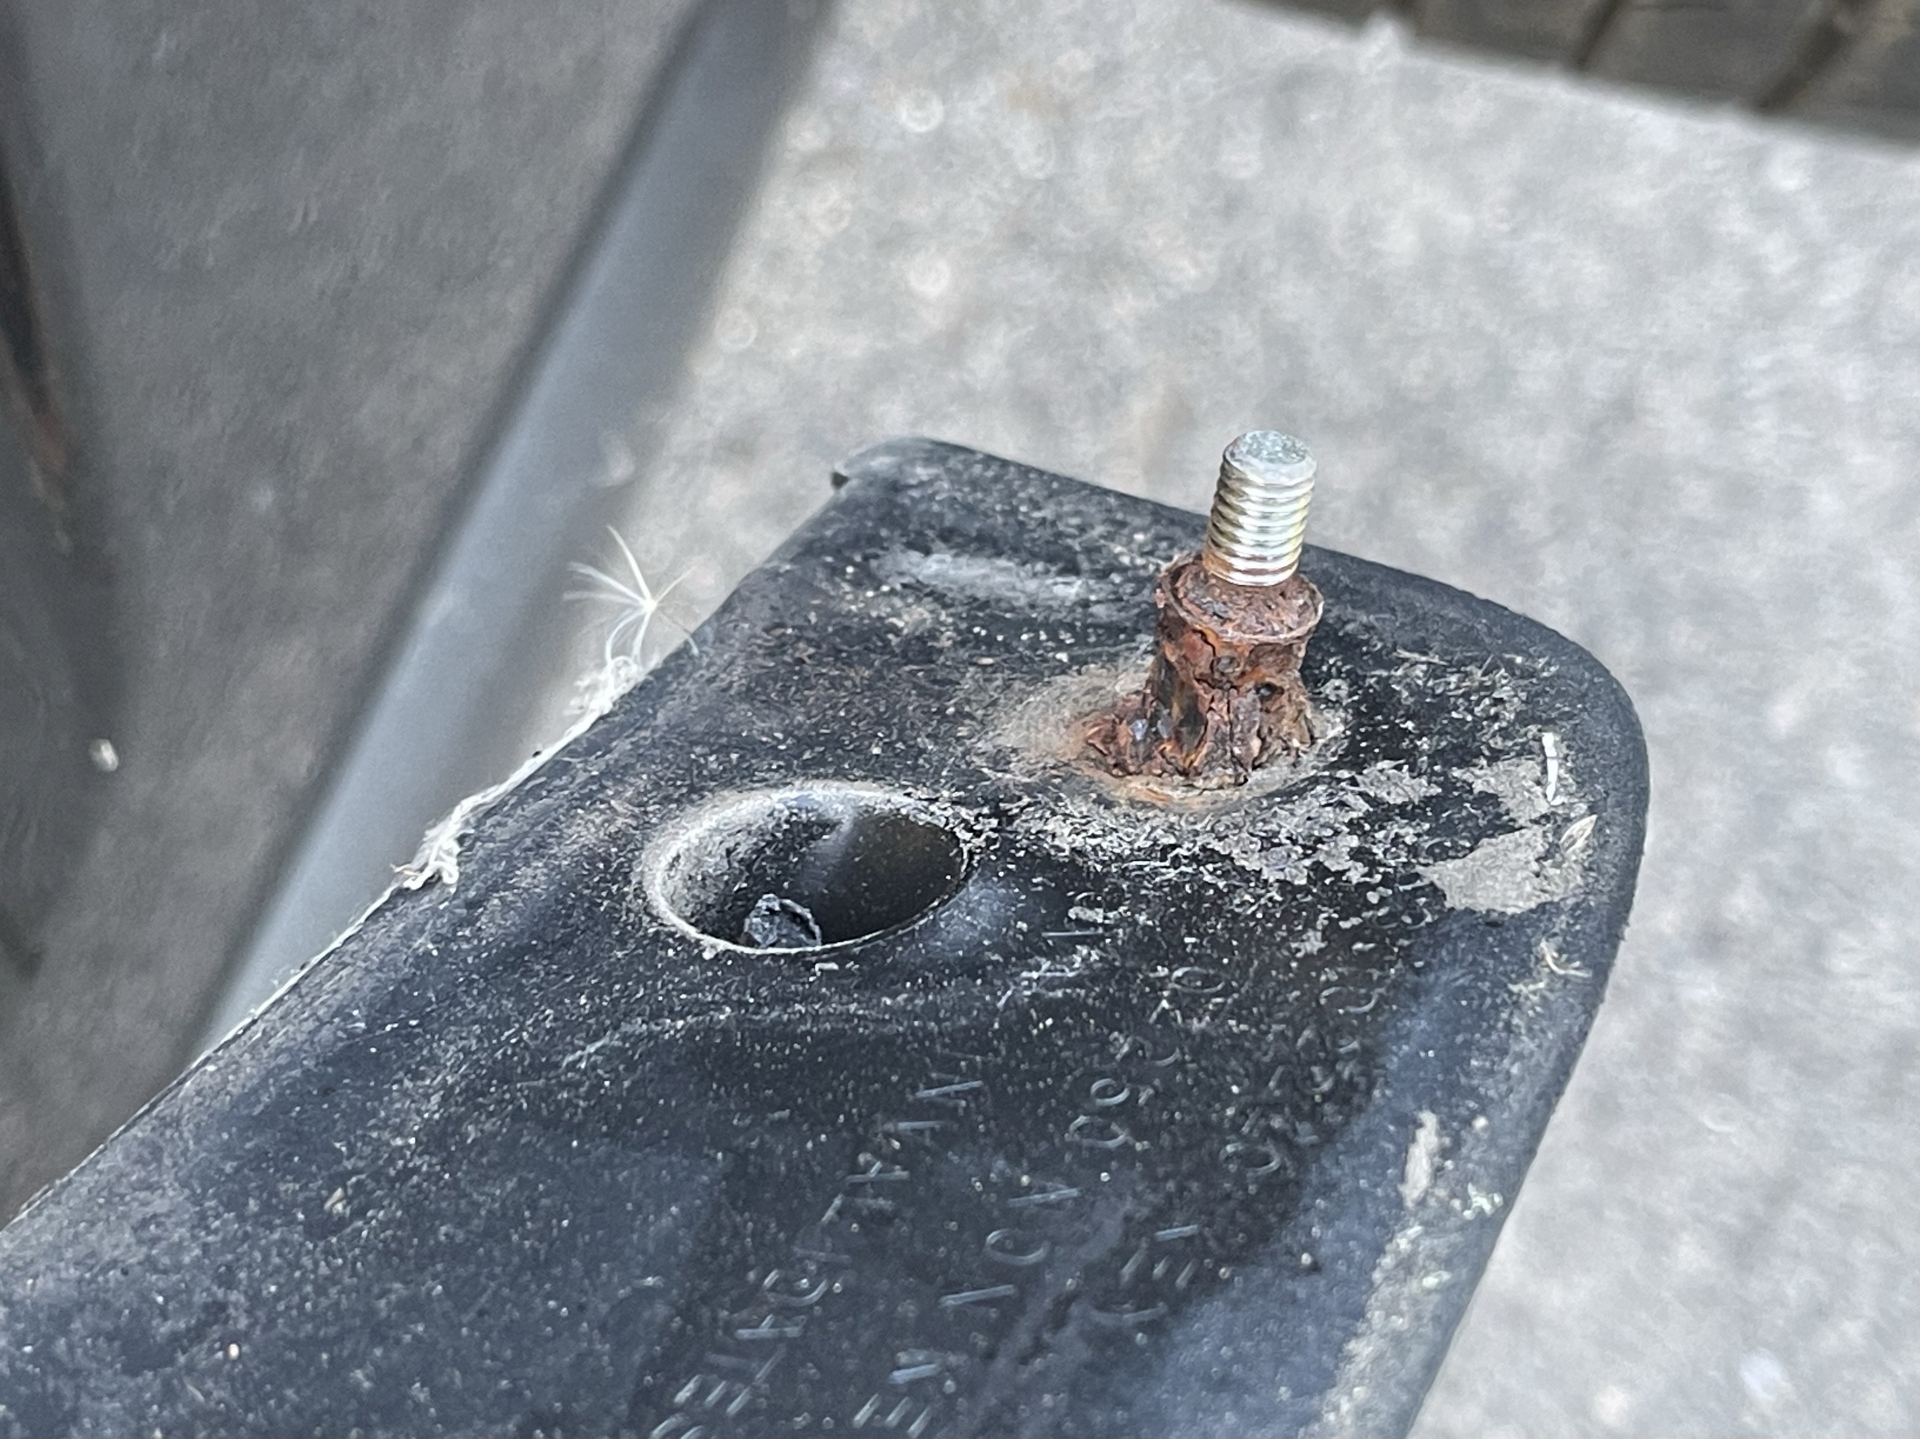
Anyway that was all on Thursday evening, once I knew the latch came off I just put it back together and saved it for today, so I took it off again and brought it in the house for repair. This is another shot of the two rusty studs with the smaller good one. Of course, another spider was living inside and ran out across my desk. I was forced to kill it before it could get behind the desk and cause me to burn the entire house down.
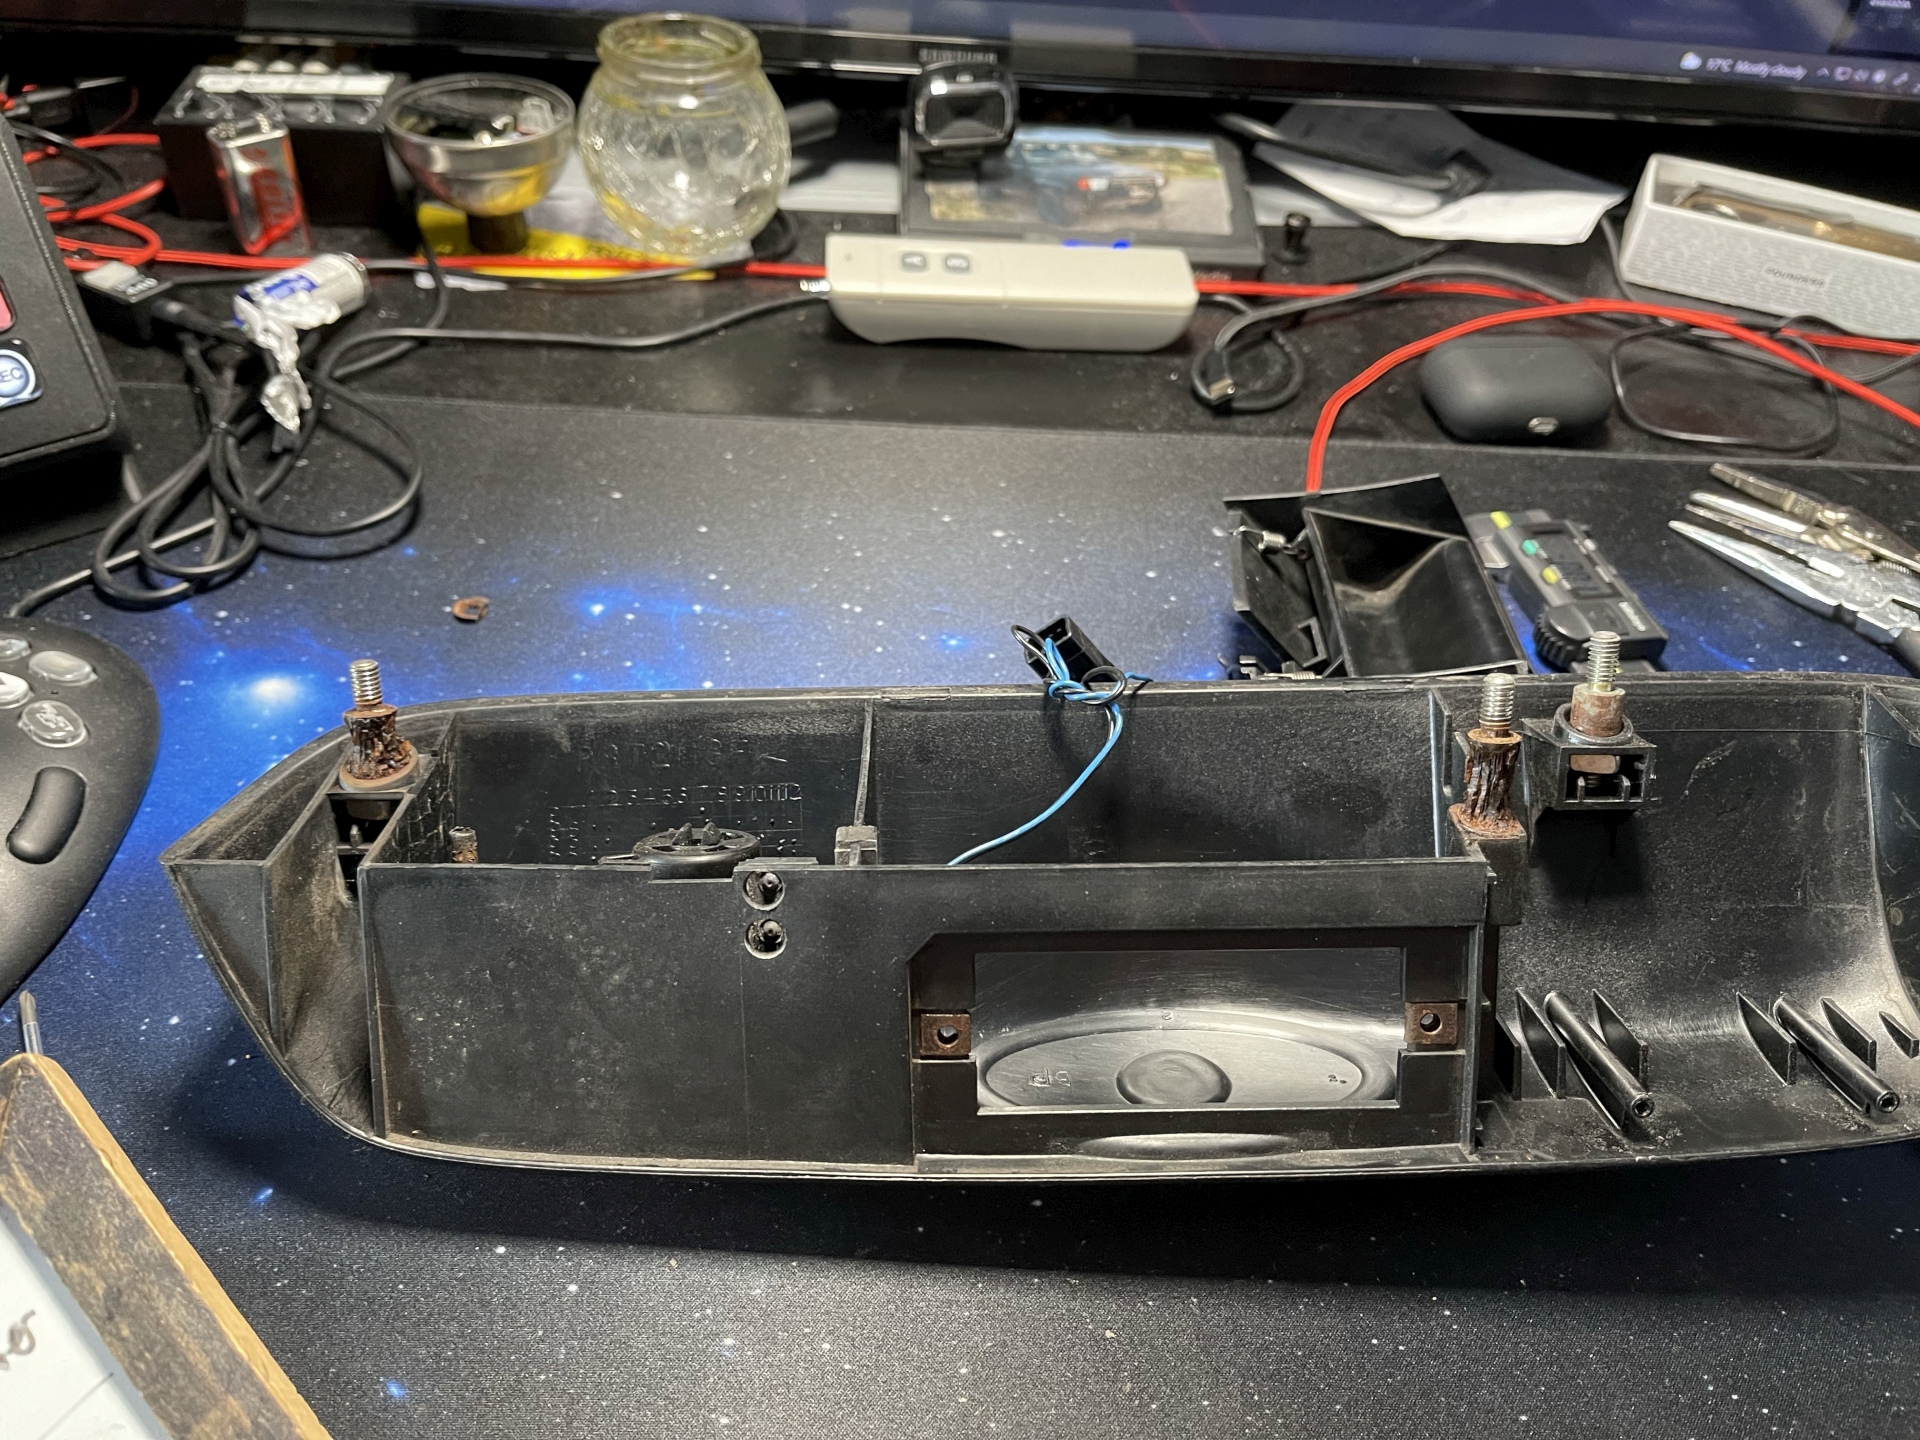
I wanted to measure them so I could maybe make replacements, the outer two have chunky square nuts but the middle one is threaded into the plastic. The 'spacers' are 10mm diameter but it's all one piece of machined metal. This one came out fine...
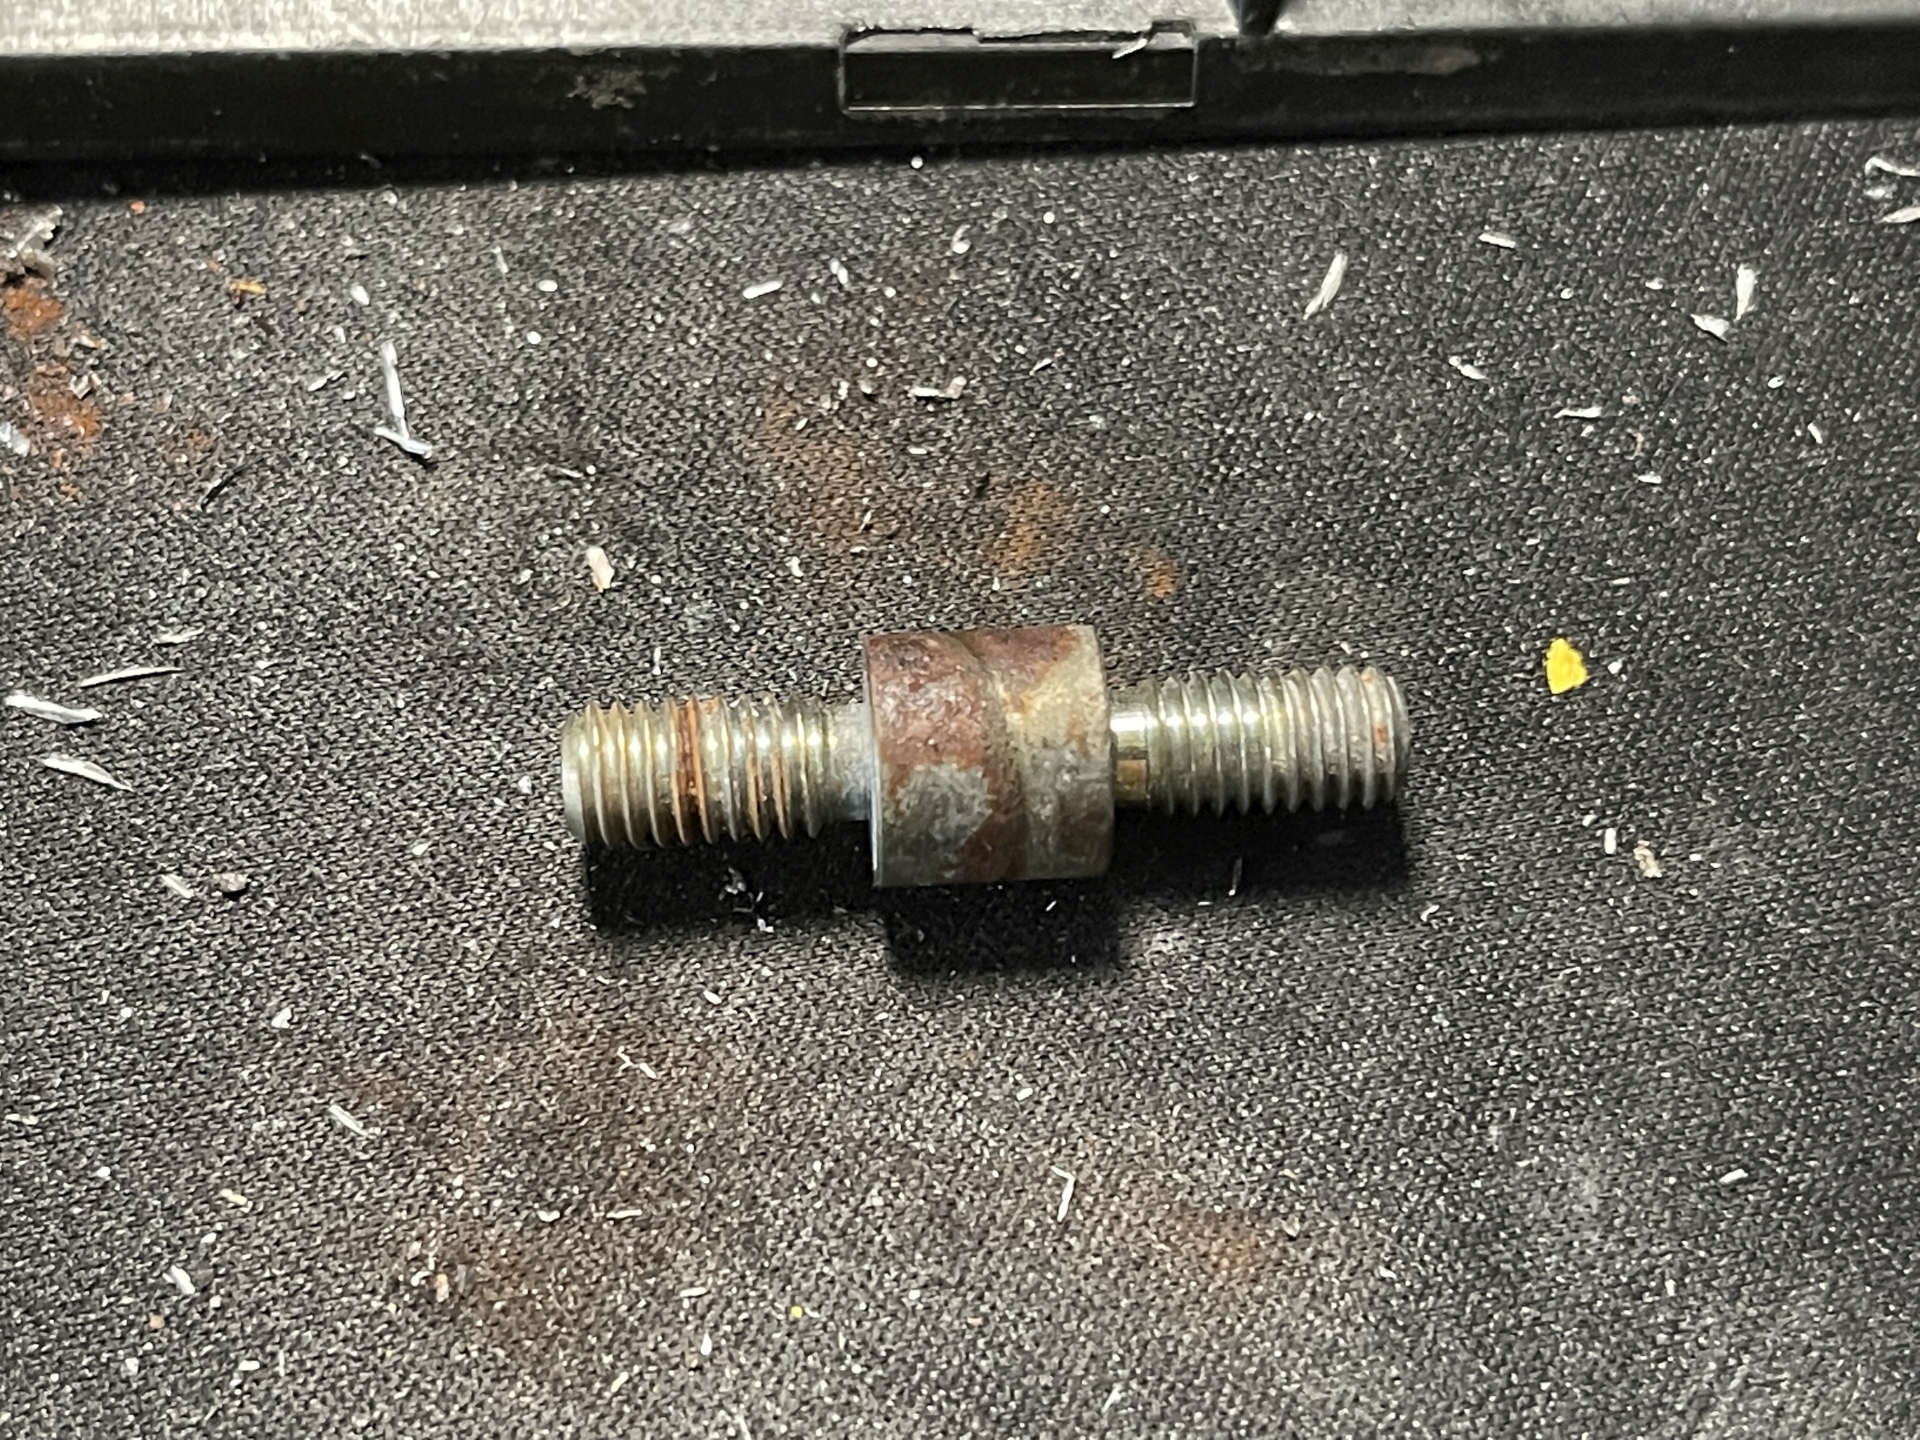
...but this one broke so I had to cut the head off a bolt and make my own replacement with two nuts. It worked fine.
I didn't take any pictures of reparing the wire but I just cut a bit of similar thickness wire from stock and spliced it in, then when refitting the latch button I taped the wires into the guide groove so they couldn't come out and be damaged again. I slapped some anti-rust around the holes in the bodywork before fitting to the car and it works fine. Springs do the job too.
Act II
I was originally going to get a new set of floor mats from JLR but I saw a used set selling cheap on eBay so got those, around a third of the price of new. Yes they're worn but they look right in an old Freelander that's got rough edges. First thing was to give them a wash as the previous owner hadn't bothered to do so.
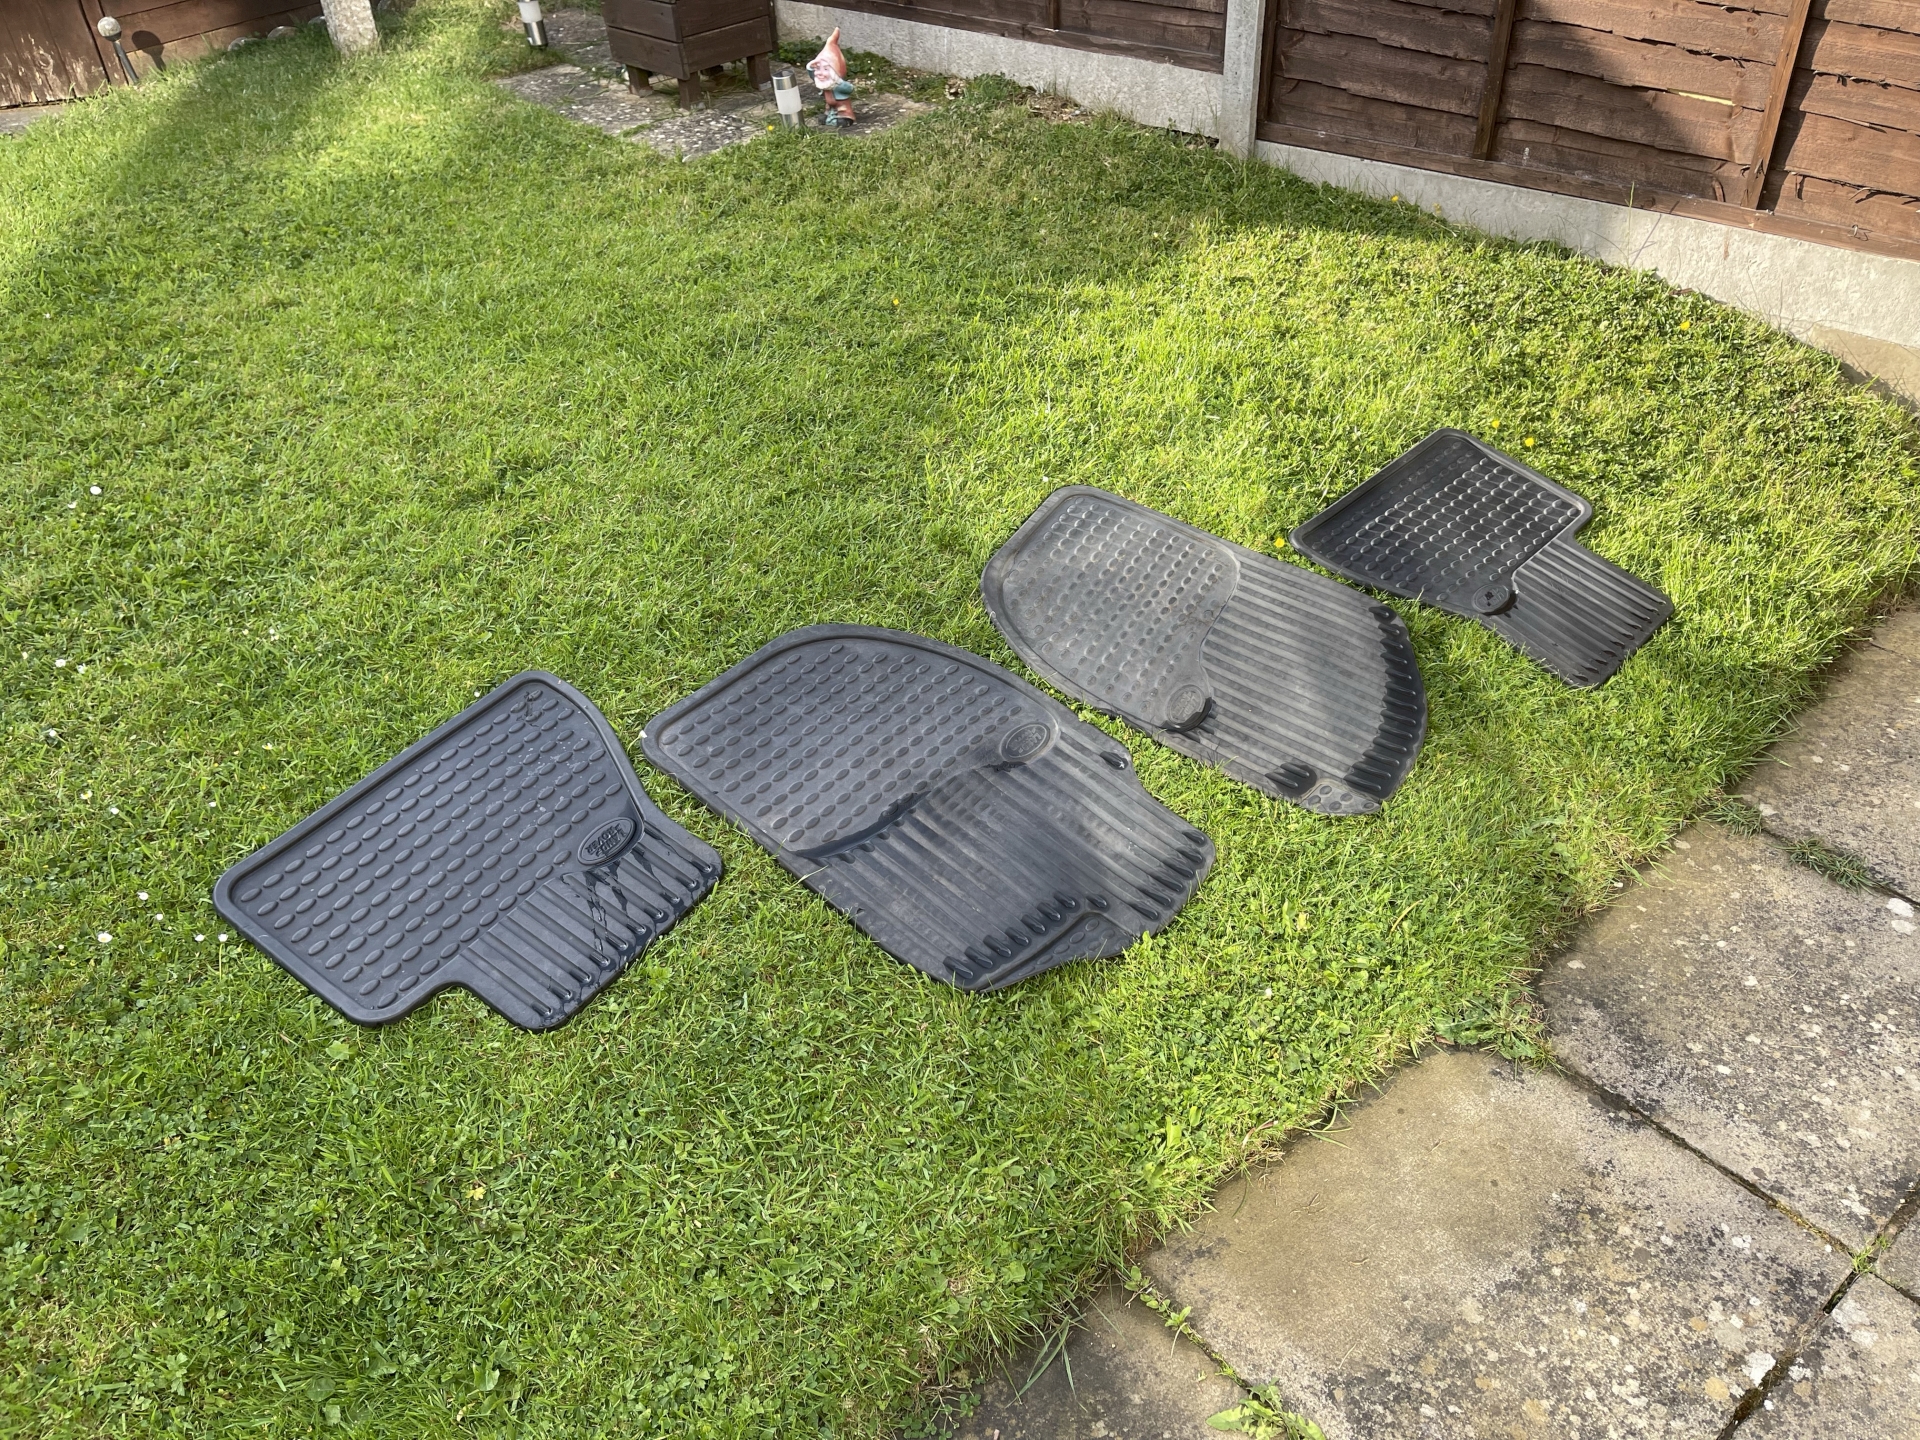
They're proper Freelander mats so fit perfectly as you would expect. They do look a bit faded though so I wanted to give them some help. I got some Auto Glym tyre dressing and gave one a bath, then rubbed off the excess. Definitely an improvement, the picture doesn't really do it justice.
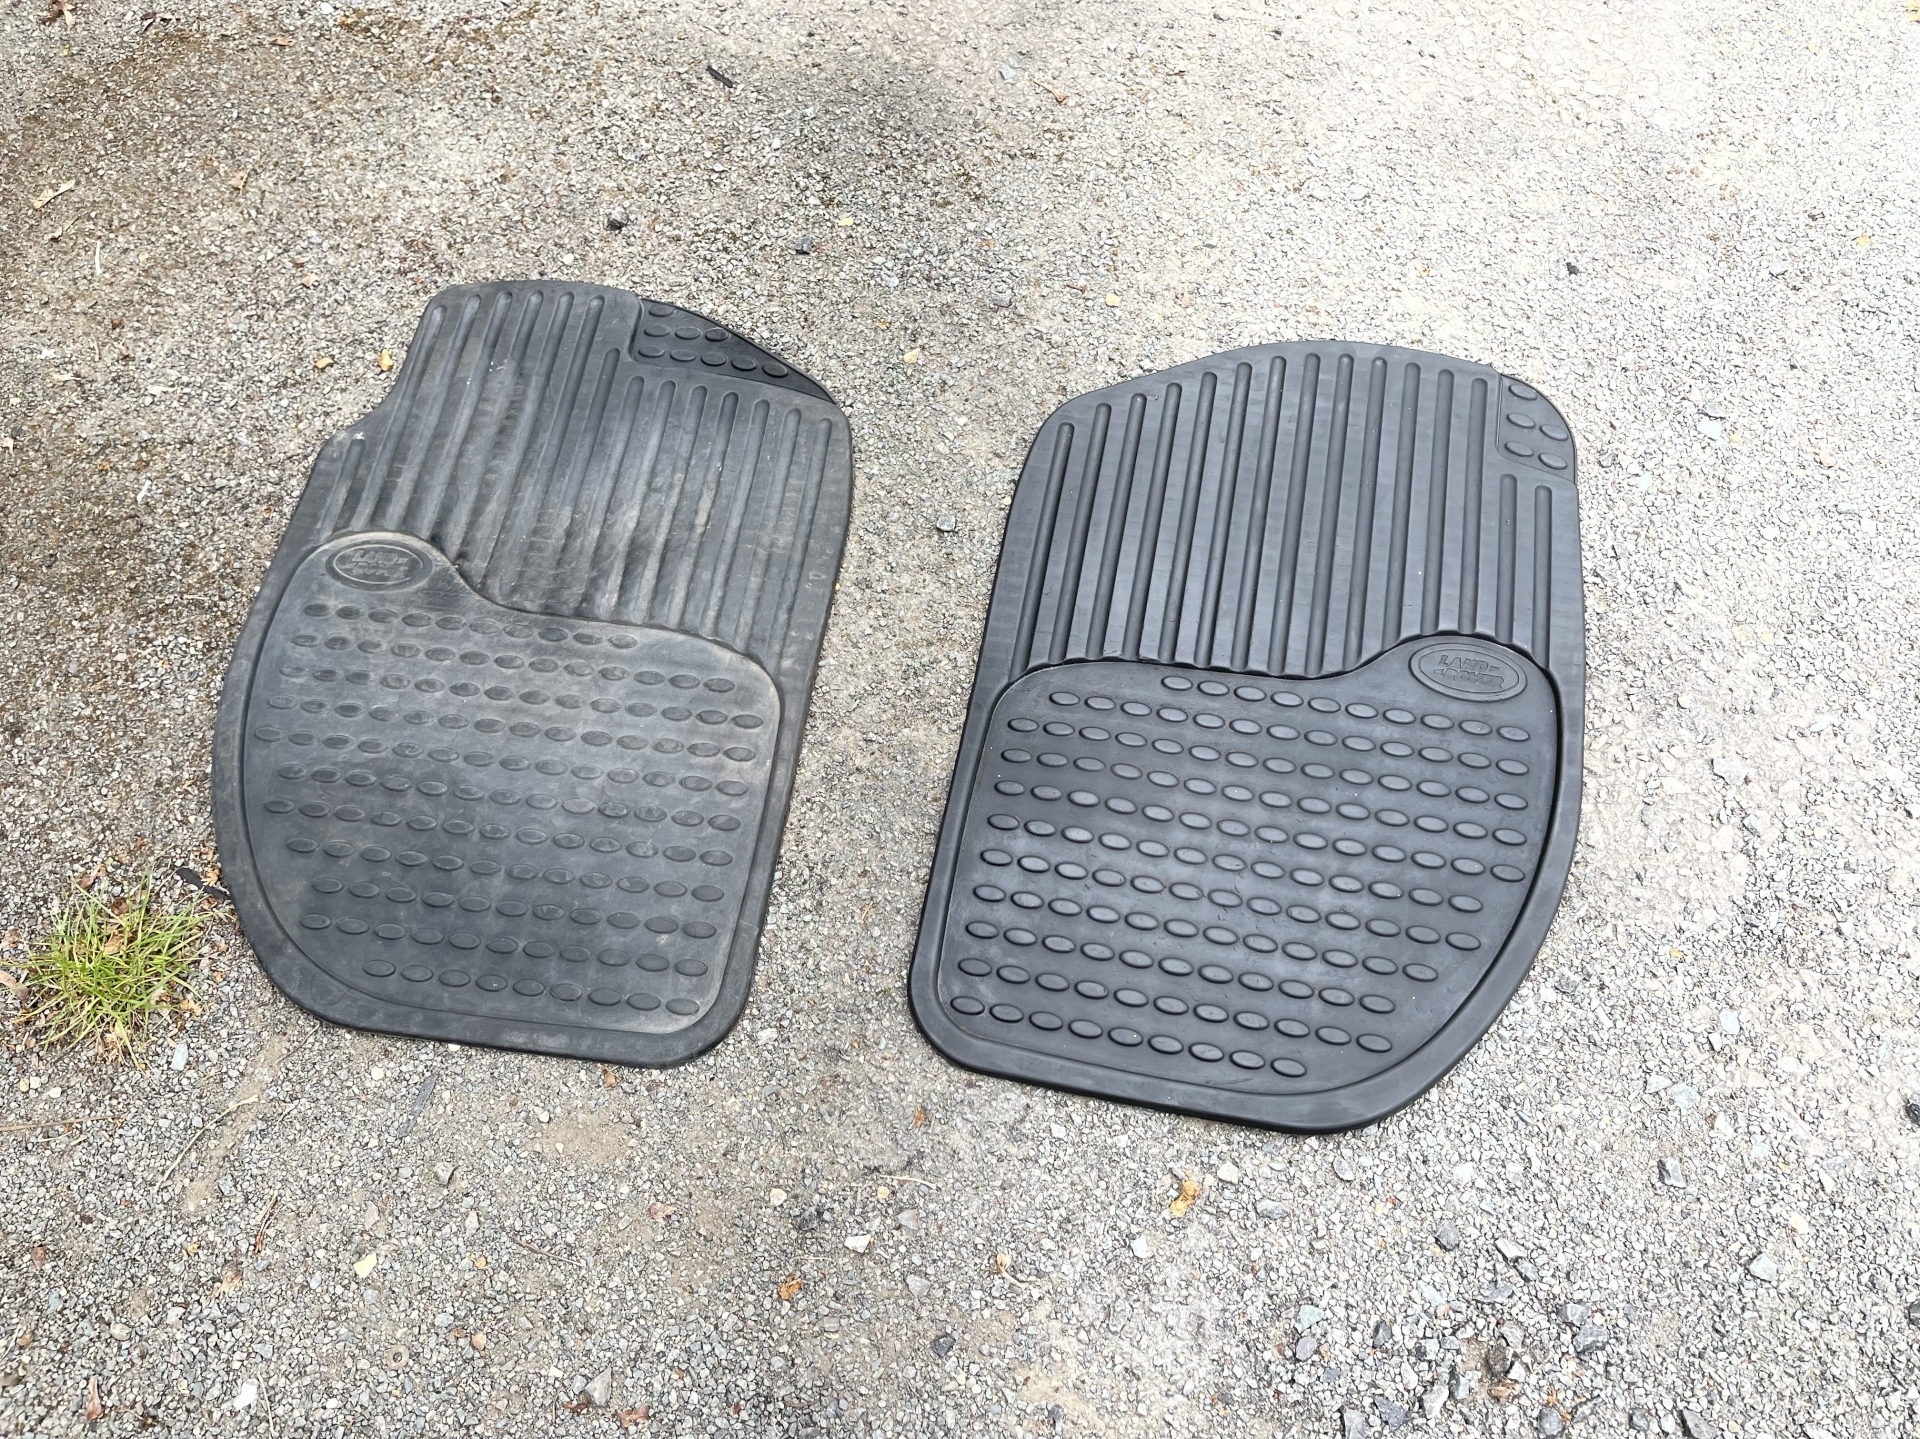
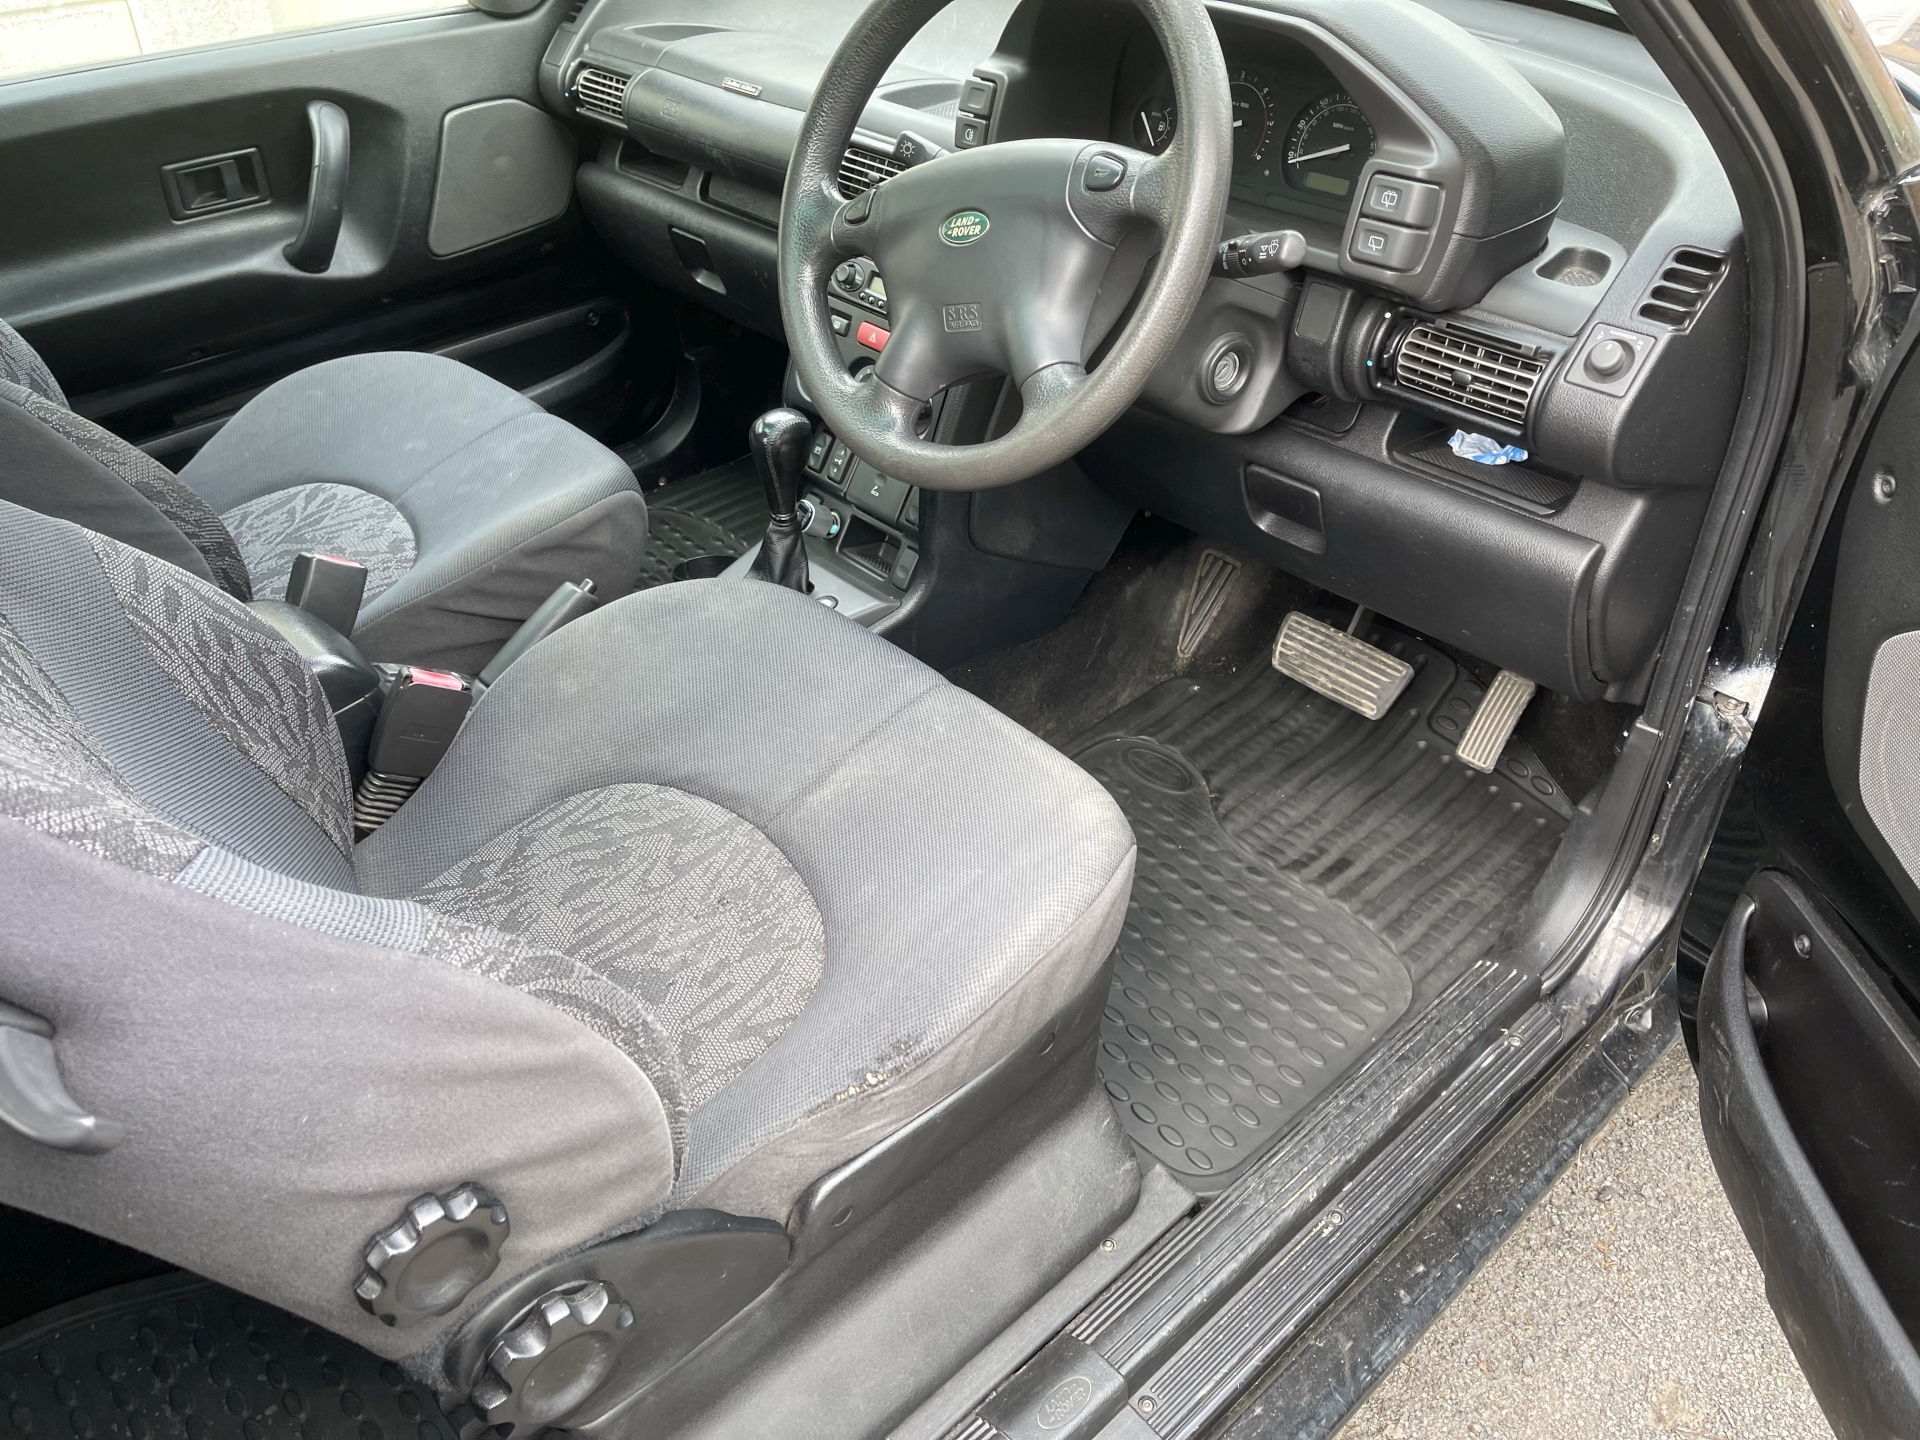
Once fiited in, I was going to add a 'before' picture but once again the difference isn't as noticeable on camera. I didn't dress the back mats as they were darker and less worn already so I thought they might look odd.
 Act III
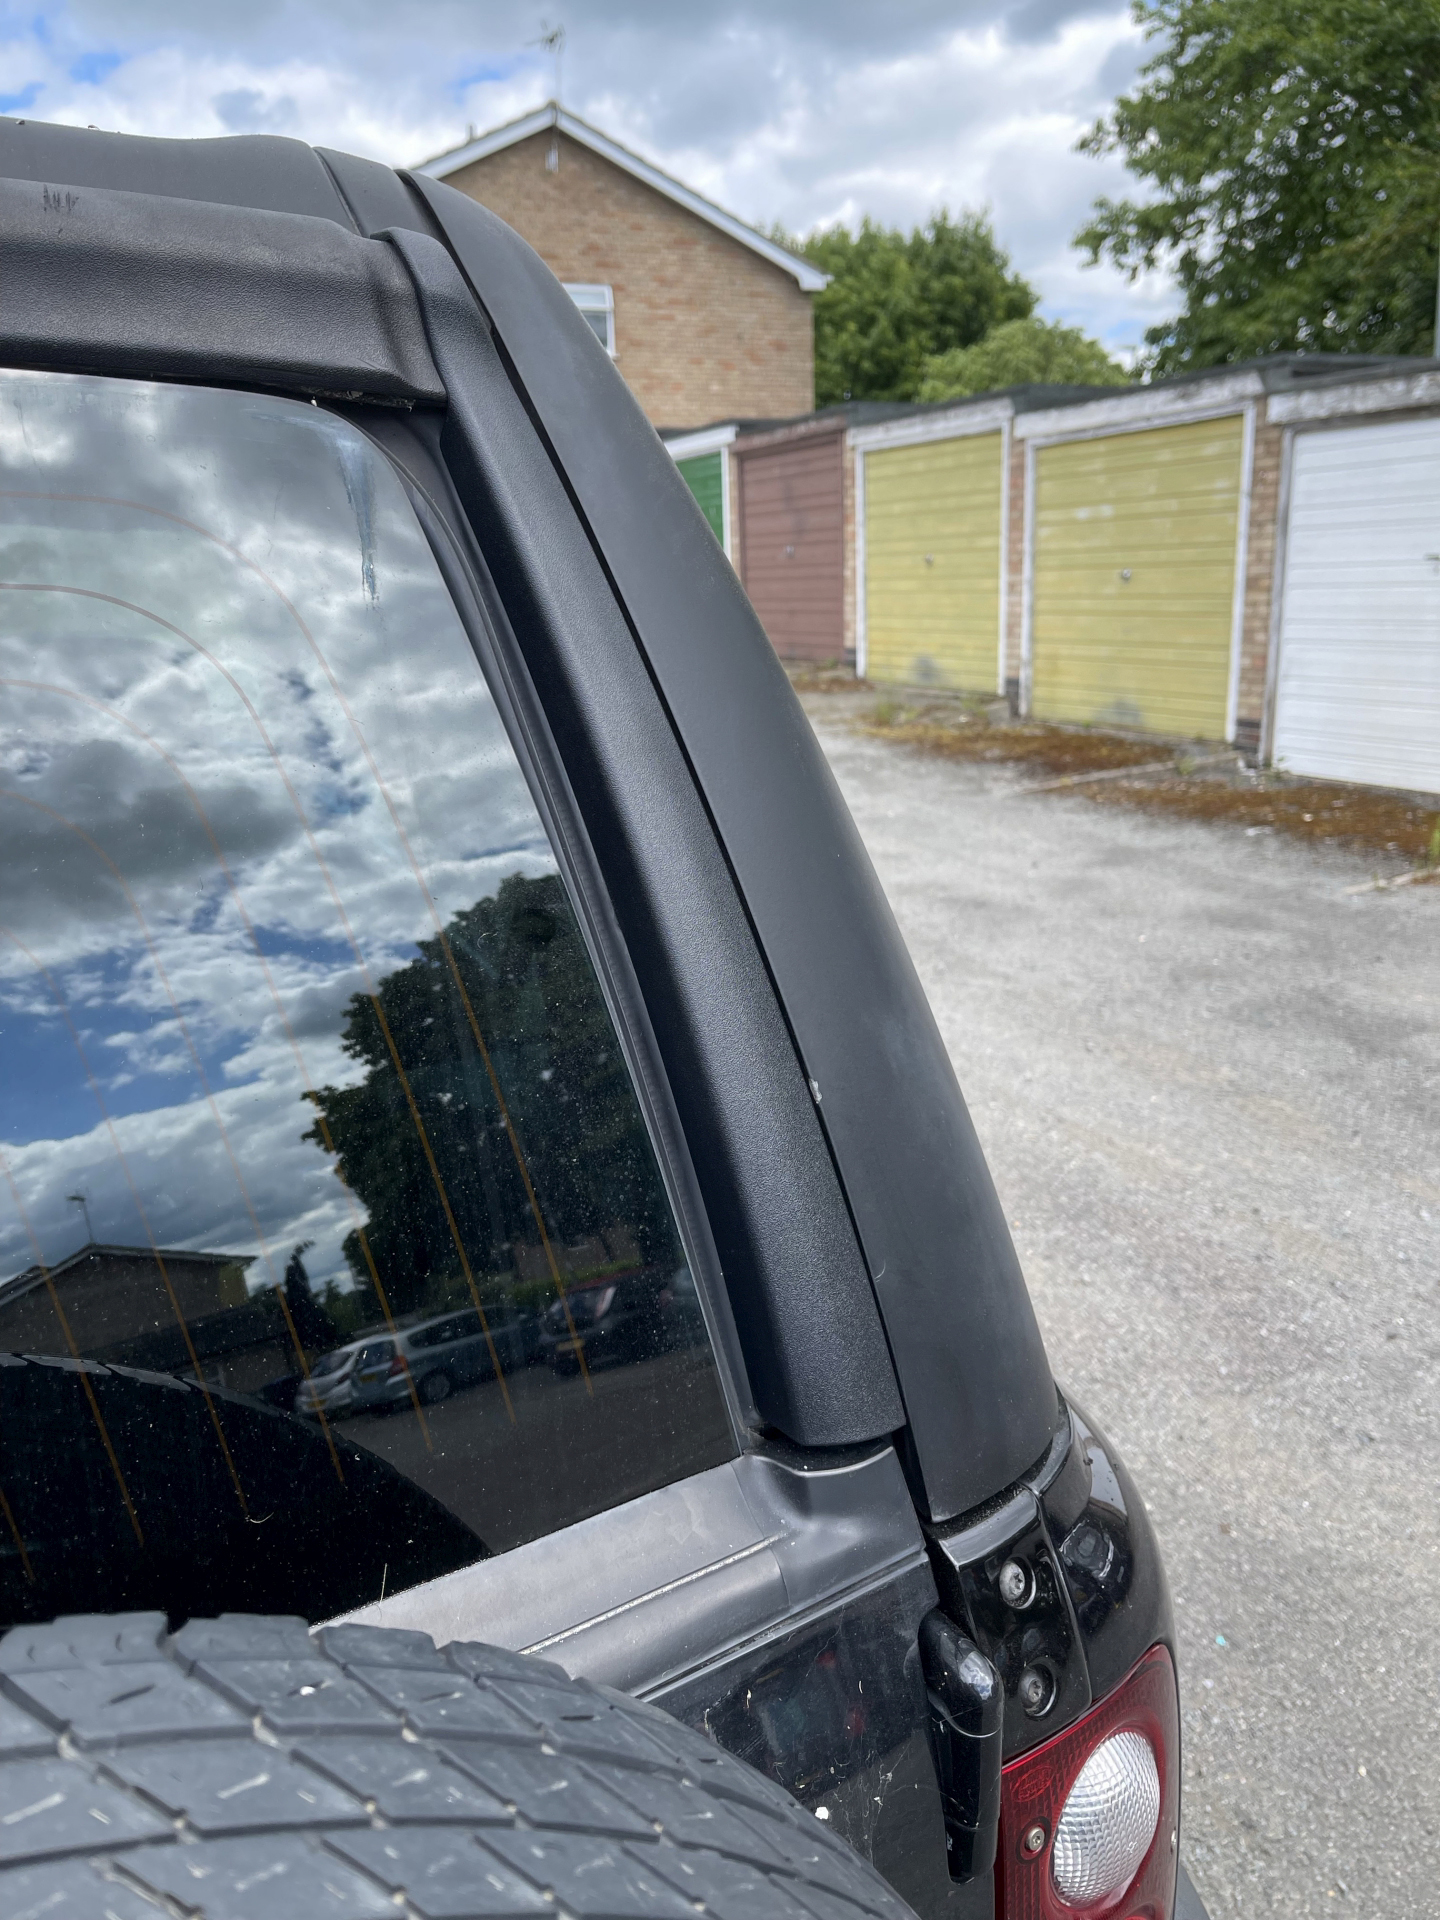
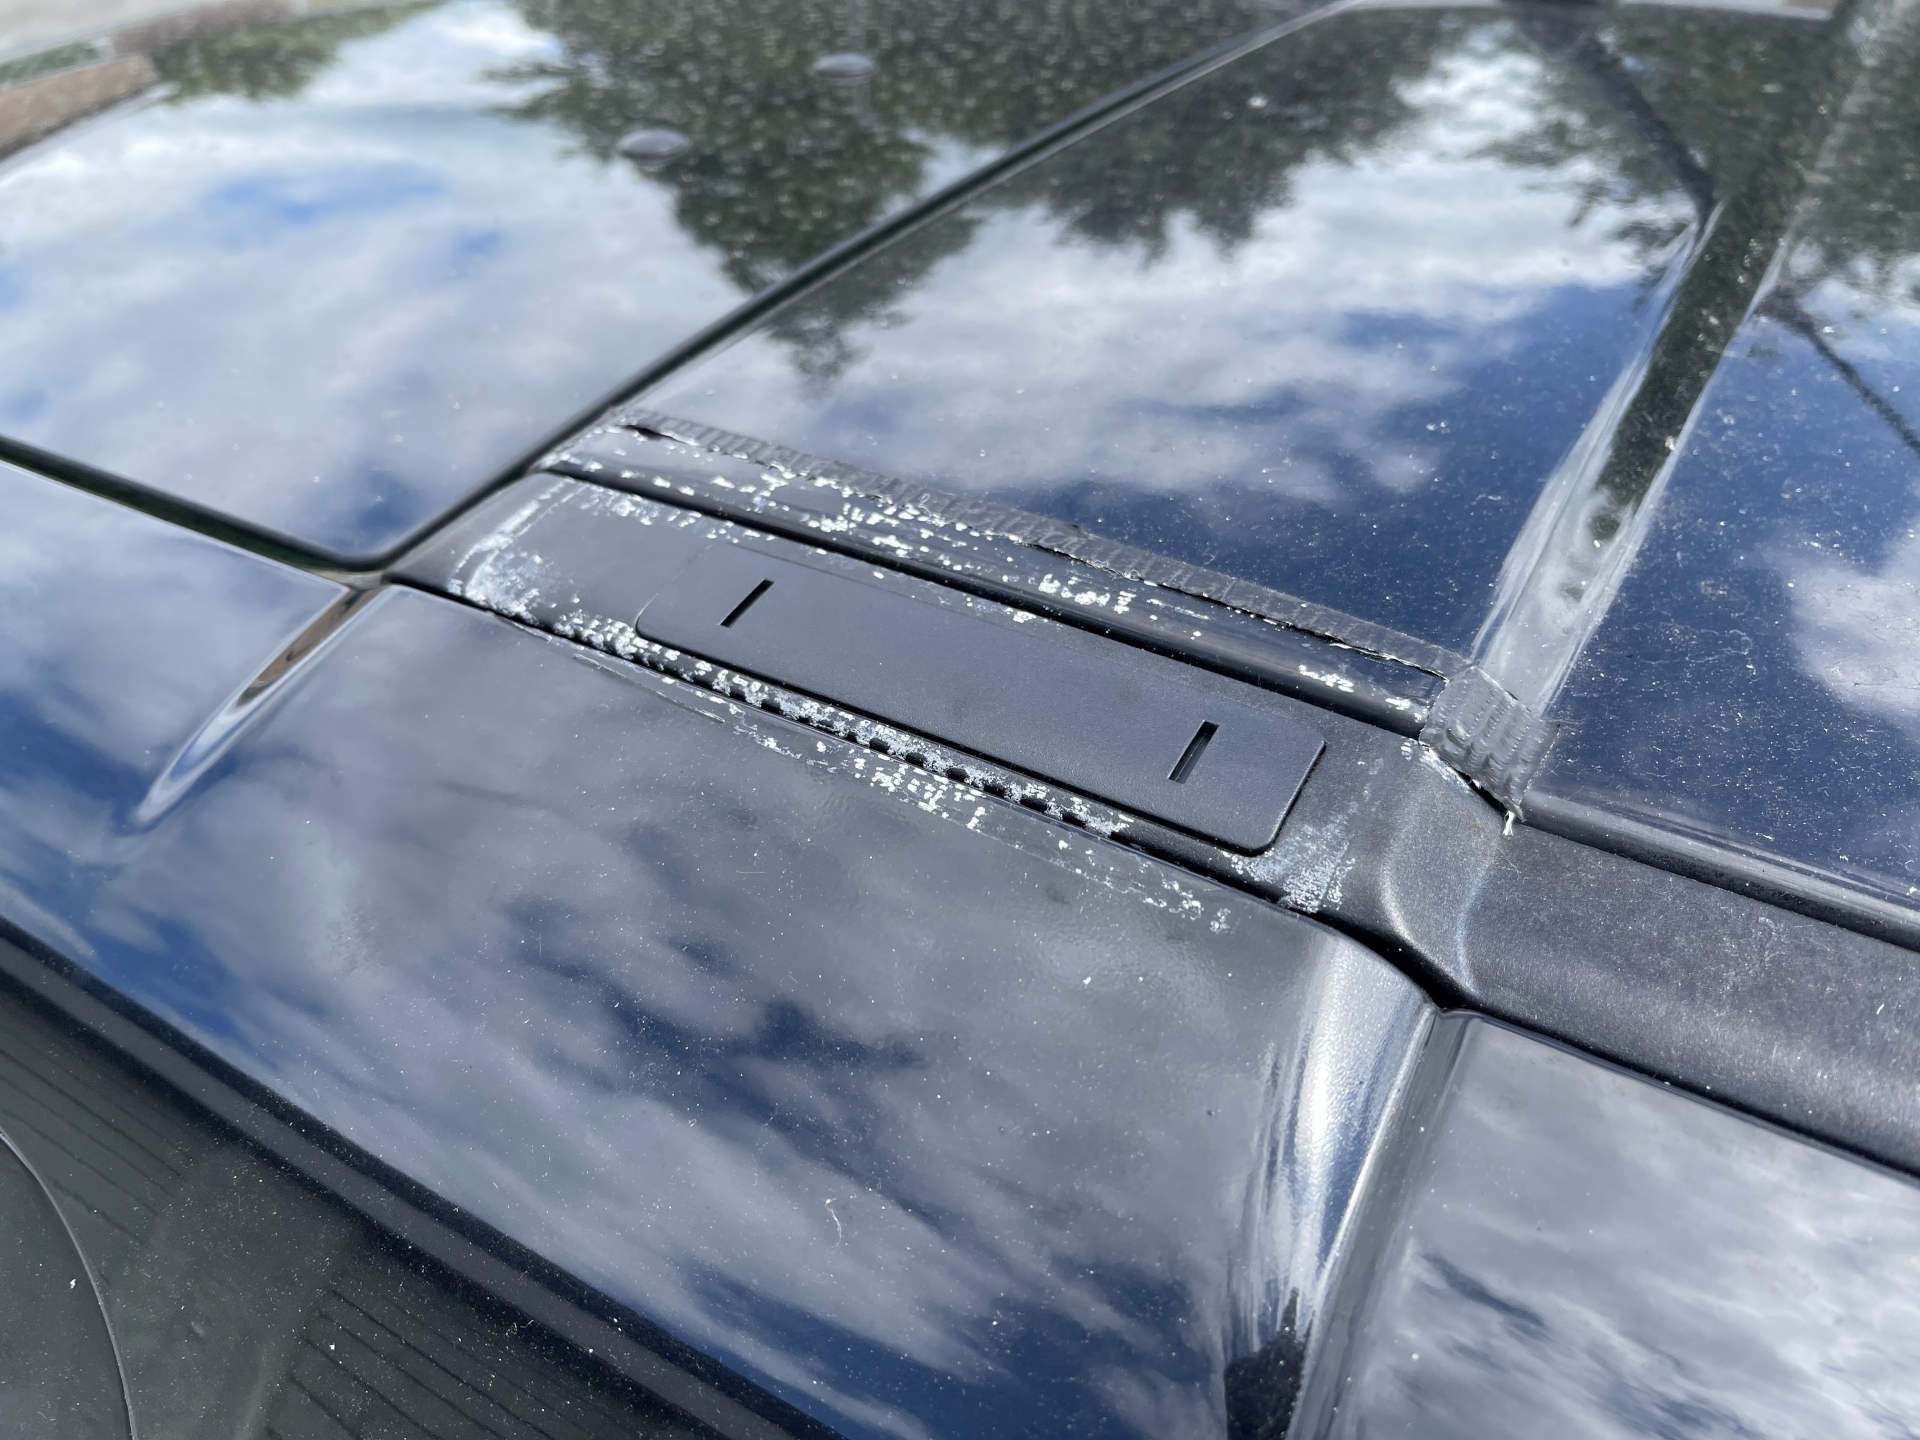
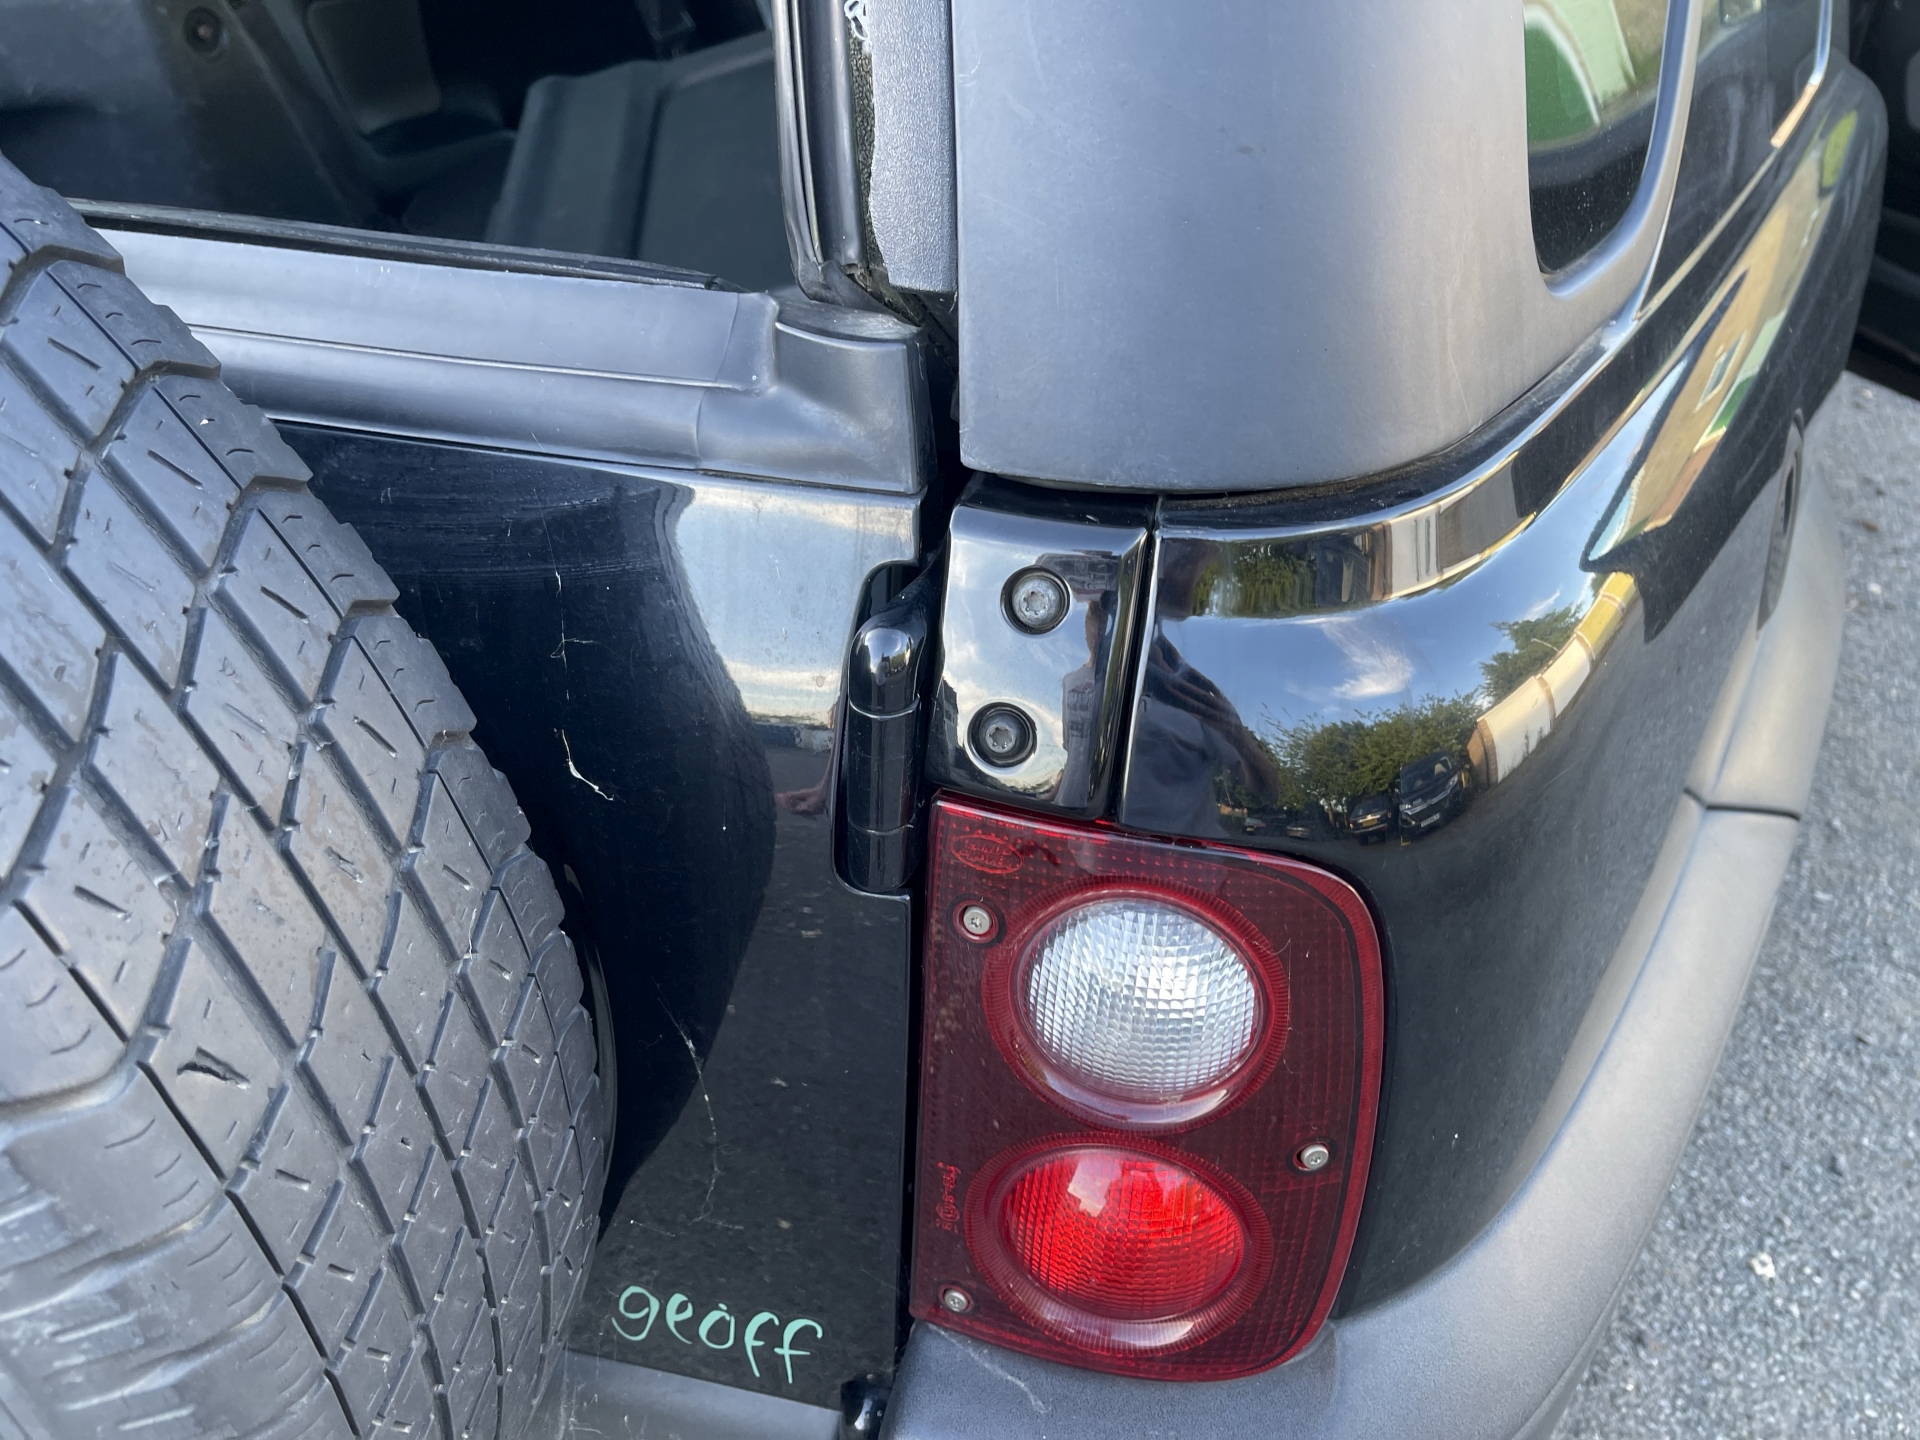
The seller with the spring kit also had some black caps that replace the roof bar fittings (you can see them on any previous pictures of Geoff's rear) so I grabbed those too and fitted them. Definitely better than roof bar mounts that are useless. Broken trim seen at the top here will be ordered next.
 Act IV
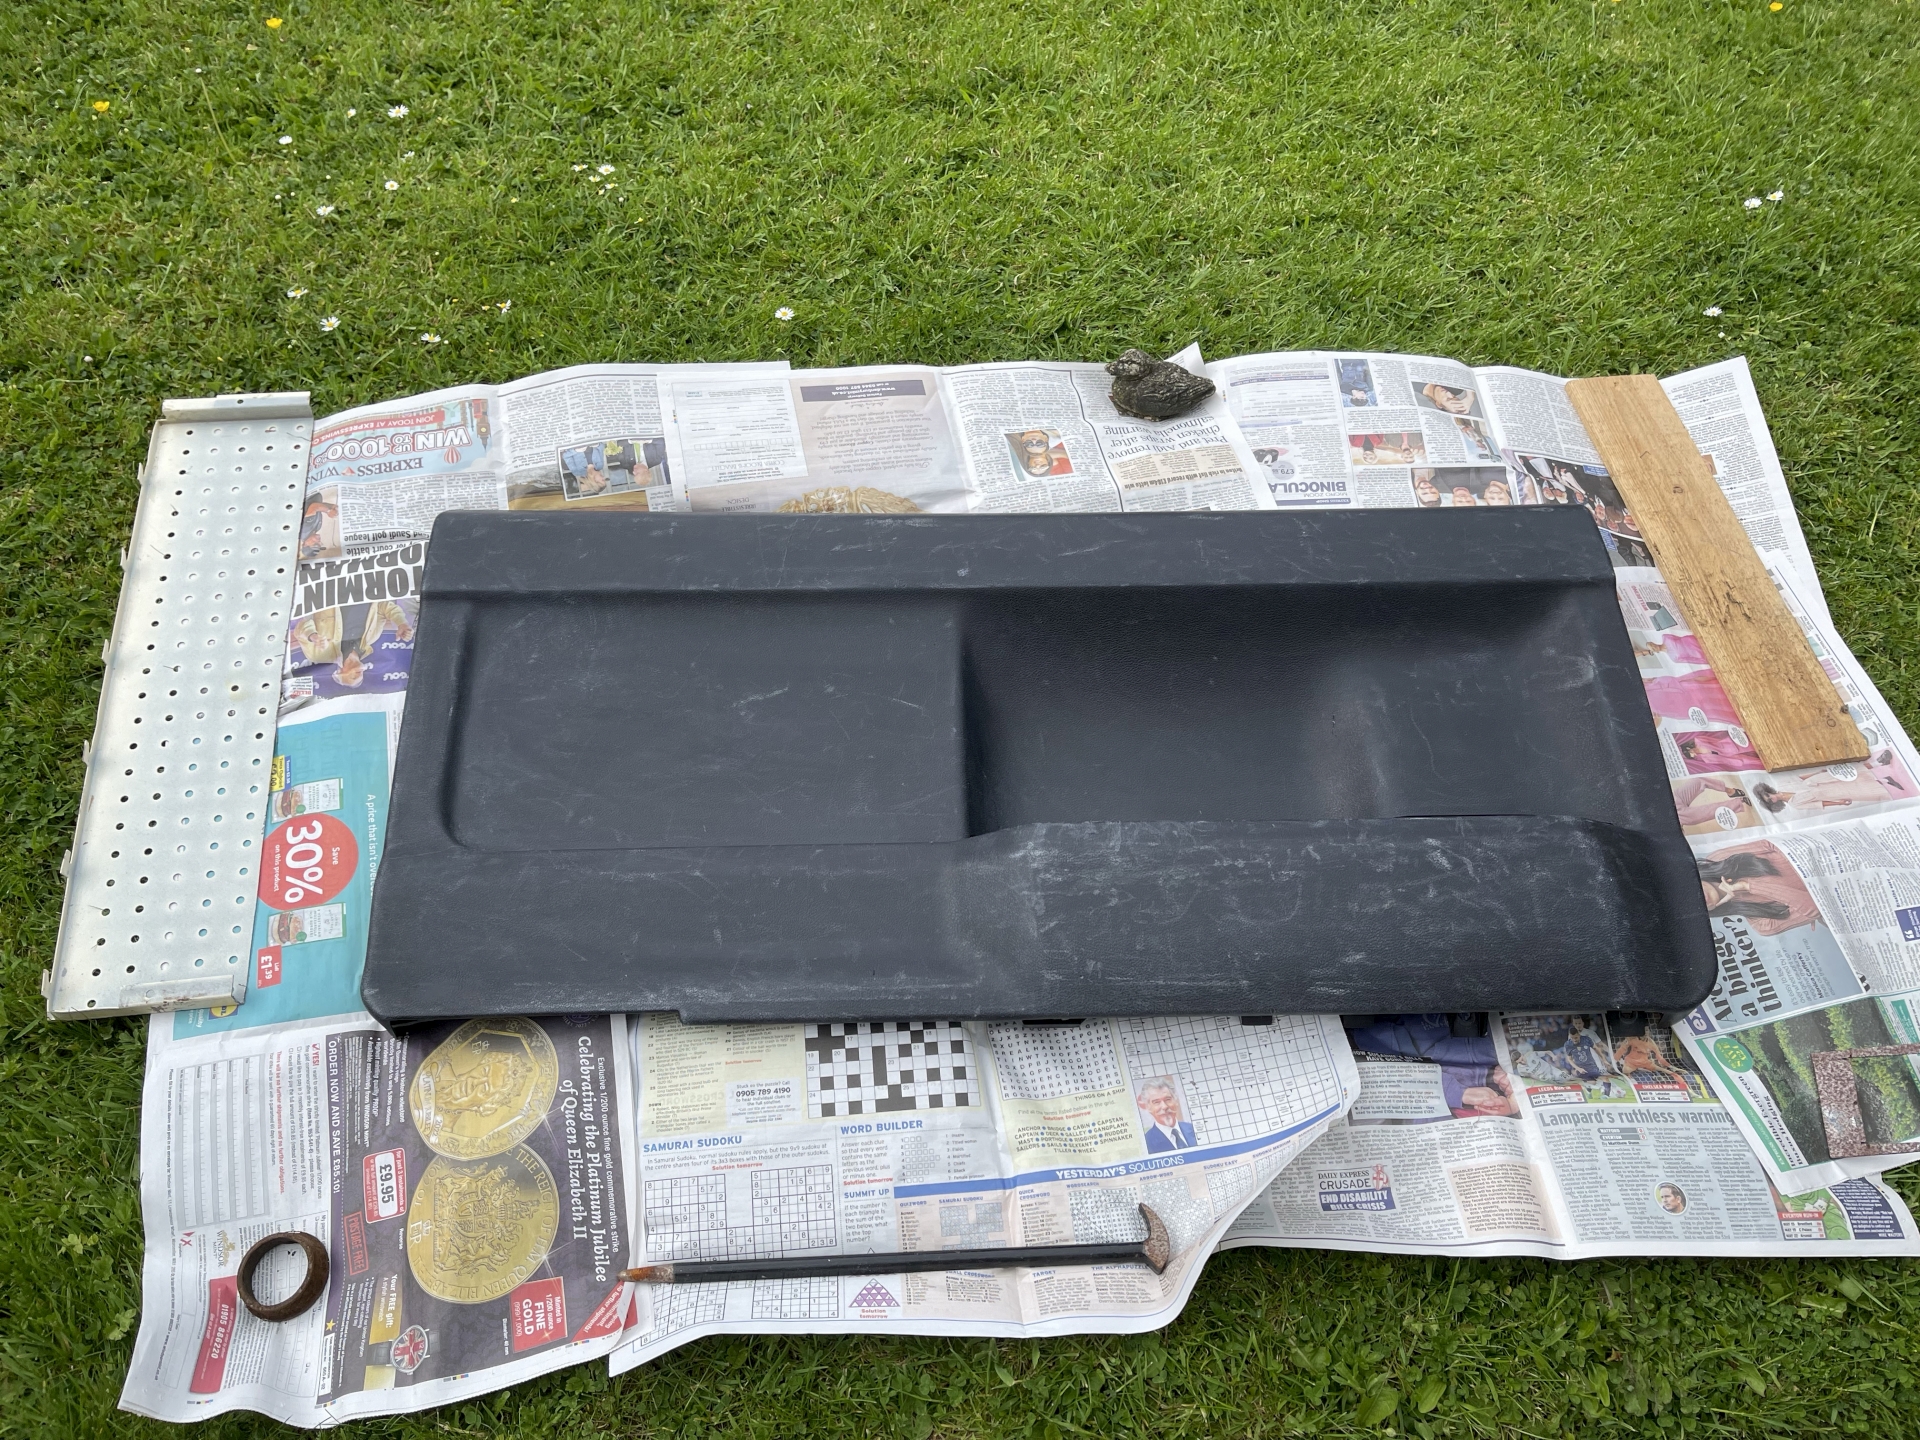
With the rear door card off, I wanted to give some vinyl spray paint a go to remove the scuffs. Halfords did their own so I grabbed some to try.
Before painting but after degreasing, lots of scuffs and cuts in the plastic, heat didn't do much to fix them.
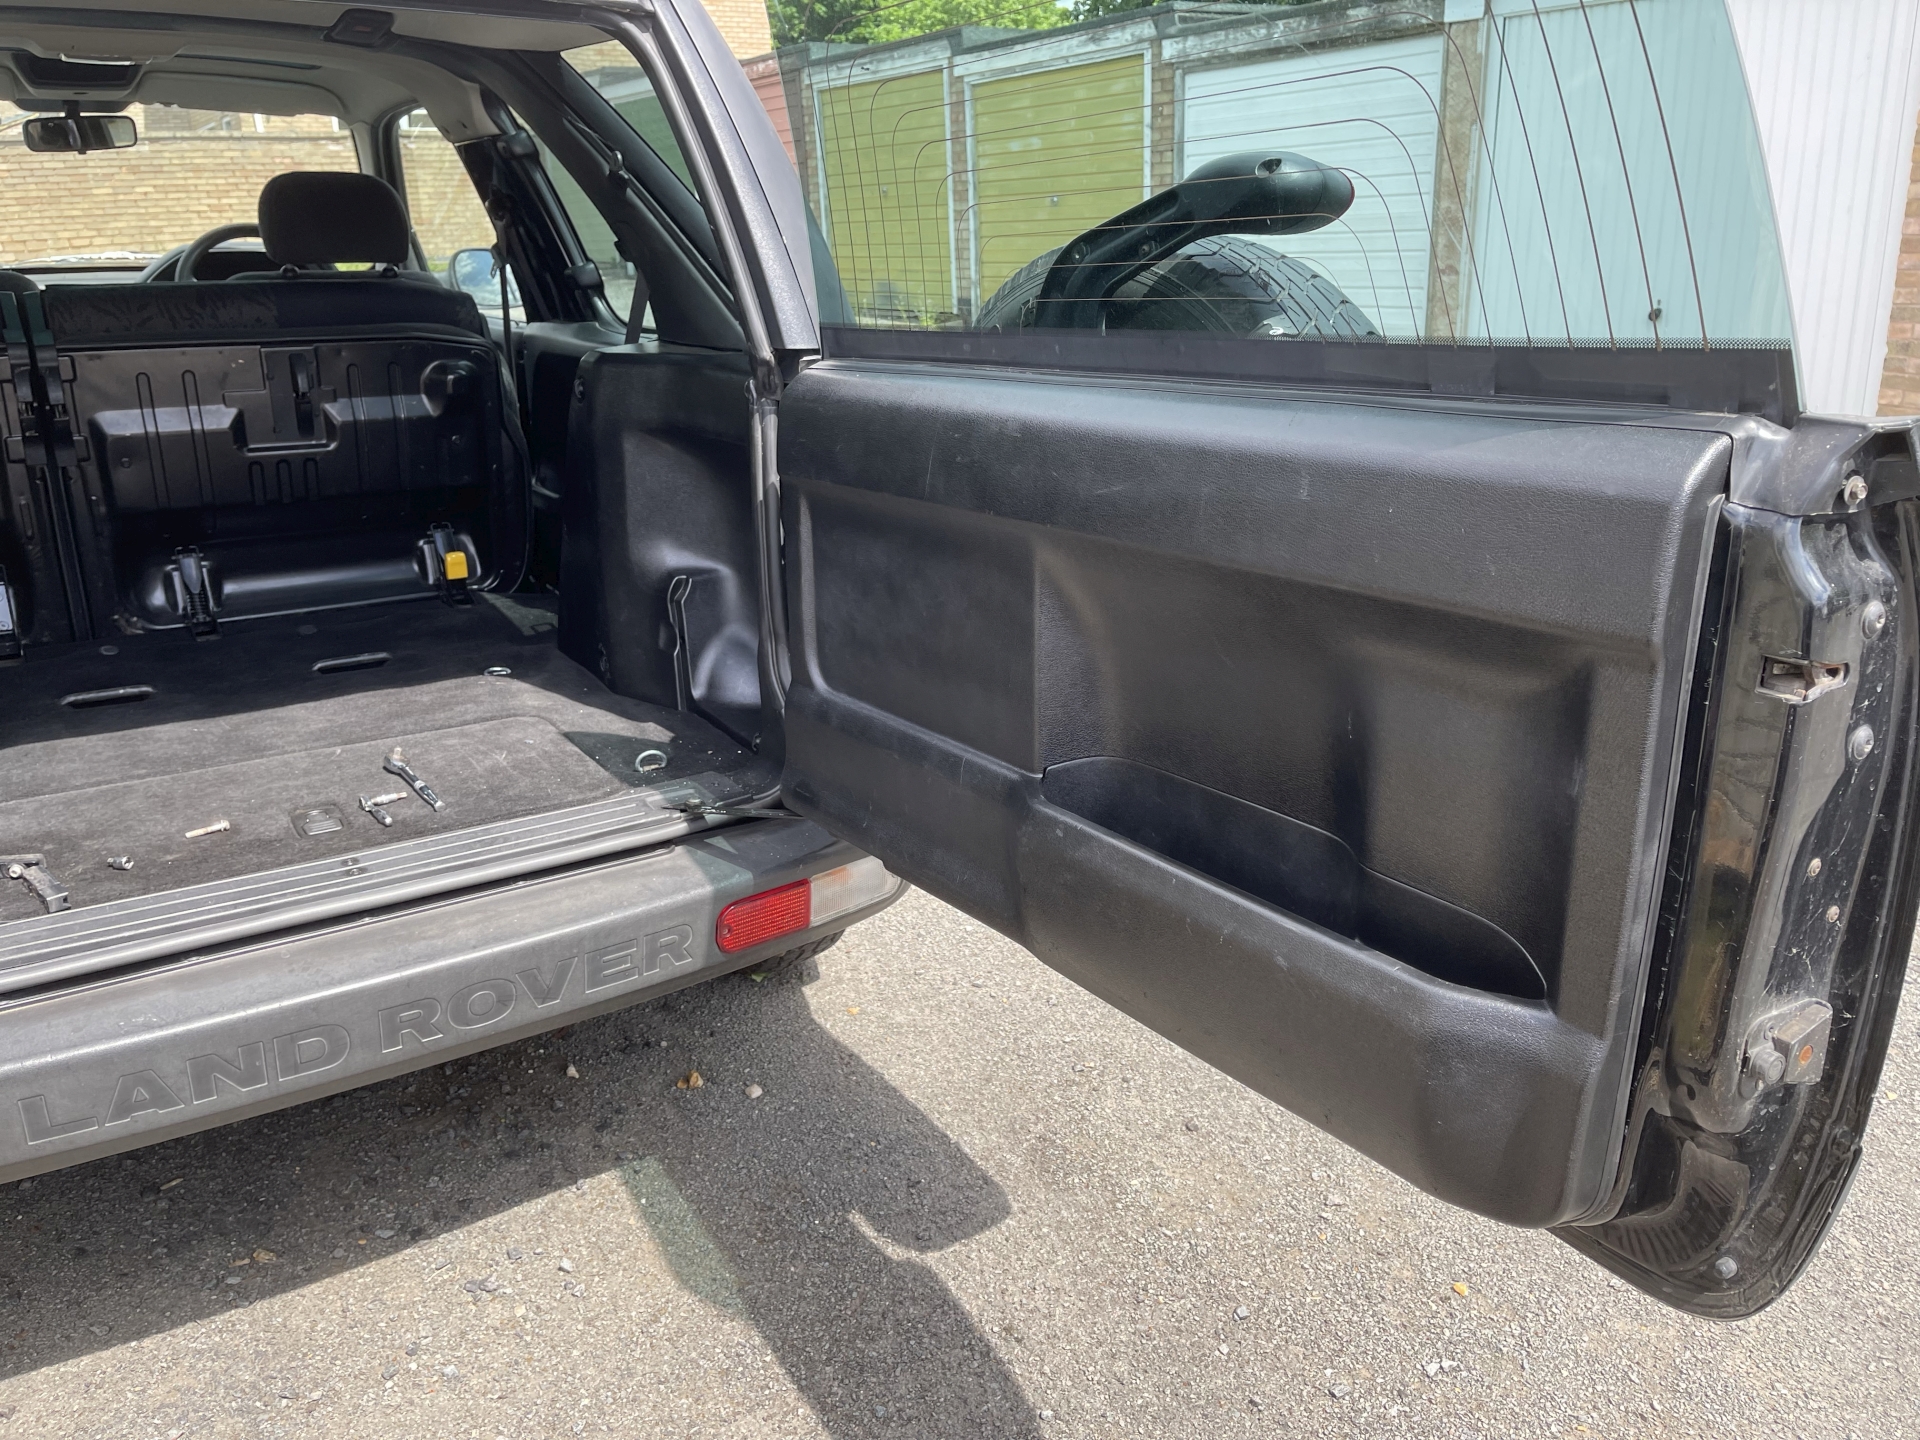
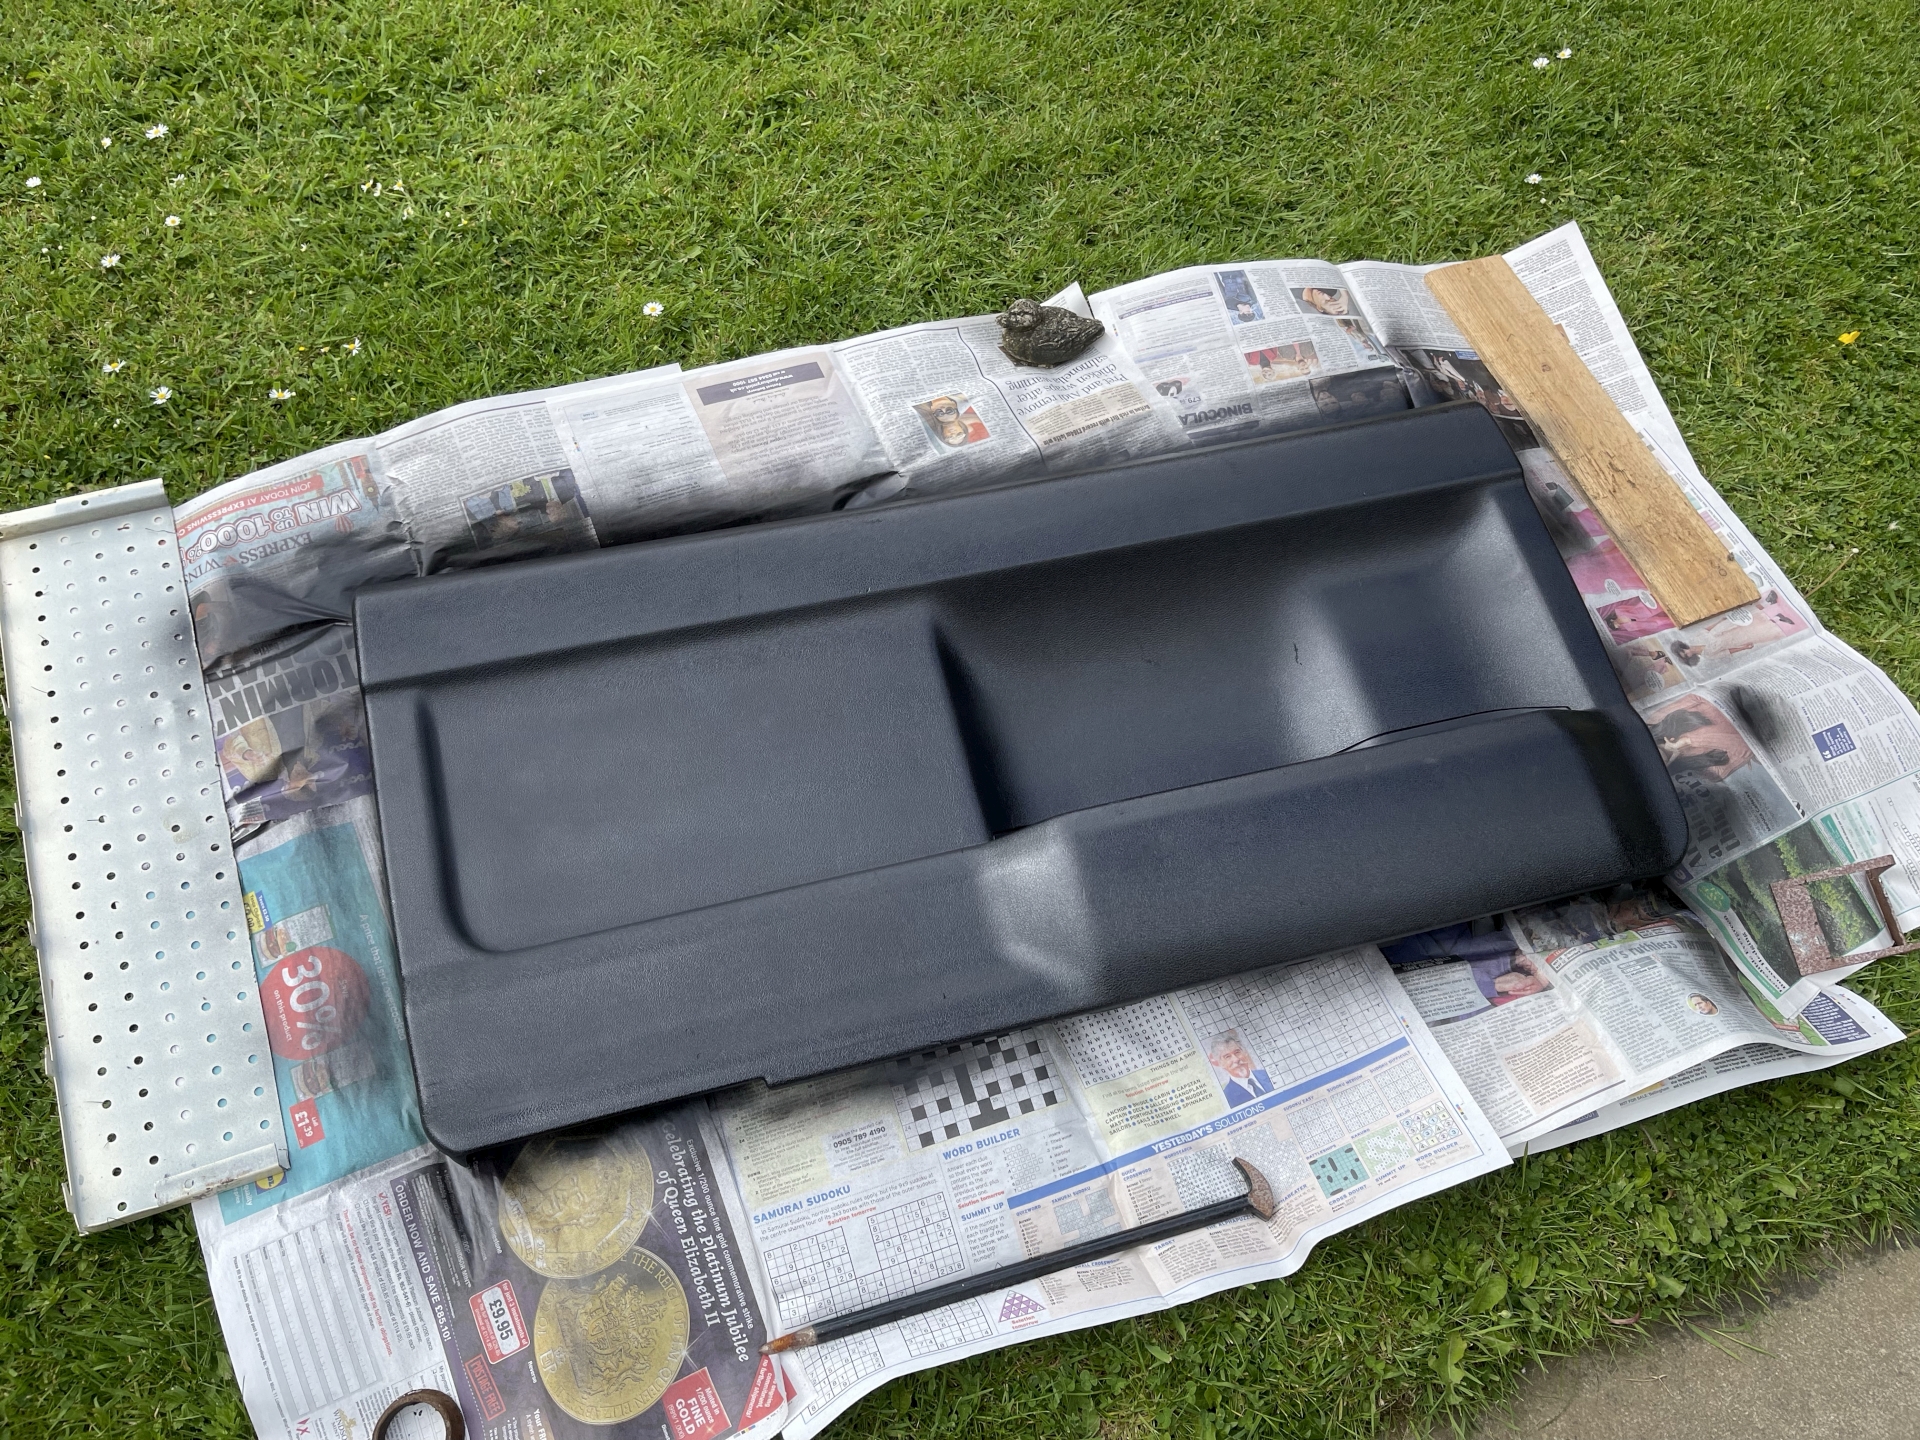
After two coats, looking much better. As you can see by the overspray this is thin stuff and it doesn't go on like a thick paint, however it does cover well. All the scuffs are gone, the scratches hidden and a satin shine brought back.
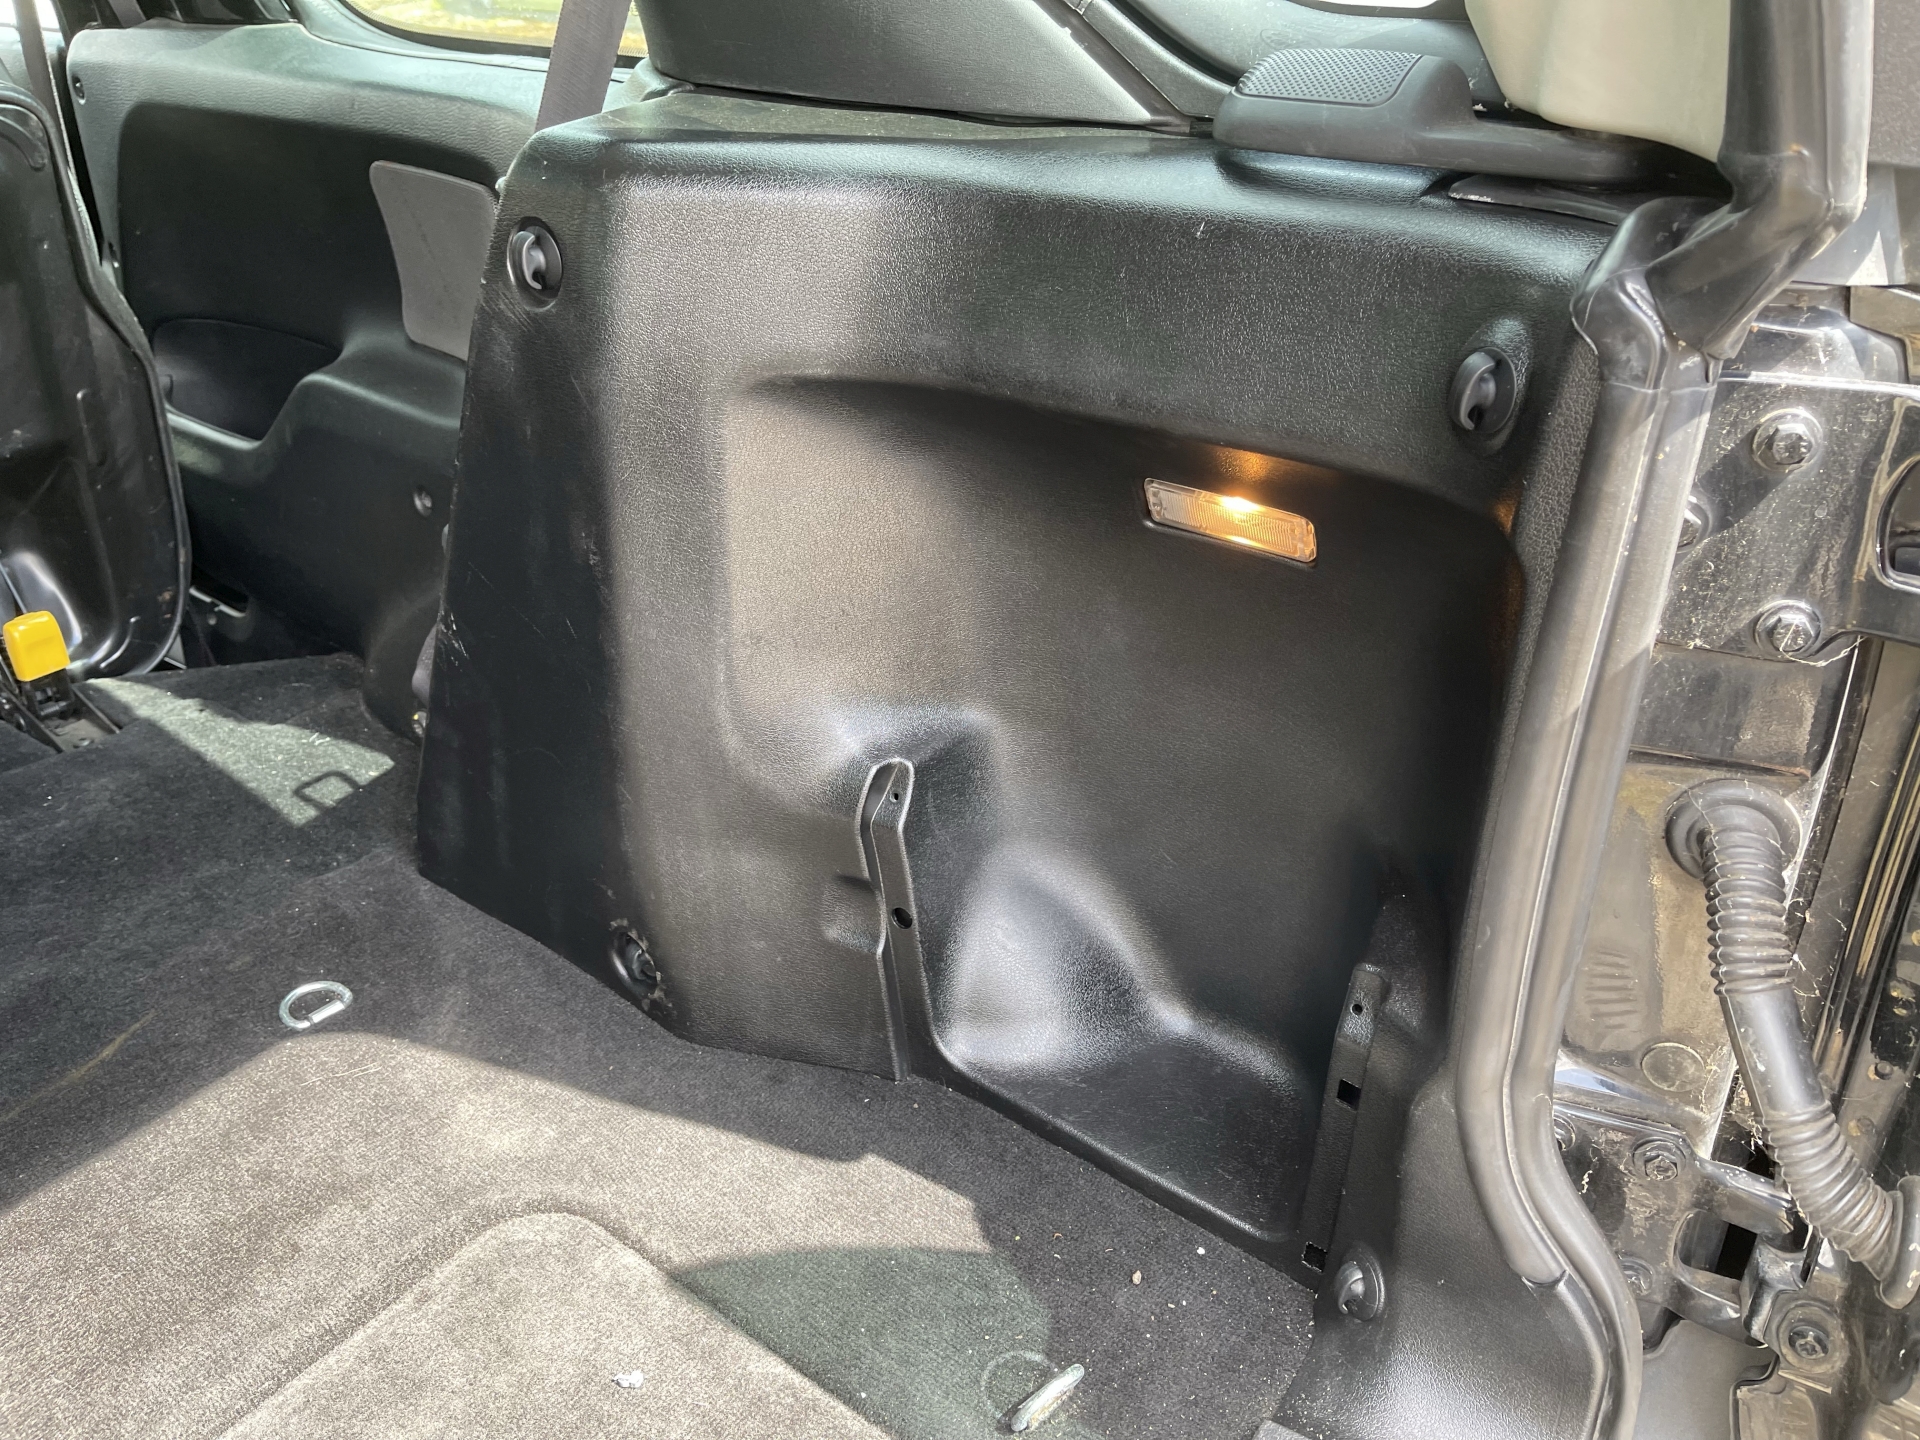
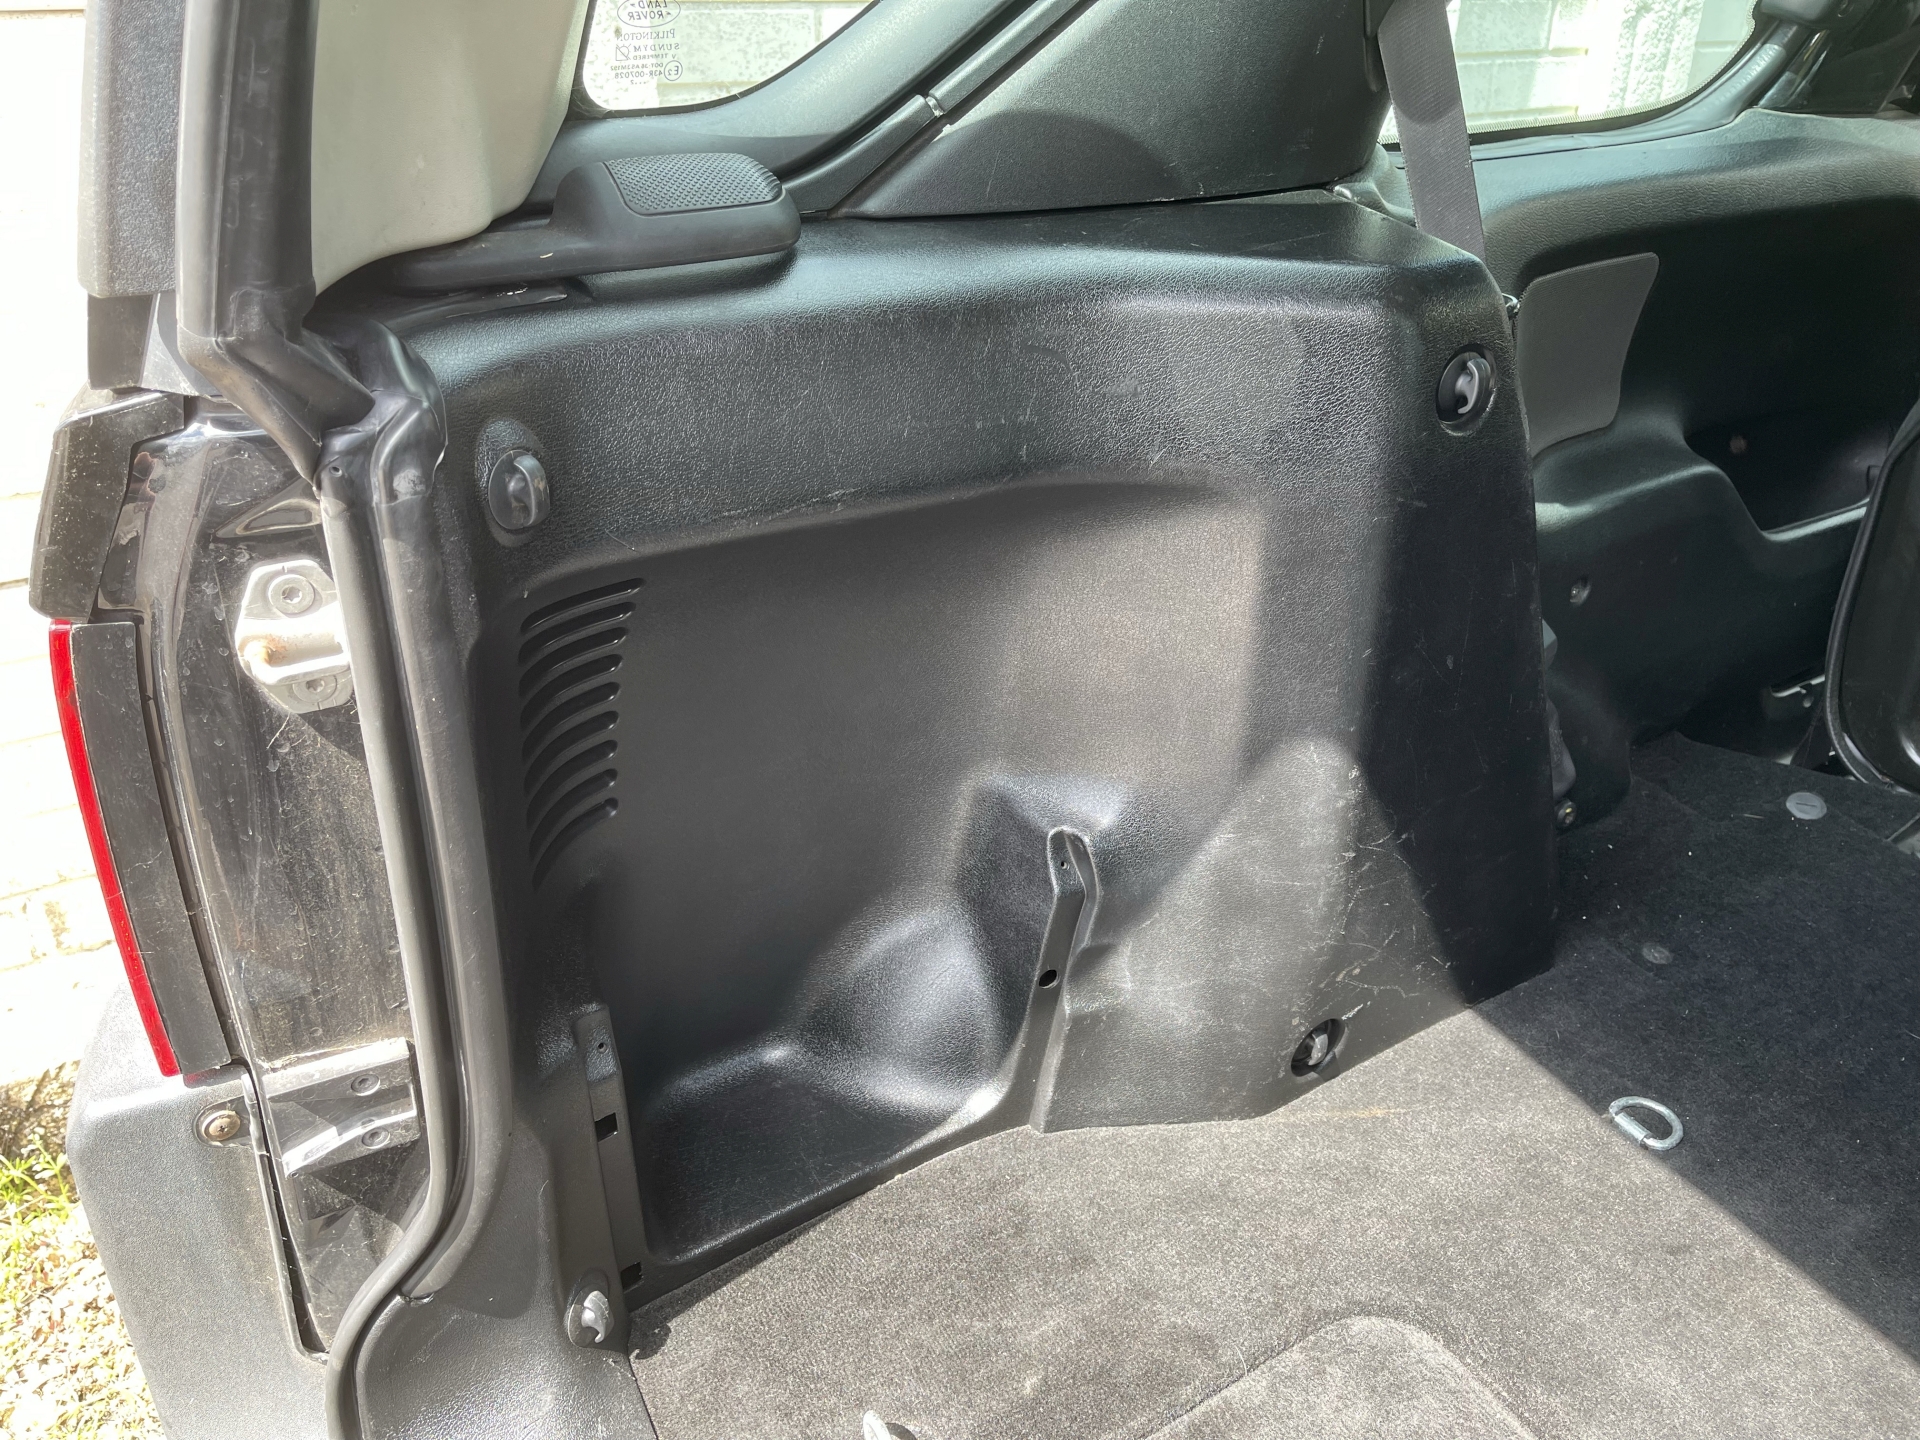
I liked this so much I refitted the tailgate door card and then removed the two back trim pieces in boot. No before picture but imagine these looking like the door card before painting and that's it. Much nicer. Cat bowl for scale.
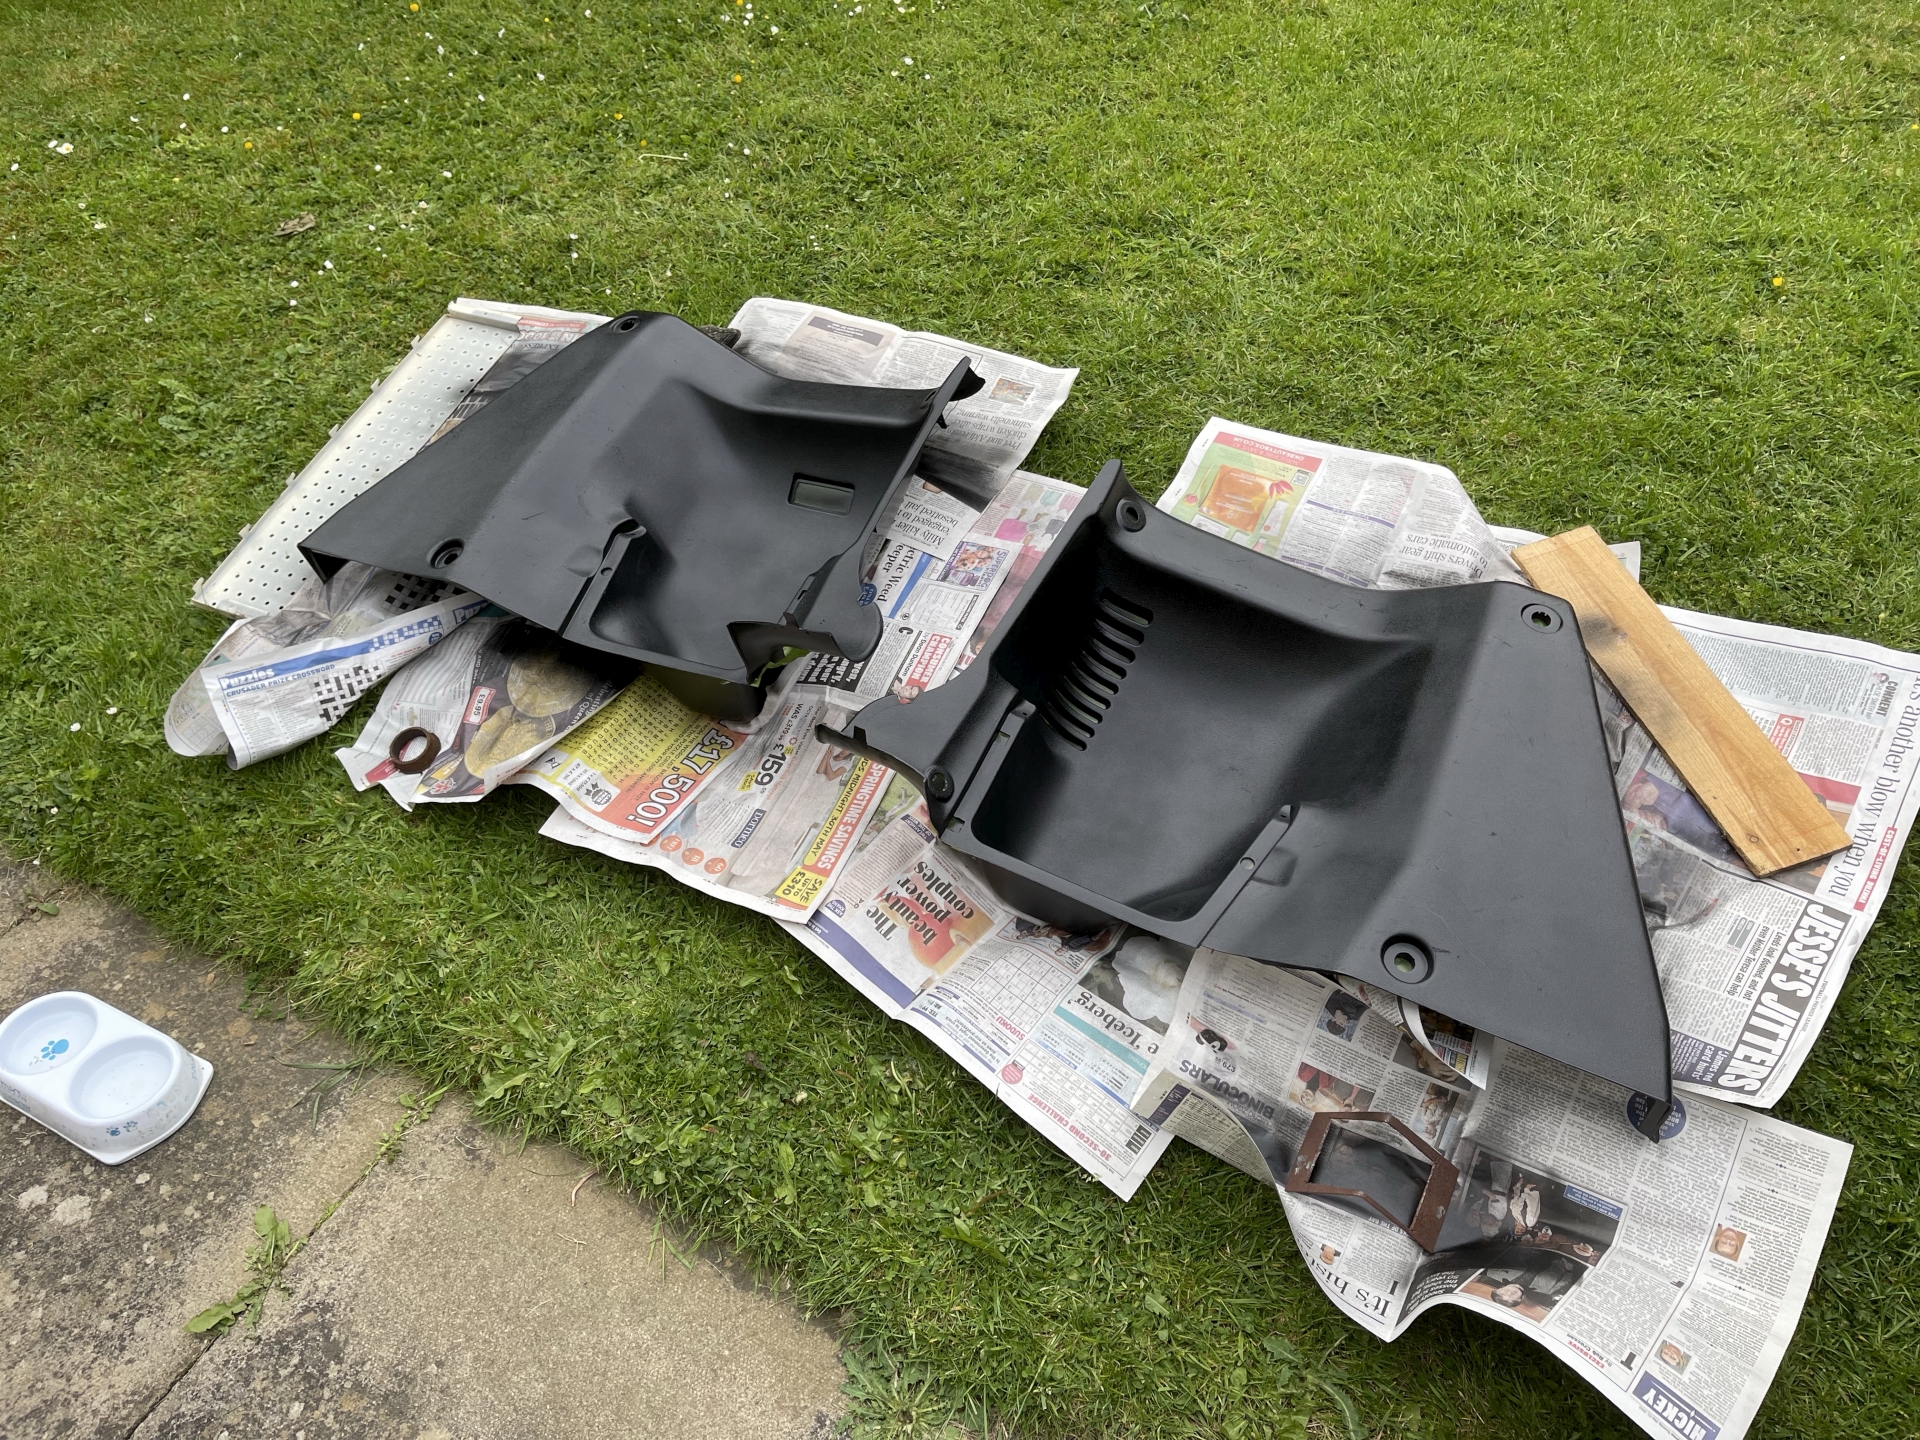
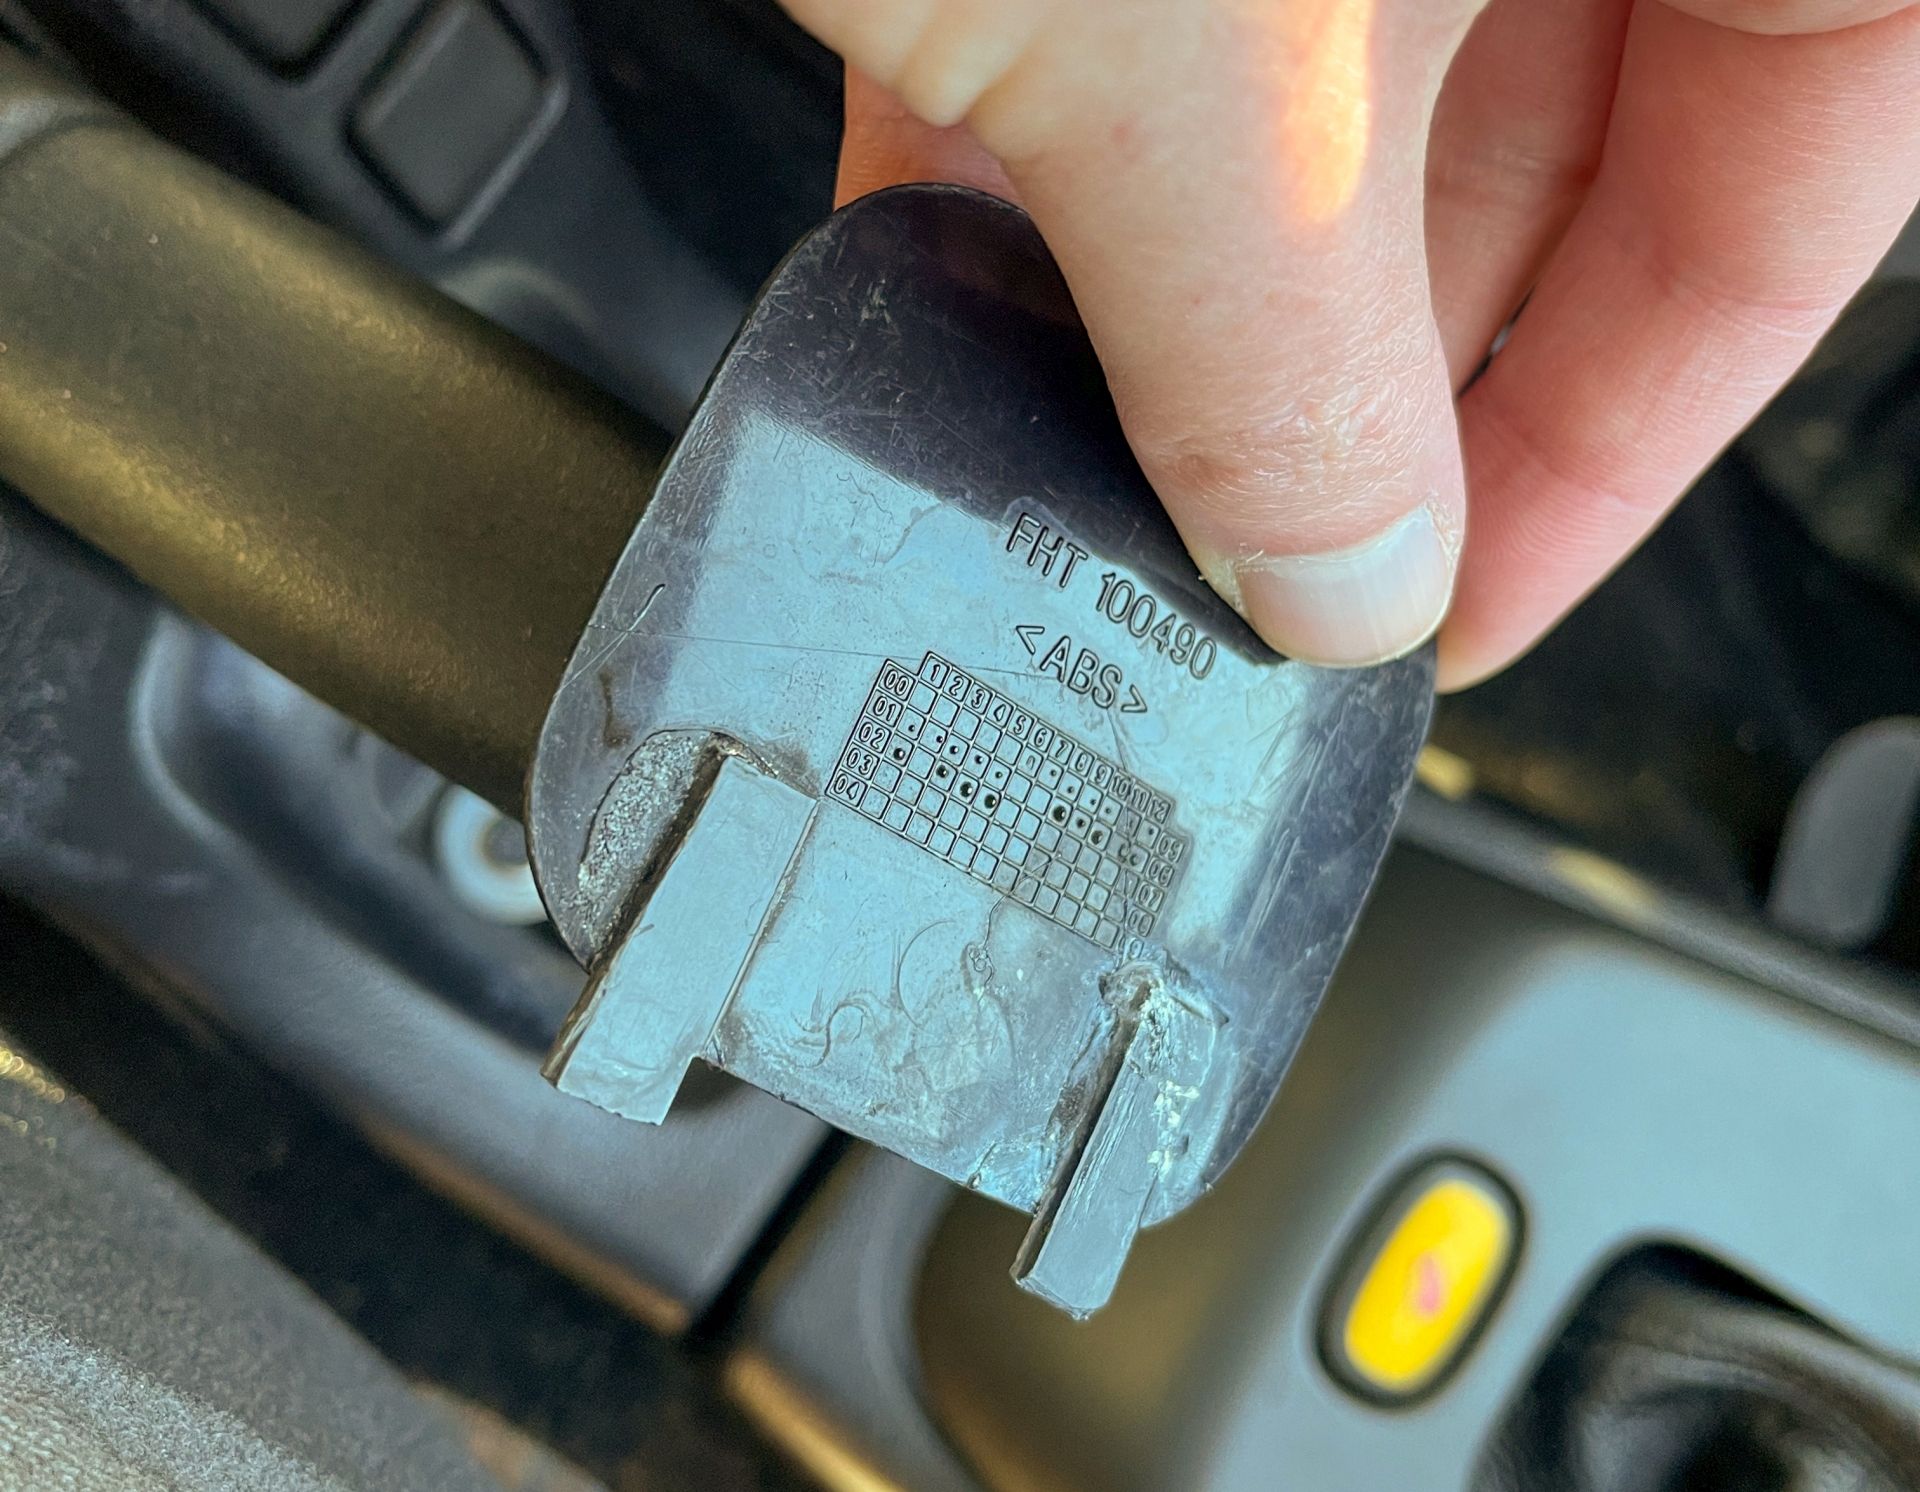
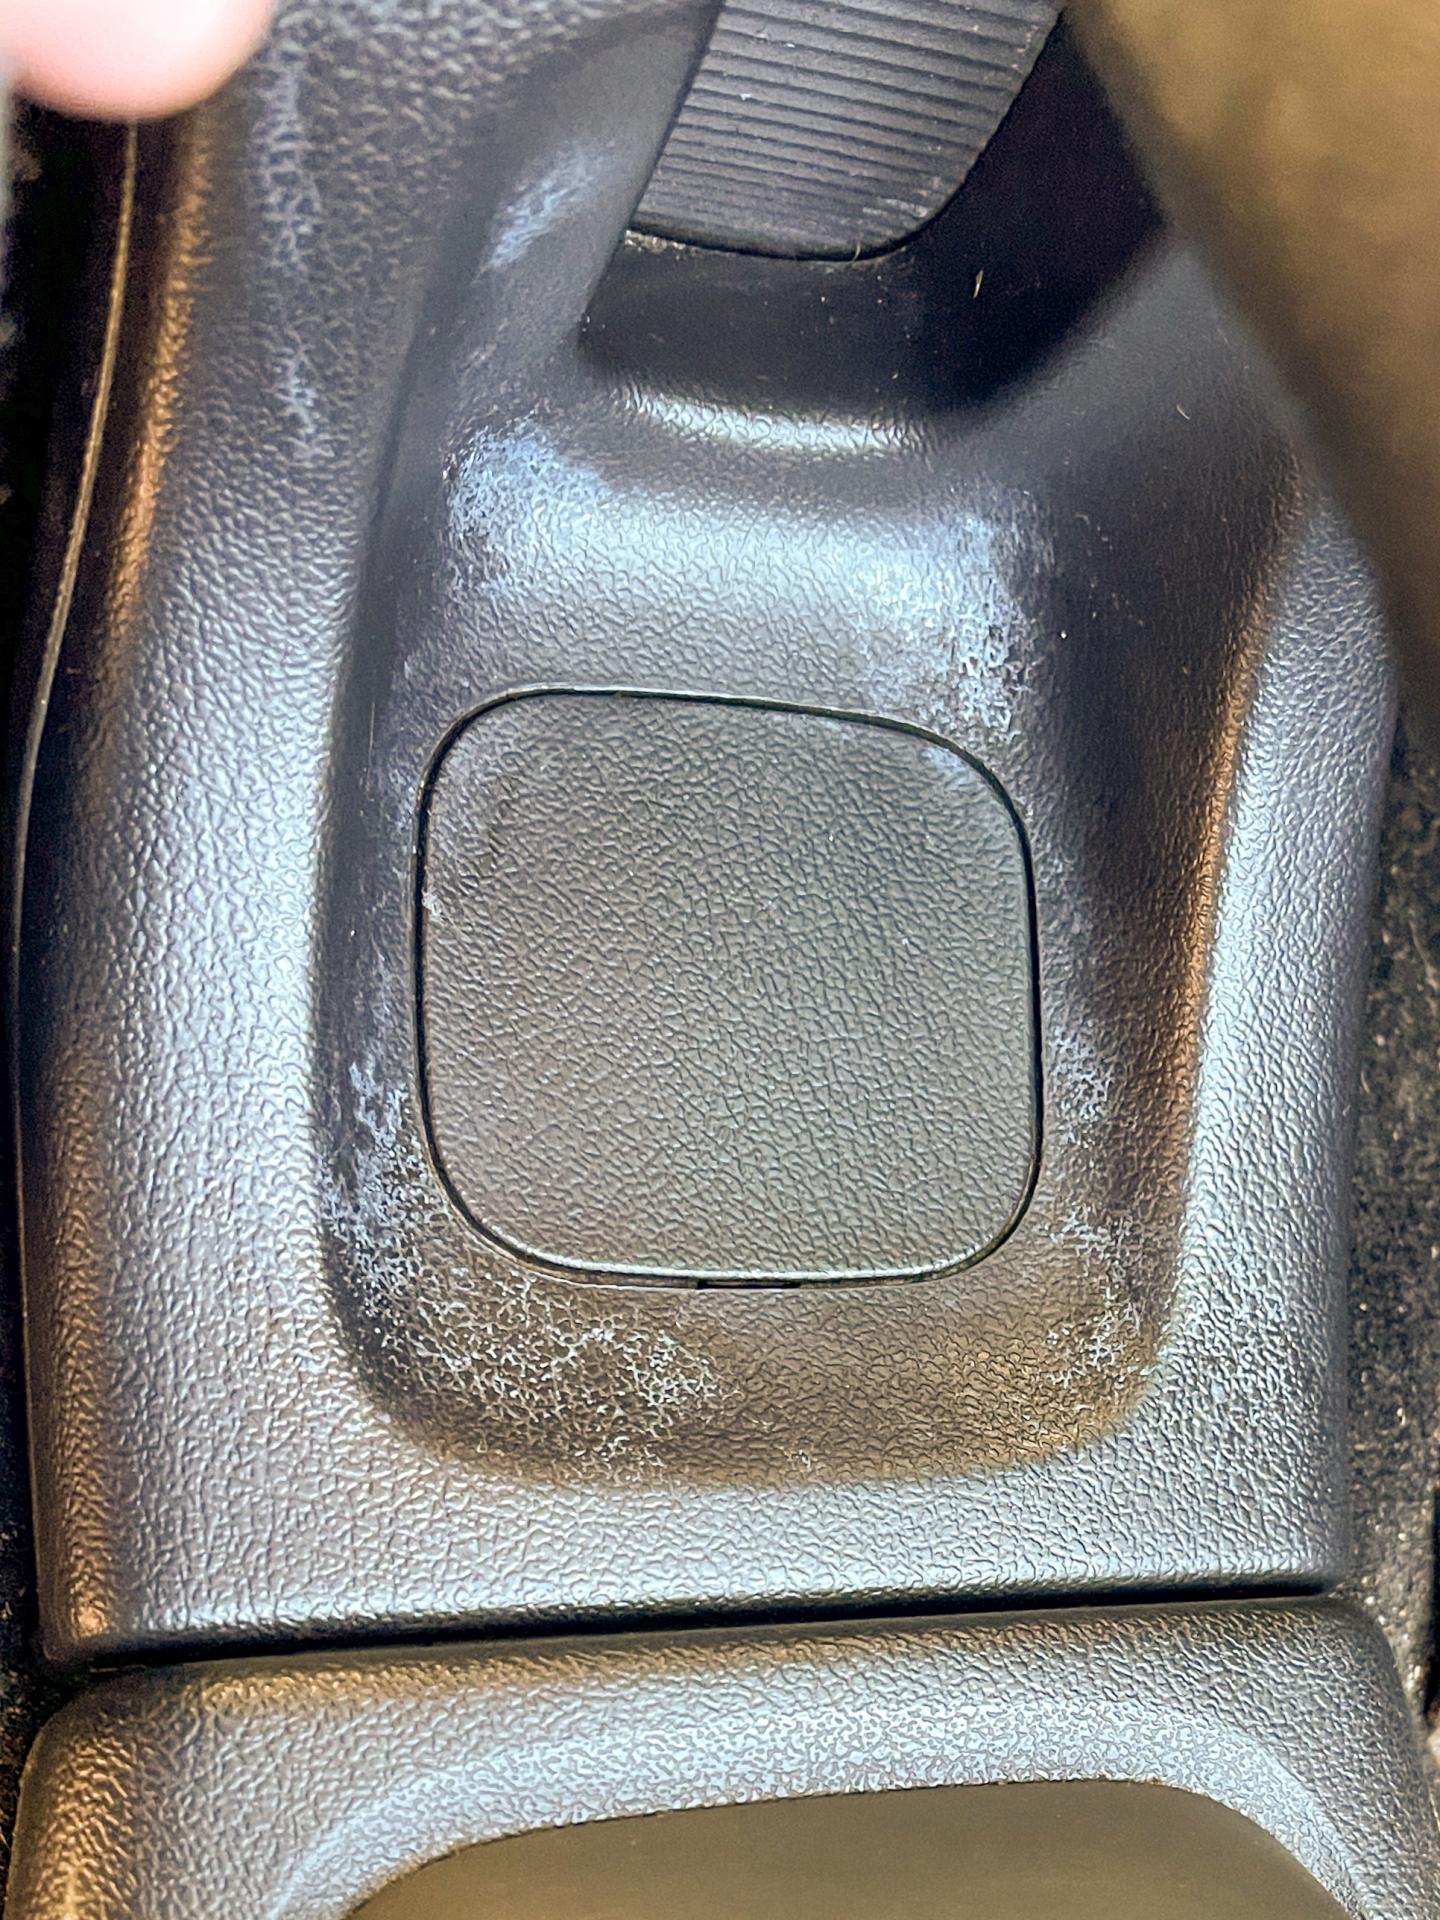
Those are now drying and I need to do a lot of cleaning up before they can be refitted, I found straw behind them. I'm going to see if I can find the missing pocket cover things that should clip on but were missing.
Next up is to order the bits from JLR - a rear vertical trim piece and covers for the roof where the bars bolted on, it'll be nice to get rid of the duct tape. Maybe some trim clips that were missing and those cover panels if they're still on sale.

